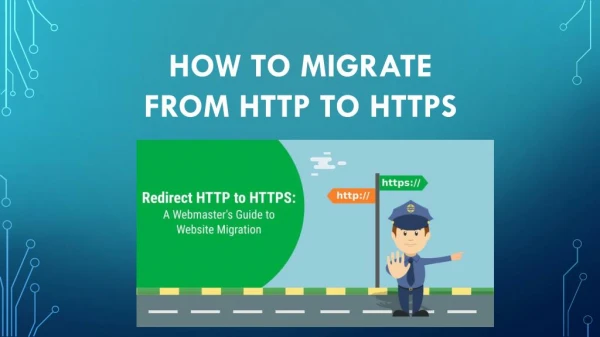
Tips to Convert Your WordPress Website From HTTP to HTTPS
We have craft points, how to move your site from HTTP to HTTPS. We will start step by step to make sure you can follow along without a problem. After all – As San Francisco Wordpress website design expert, we care about your site’s security as well!

Tips to Convert Your WordPress Website From HTTP to HTTPS
E N D
Presentation Transcript
Tips to Convert Your WordPress Website From HTTP to HTTPS HTTPS is especially important over unencrypted networks because, as anyone on the same local network can “packet sniff” and discover sensitive information. We decided to migrate to HTTPS after Google announcement, that it has started using HTTPS as a ranking signal, and confirmed that websites would not lose rankings when moving from HTTP to HTTPS. When you secure your website content via HTTPS, you are guarantee that nobody will alter how they are received by users. If you want to create business website about doing business online, you need SSL. Convert your
Wordpress website to Https is the best way to protect user data and defend against identity theft. Alright, now we craft points, how to move your site from HTTP to HTTPS. We will start step by step to make sure you can follow along without a problem. After all – As San Francisco Wordpress website design San Francisco Wordpress website design expert, we care about your site’s security as well! 1. Back Up Your Website Backing up your website is your first task, whenever you make major changes to your site. If, in case something goes wrong (not that we are expecting it) you can go back to the working version. 2. Implement Your SSL Certificate The primary step in activation of SSL certificate should be obtaining CSR code from your hosting company. To get the CSR code from an SSL activated shared-hosting account. You can also go for the plugin Really Simple SSL a try. 3. Add HTTPS to the WordPress Admin Area
The WordPress dashboard is the first place where you will get to enjoy the new safe connection. First securing the back end, you make sure that whenever a user logs in, their information is exchanged securely. To do that, open wp-config.php in your WordPress root folder and add the following line somewhere before where it says that’s all, stop editing! define('FORCE_SSL_ADMIN', true); It’s time to test if it works, once you updated the file. For that, try to access your login page with HTTPS in the URL, for example via https://yoursite.com/wp-admin. If everything worked perfectly, you should have a secure connection now. Then continue. 4. Update the Site Address After transferring you’reWordPress backend over to HTTPS, it’s time to do the same for the remainder of your site. You can do so by updating your site address under Settings > General.
Update your settings by saving after adding https:// to the beginning of both the WordPress address and site address. Keep in mind that you might need to log in again afterward. 5. Change Links in Your Content and Templates Now it’s time to update every links in your content and database that include the old HTTP protocol. A plugin like Velvet Blues can help with that. 6. Implement 301 Redirects in .htaccess The next step is setting up a redirect that sends visitors automatically over to the secure version. For that, we will use .htaccess. It is an important system file on your server (usually in the WordPress root directory). You should make sure to allow your FTP client to show hidden files because .htaccess is invisible by default. Incase if you don’t have one, just create a plain text file, rename it to .htaccess and upload it to the WordPress root directory. 7. Test and Go Live At the end, it’s time to test if everything works correctly. For that, head on over to SSL Test. insert your domain name and click Submit. This test will
give you an overall score of how well you implemented SSL on your site and details to find out potential issues in order to fix them. Then, crawl your site with a tool like SSL Check. If everything fine, it’s time to go live. Well done! Now you only need update some peripheries. After that you need to update your site environment, sitemap, add site to your webmaster tools, and update your CDN etc. By going through this blog, you will have a comprehensive knowledge to convert your Wordpress website HTTP to HTTPS. About Us SFWP Wordpress Experts SFWP Wordpress Experts is one of the among the best Wordpress website design companies. Our San Fra San Francisco ncisco WordPress de WordPress developer veloper expert’s team will convert your requirements into an attractive and captivating WordPress website, which will position you as a market leader and ahead of your competitors.