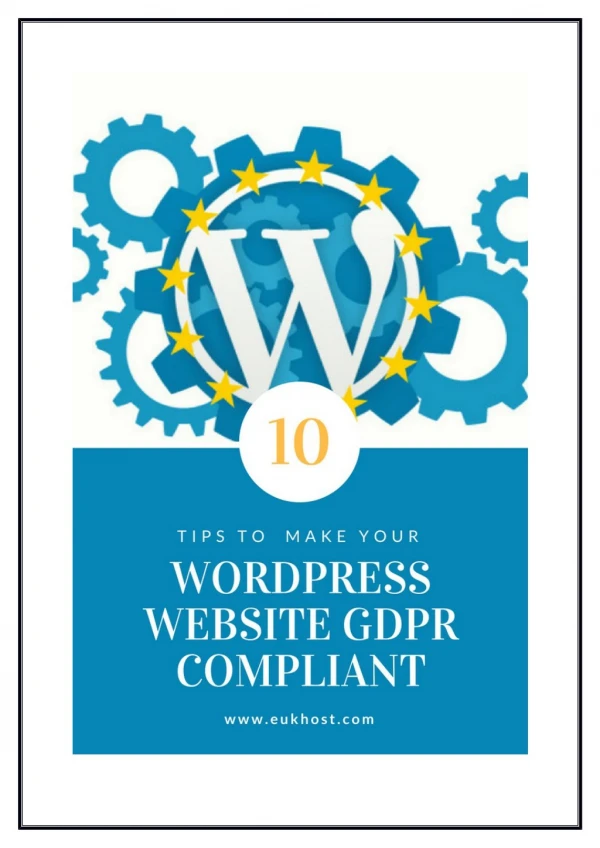
Tips To Disable Your Wordpress Website Temporarily
Putting your site in maintenance mode is also beneficial for any major site changes that may prevent a bad customer experience when visiting your WP site. Here are the instructions to Setup Maintenance Mode Using WP Maintenance Mode Plugin.

Tips To Disable Your Wordpress Website Temporarily
E N D
Presentation Transcript
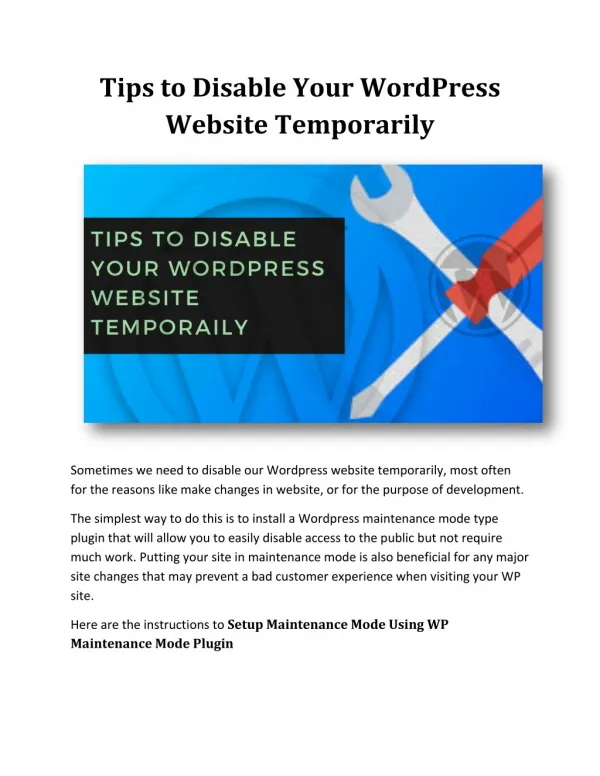
Tips to Disable Your WordPress Website Temporarily Sometimes we need to disable our Wordpress website temporarily, most often for the reasons like make changes in website, or for the purpose of development. The simplest way to do this is to install a Wordpress maintenance mode type plugin that will allow you to easily disable access to the public but not require much work. Putting your site in maintenance mode is also beneficial for any major site changes that may prevent a bad customer experience when visiting your WP site. Here are the instructions to Setup Maintenance Mode Using WP Maintenance Mode Plugin
1.Download WP Maintenance Mode plugin. There are numerous options for maintenance mode, however, the recommended plugin, which is WP Maintenance Mode, has been tested by us and allows you to easily generate a template for visitors. 2.Unpack & Upload WP Plugin Extract the contents of the file you have downloaded previously, which will be called wp-maintenance-mode.zip, automatically create a folder. Now upload this folder to the plugins directory of your WordPress site located at “<wp-root>/wp-content/plugins”. 3.Enable WordPress Plugin After completion of upload, login to your Wordpress administration site and clicks the Installed link underneath the Plugins category in the left navigation. At the top of the page underneath “Manage Plugins” you will see a link titled Inactive that you should click to display all of the inactive plugins that are located in your plugins directory. 4.Configure WP Maintenance Mode: Before turning your site into Maintenance mode you need to configure the plugin to operate the way you intend it to. This can be done by clicking back on the Installed plugins then -> Settings. 5.Enable WordPress Maintenance Mode: Whenever you want to put the site in Maintenance Mode you simply go back to the list of plugins, click on Settings under WP Maintenance Mode, under Plugin Activate change the drop down option True, and then click the Update button.
Your site will show into Maintenance Mode but make sure to check the site from a browser that you are not logged into the WP admin with so you can verify what visitors are seeing. The plugin allows you with a feature that will allow you to still view the site if you are logged in as a WP admin. We hope this blog helped you learn how to easily put your WordPress site in maintenance mode. SFWP experts we understand the importance of having a website that enables you to achieve your goals. That’s why we tailor our WordPress website design services to each individual client, ensuring that your website engages with your audience and drives conversions. Our Wordpress developers and designers can take WordPress’ blank canvas and create a modern, lead generating website that represents your brand and company values.