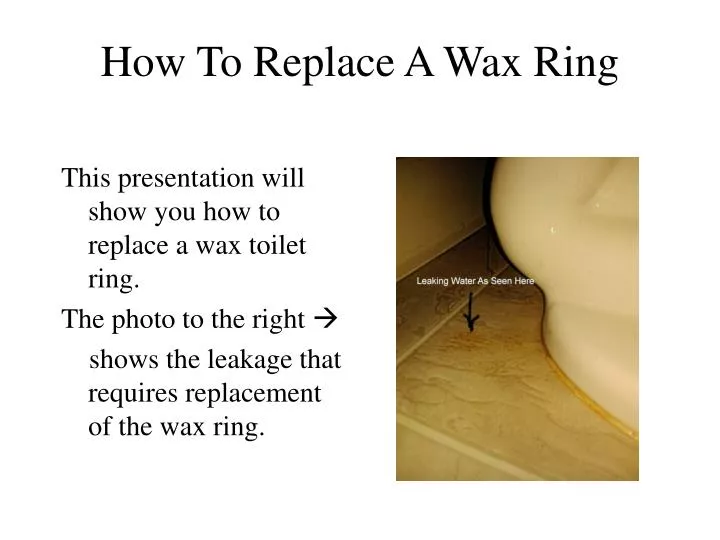

How To Replace A Wax Ring
E N D
Presentation Transcript
How To Replace A Wax Ring This presentation will show you how to replace a wax toilet ring. The photo to the right shows the leakage that requires replacement of the wax ring.
Supplies Needed Wax Ring Sponge Old Towels Wrench Screwdriver Putty Knife Plunger Small Bucket Rubber Gloves
Removal Of Toilet 1 Turn off water supply Flush Then bail remaining water from tank with sponge or towel
Removal Of Toilet 2 Sponge out remaining Water from bowl Plunge water from bowl
Removal Of Toilet 3 Lift nut cover with screwdriver to expose mounting nut Remove nuts on both sides
Clean And Prep Lift the toilet Lay upside down on towels Clean the old wax from toilet Remove any remaining wax from floor flange Dry both surfaces thoroughly Scrape any old caulk from toilet and floor
Reassemble 1. You can apply the ring to the toilet or the floor, this shows the floor. 2. Set the toilet over the drain and bolts and press in place. 3. Replace the washers, nut and cap as per picture.
Reassemble 2 Note: The snap shoulder engages the cap to lock it place Tighten the nuts snug enough to snug toilet to floor (caution, take care not so tight as to crack the toilet base). Snap the covers over the anchor bolts. Reconnect the water line, turn back on and test.
Notes The ring used depends on the floor , surface, covering and age of the install. If the mounting flange is flush to the floor surface up to three-eighths above the surface a just plain basic ring will most likely work.
Notes 2 If it’s below the finished surface a thicker ring with it’s own integral deflector ring will be needed. Circumstances vary. If you’re unsure, ask. Also note that the external plastic on the ring is to be removed before it’s used. www.customserviceshandyman.com