Mastering Exposure in Photography
Learn about the balance of light through ISO, Aperture, and Shutter Speed to perfect your exposures. Discover how white balance, contrast, and types of light play crucial roles in creating stunning images.

Mastering Exposure in Photography
E N D
Presentation Transcript
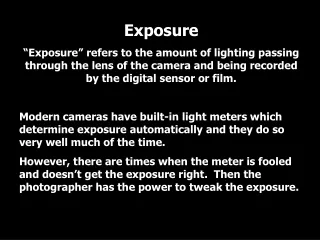
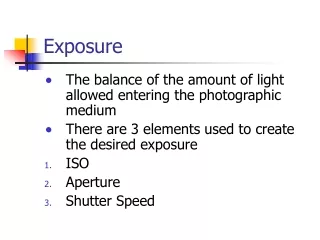
Exposure • The balance of the amount of light allowed entering the photographic medium • There are 3 elements used to create the desired exposure • ISO • Aperture • Shutter Speed
ISO • ISO is the measure of the digital censors light sensitivity. • Goes from 50 – 3200 • The lower the number, the more light it needs, therefore the slower the picture is. So the low ISO numbers are known as slow ISO’s. • The larger the number, the less light it needs, the quicker the camera can take pictures. The higher ISO’s should be used if filming action shots or shots in the dark to avoid blurring. The high ISO numbers are known as fast ISO’s • However, the lower the number, the higher quality the picture will turn out. Another thing that can be done to avoid blurring is using a tripod.
Aperture • The aperture controls the amount of light that passes through the lens • The wider your aperture the more light that will be allowed to strike the film or digital sensor. • The larger the F-Stop number the larger the opening and more light will come through • The Smaller the F-Stop number the smaller the opening and the less light will come through
Aperture Cont. • The diameter of the lens diaphragm can be changed by turning the aperture ring. This dictates the brightness of the image reaching the film. Moving to the next F-number either halves or doubles aperture size. Aperture size also affects depth of field.
Shutter Speed • The shutter speed is useful when you want to freeze action or produce motion blur, with depth of field being less important. • The longer the shutter remains open the longer the camera’s sensor is exposed to the light. This will lead your picture to be more accurate when reproduced – if everything in the frame stays still. In low light situations it is better to use a long exposure. • To capture objects in motion with little image blur it is better to use a fast exposure.
Colour Temperature • Cameras see color temperature differently from people • Color of light is measured in Kelvin • 5500K is white • higher temperatures are blue and other cold colours • lower temperatures are red, yellow, or orange
White Balance • function on the camera that makes sure that the colors the camera sees are the same colours that you see. • There are many options in the white balance menu that can be chosen from, such as daylight, cloudy, tungsten, as well as auto white balance. Even though auto seems like a good and safe bet, it will not always give the desired effect. • Flash must always be put into consideration because it brings a cooler colour into the picture. If the white balance is not set for the flash, skin tones and other features could be off.
Contrast • Cameras do not have a very large contrast range. If some shadows in a picture are really dark, and some areas really bright, the two will never come out perfect no matter how good your camera is. • If the contrast focuses on the sunlight, the dark areas will become totally black, and if the contrast focuses on the darker areas, the light will look too bright. • If you are taking photos of a person, this can be solved by taking them fully into or out of the light, or if the object is stationary, a flash can be used to lighten up the darker areas.
Types of Light • Hard light: The smaller and further away a light source is, the ‘harder’ it appears. Ex. Sun or lightbulbs. Hard light usually gives the impression that the photo was taken in broad daylight. Hard light is good for bringing drama and strength to an image. It works best with a high contrast and bold colours because it really accentuates them • Soft light: occurs when a light source is diffused or “softened” such as clouds covering the sun or a lampshade over a lamp. Soft light is usually better for photographing people and cause less intense shadows.
Equipment and Lighting • Flash - Flash can be used to lighten up dark places to avoid too much contrast. Flash is usually a heavy light source. If the flash is pointed upward to the ceiling, you can simulate a lampshade effect, and it makes it seem as if it is natural lighting and it softens the light. • Tripods – Are important to keep the camera steady when taking photos in dark places, or with lower shutter speeds to avoid unwanted blur.