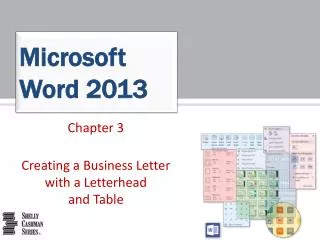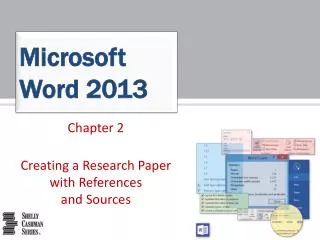
Microsoft Word 2013
Word 1. Microsoft Word 2013. Minimize Restore Close. Top Level Tabs. Quick Access Toolbar. Title Bar. Ribbon. Group. Rulers. Status Bar. View Buttons. Zoom Control. Getting to Know Word. Word is word processing software.

Microsoft Word 2013
E N D
Presentation Transcript
Word 1 Microsoft Word 2013
Minimize Restore Close Top Level Tabs Quick Access Toolbar Title Bar Ribbon Group Rulers Status Bar View Buttons Zoom Control
Getting to Know Word Word is word processing software. You can use it to type letters, reports, and other documents The File Tab is the central location for managing and sharing documents. When you click on the File Tab, you are in backstage view.
Useful Commands and Shortcuts • Open a file • File tab > Open • Ctrl+O • Save a file • File tab> Save • Ctrl+S • Save with new name or location • File tab> Save as • Saving in a different File format PDF—Save As, change file type to PDF • Printing • Ctrl + P
Select and Highlight Text • Select a word • Double click on the word • Select a sentence • Ctrl + Click anywhere in the sentence • Select a paragraph • Triple click anywhere in the paragraph • Select the whole document a • (Home-Select-Select All) • Ctrl + A
Cut—Copy--Paste Cut Copy Paste • Cut • Shortcut is Ctrl+X • Right click is Cut • Copy • Shortcut is Ctrl+C • Right click is Copy • Paste • Shortcut is Ctrl+V • Right click is Paste (clipboard)
More Tools Quick Access toolbar Dialog Box Launcher • Besides cut and paste, text can also be dragged and dropped • Other useful tools include: • Undo or Ctrl+Z • Redo or Ctrl+Y • The Clipboard is the temporary storage for copied text • The clipboard can be accessed through the dialog box launcher
Spelling • Check spelling • Review tab> Proofing group • Auto correct automatically corrects common spelling errors • AutoCorrect can be found in the proofing section of the Options in the File tab. • Auto complete will guess certain words • Incorrect spelling is underlined in red • Incorrect grammar is underlined in green
Alignment Left Right Justify Center • Center shortcut is Ctrl+E • Left shortcut is Ctrl+L • Right shortcut is Ctrl+R • Justify shortcut is Ctrl+J • Vertical alignment is from top to bottom • Page Layout tab> Page set up group> Dialog Box Launcher > Layout Tab>Page Section • Types are Center, Top, Bottom and Justify • Horizontal Alignment is left and right
Margins • To set margins • Page Layout Tab> page set up group> Margins button • Default margins are 1 inch
Line Spacing • Default line spacing is 1” • Home tab> Paragraph group • Line Spacing Shortcuts • Double is Ctrl+2 • Single is Ctrl+1 • 1.5 is Ctrl+5
Font • Changing Font face and Font size • Home tab> font group • Emphasizing text • Bold= Ctrl + b • Italics= Ctrl + i • Underline= Ctrl + u
Font (cont) • Format painter • Copies styles and appearance, not text and content— Copies Formatting • Click painter twice to copy to more than one location • Change Case • shift+F3 • Icon
Themes & Styles • Styles include pre-formatted • Font and Font Size • Styles are located • Home tab> Styles group • Themes are sets of formats for • Fonts, Colors, Graphics • Themes are located • Design tab> Document Formatting group
Themes & Styles (cont) • Themes will only appear if a style has been applied • Changing Themes without applying Styles will only change your color options • Items in the Themes group include • Themes • Color • Font • Effects
Page Borders Page Borders place a border around the whole page. The path to Page Borders isDesign TabPageBackroundGroupPage Border Page borders can be art, colored, differentwidths and/or lines.
Headers & Footers • Headers are at the Top of the page • Footers are at the bottom of the page • Path to create • Insert tab> Header & Footer group • Automatic page numbers can be placed in a document by going to • Insert tab>Header/Footer group>page numbers • The locations for page numbers are: Top, Bottom, Margins, Current • Use the Design Tab to add pagenumbers when the Header & Footer are active
Class Format Header Footer Class format for Header and Footer Student Name assignment Period Date Page # Teacher
Bullets and Numbering A Numbered List is used when items appear sequentially. A Bulleted list is used when order does not matter Custom bullets can be defined by choosing define new bullet Custom numbering can be defined by choosing define new numberformat
Printing • Print Preview lets you view a document as it will appear printed • Click the File tab and choose Print—This will allow you to use Print Preview as well. • There are two ways (orientation) to print (found in the Print Layout tab) • Portrait (Tall) • Landscape (Wide)