How to use a multimeter
All we know that multimeter is one of the most essential electric tool that help to repay any kind of electric devices. This document shows you about the best multimeter in reasonable cost. You may check here: http://mytoolpicks.com/best-multimeter-under-100/

How to use a multimeter
E N D
Presentation Transcript
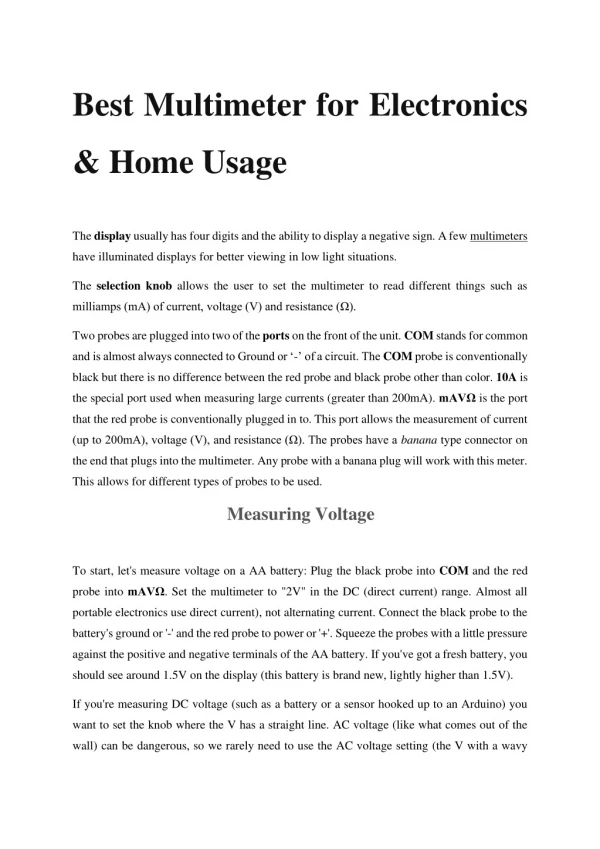
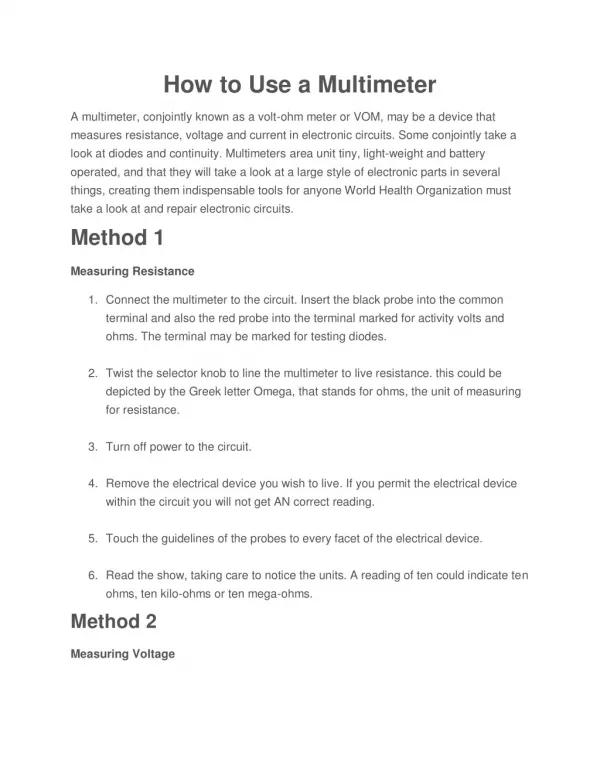
How to Use a Multimeter A multimeter, conjointly known as a volt-ohm meter or VOM, may be a device that measures resistance, voltage and current in electronic circuits. Some conjointly take a look at diodes and continuity. Multimeters area unit tiny, light-weight and battery operated, and that they will take a look at a large style of electronic parts in several things, creating them indispensable tools for anyone World Health Organization must take a look at and repair electronic circuits. Method 1 Measuring Resistance 1.Connect the multimeter to the circuit. Insert the black probe into the common terminal and also the red probe into the terminal marked for activity volts and ohms. The terminal may be marked for testing diodes. 2.Twist the selector knob to line the multimeter to live resistance. this could be depicted by the Greek letter Omega, that stands for ohms, the unit of measuring for resistance. 3.Turn off power to the circuit. 4.Remove the electrical device you wish to live. If you permit the electrical device within the circuit you will not get AN correct reading. 5.Touch the guidelines of the probes to every facet of the electrical device. 6.Read the show, taking care to notice the units. A reading of ten could indicate ten ohms, ten kilo-ohms or ten mega-ohms. Method 2 Measuring Voltage
1.Connect the multimeter to a circuit. place the black probe within the common terminal and also the red probe within the terminal marked for activity volts and ohms. 2.Set the multimeter for the voltage you are activity. you'll live volts DC (direct current), mill volts DC or volts AC (alternating current). If your multimeter has an auto-range operate, it isn't necessary to pick out the voltage you are activity. 3.Measure AC voltage by inserting the probes across the element. it isn't necessary to look at polarity. 4.Observe polarity once activity DC voltage or millivoltage. Place the black probe on the negative facet of the element and also the red probe on the positive facet. 5.Read the show, taking care to notice the units. If you like, you'll use the touch-hold feature to stay the reading on the show once you take away the probes. The multimeter can beep every time a replacement voltage is detected. Method 3 Measuring Current 1.Choose either the terminal marked for activity ten amps or the one marked for activity three hundred milliamps (mA). If you are unsure of the present, begin within the ten amp terminal till you are positive the present is a smaller amount than three hundred milliamps. 2.Set the multimeter to live current. this could be depicted by the letter A. 3.Turn off power to the circuit.
4.Break the circuit to live current, you want to place the multimeter asynchronous with the circuit. Place the probes on either facet of the break, observant polarity (black probe on negative facet, red probe on positive facet.) 5.Turn the ability on. the present can run through the circuit, up the red probe and thru the multimeter, then out the black probe and into the circuit. 6.Read the show, basic cognitive process whether or not you're activity amps or milliamps.You can use the touch-hold feature if desired. Method 4 Testing Diodes 1.Insert the black probe into the common terminal and also the red probe into the terminal marked for activity ohms, volts or diode take a look at. 2.Use the selector knob to decide on the take a look at diode operates. this could be depicted by a logo representing a diode, AN arrow inform at a vertical line. 3.Turn the ability off to the circuit. 4.Test forward bias. Place the red probe on the positive facet of the diode and also the black probe on the negative facet. If you get a reading of but one however over zero, the forward bias is nice. 5.Reverse the probes to check reverse bias. If the show reads "OL (overload)," this means that reverse bias is nice. 6.A reading of "OL" or zero whereas testing forward bias, and zero whereas testing reverse bias indicates that the diode is unhealthy. Some multimeters can beep once the reading is a smaller amount than one. this does not essentially indicate a decent diode, as a result of a shorted diode will cause a beep.