
How to for Dropbox
E N D
Presentation Transcript
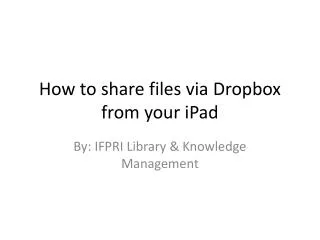
Go to dropbox.com Follow the red arrows throughout this tutorial.
First thing, download dropbox to your computer by clicking on download Dropbox button.
Follow the onscreen directions for downloading the program. After downloading, it will be on your computer and automatically update as you, or your students load files.
After downloading, you will need to create an account. Click on sign in from the home page to begin creating your account.
It’s simple! Fill in the blanks. Agree to terms. Click on blue create account box. When done, click back on the dropbox logo to get back to the home page.
Now just put your username and password in and you will be ready to start!
This is how Dropbox files appear. I had Word files, PowerPoint files, PDF and shared folders in my account.
Muggs Murphy and I collaborated on this folder to create this powerpoint. A shared file is easy to create. (and you can earn free extra space by signing on new users!) Click on sharing on the left to begin. Then new shared folder on the right.
Give your file a name – you can have students turn in e-copies of their homework, so maybe create a file for each period.
You will need to invite your students to join the file. It will involve you entering their email addresses.
Here is an example of how you might want to do this. You can place the assignment in the folder so students can check what they need to do.
Be sure to uncheck the box so your only your students are in the file.
Your new folder will show up on the sharing portion of your account.