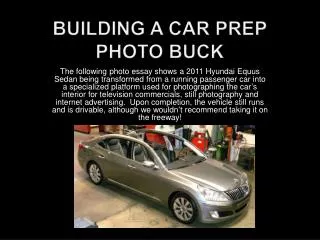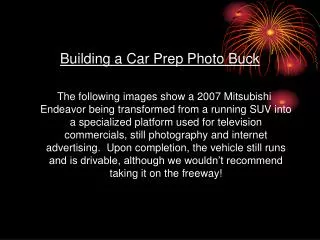

Building a Car Prep Photo Buck
E N D
Presentation Transcript
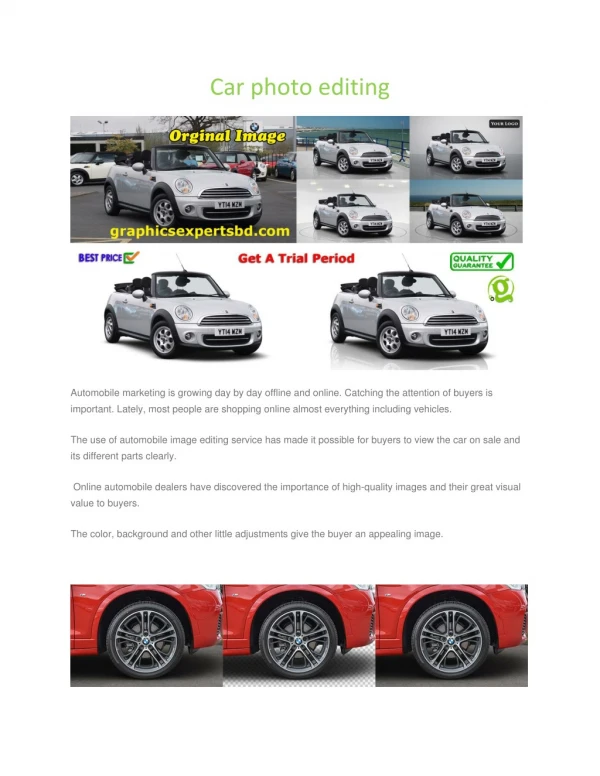
Building a Car Prep Photo Buck The following images show a 2007 Mitsubishi Endeavor being transformed from a running SUV into a specialized platform used for television commercials, still photography and internet advertising. Upon completion, the vehicle still runs and is drivable, although we wouldn’t recommend taking it on the freeway!
After the interior, doors and glass have been removed, Steven contemplates the first of many cuts to the vehicle’s metal body panels.
With Efren’s help, a plan of attack is developed to ensure that the resulting cuts won’t interfere with the interior components upon re-assembly.
Merk prepares the A-pillar for the first of many difficult precision cuts, all designed to allow the body to be parted off in different configurations. Note the rear tires and wheels have been removed to allow cutting through the wheel well and into the rear hatch area.
Steven starts cutting through the lower B-pillar, using pre-determined and marked routes to ensure nothing gets cut by accident, while Merk starts cutting the roof.
Merk takes his trusty SawZall to the vehicle’s roofline, starting at the front…
…and continuing on all the way to the rear of the roofline. Along the way, there are multiple layers of body panels to be carefully cut apart.
With the roof and B-pillars successfully cut and removed, next for cutting are the A-pillars and rear body panels.
…and the passenger side rear panel is then also removed. This is the body configuration which will be used for the buck’s first photo shoot.
Efren and Steven clean up the cuts and fabricate the metal ‘scabs’ that are used to re-assemble the body panels after they’ve been cut apart.
Efren carefully measures and fabricates the metal ‘scabs’ all the way around, down to the last B-pillar. Now its time for re-assembly of the body panels.
Steven installs the side body panels, A- and B-pillars and the dashboard assembly using the metal scabs that were fabricated for each panel.
With the final body panel configuration in place, the interior components are installed into their proper places.
Carpeting, rear seats and the center console are carefully installed…
… and the car’s interior starts to look like it did in the beginning.
The final result: a fully-operational interior photo buck, ready to be driven onto a soundstage and prepped for photography. This configuration allows the cameraman to shoot from the passenger side without interference.
Naturally, there’s always disagreements about who gets to drive! Steven, Merk and Efren have completed another unique Car Prep project.
CAR PREP INC. • FILM PRODUCTION SERVICES • 18095 Mt. Shay St. Fountain Valley, CA 92708 • Ph: (714) 965-7737 Fx: (714) 965-9805 • E-mail: info@carprepinc.com • Website: www.carprepinc.com