Poster Printing Guidelines at CIAT
This document provides instructions on how to print posters at CIAT, including submission methods, turnaround time, and design tips for faculty. For assistance, contact Multimedia Services at 410-704-3546.

Poster Printing Guidelines at CIAT
E N D
Presentation Transcript
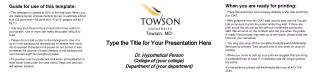
When you are ready for printing: • Place this document onto a floppy diskette or Zip disk and bring it to CIAT. • With guidance from the CIAT staff, faculty may use the Faculty Lab computers to print the poster while they wait. If there are print errors the job can be left with our multimedia production staff. We will work on the problem and call you when the poster is ready (this process may take up to one week, please build this time into your schedule). • You may also drop off the completed template with Multimedia Services for printing. Turn around time is one week on drop off printing. • When you come to pick up your print we suggest that you bring a cardboard tube at least 3” in diameter and 26” long to protect the prints. • For assistance, please call Multimedia Services at 410-704-3546. • Guide for use of this template: • The template is created at 50% of the final size. When you are making layout choices multiply by two to estimate a final size (32 point text = 64 point text, 6” by 6” graphic will be 1’ by 1’). • Use less then three fonts and less then three colors in your poster. Use of more can make the poster difficult to read. • Please do not add a color to the background. Use of a color in the background dramatically increases how much ink is required to produce the poster on our printer. It also increases the chance of tonal changes in the background over the two eight foot lengths of paper. • To preview how the poster will look when printed Switch to slide sorter view under the view menu. Page one and two will appear stacked. Towson, MD Type the Title for Your Presentation Here Dr. Hypothetical PersonCollege of (your college)Department of (your department)
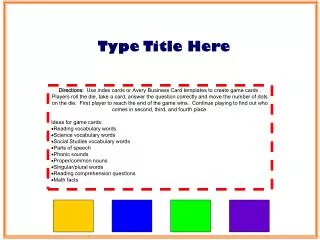
Supporting graphics can be added to the poster by selecting Insert\Picture\From File. And choosing the image file you would like to add. • If you are adding a photographs or other type of raster image scan the image resolution between 150 and 200 DPI at 100 percents of the final print size. Resolutions below may appear blurry or pixelized. Images higher in resolution may corrupt the document during printing. • Iconographic images may be helpful in orienting your audience to your posters message. If clip art is available on your PC you can add images from the clip art gallery by selecting Insert\Picture\Clip Art. • The most common suggestion made by poster session organizers is to distill the information on the poster session to the most concentrated amount. Provide details in handouts. Some of the most visually successful posters have had less then 20 phrase based bullets with two or three supporting images or graphs. • Suggested Font Sizes: • Main title = 60 point in template, 120 point in print • Credit line = 32 point in template, 64 point in print • Section Headers = 48 point in template, 96 point in print • Body Text = 30 point in template, 60 point in print This presentation was produced in cooperation with the Center for Instructional Advancement and Technology’s Multimedia Services at Towson University. www.towson.edu/ciat


![[ Your presentation title here ]](https://cdn1.slideserve.com/3545242/slide1-dt.jpg)