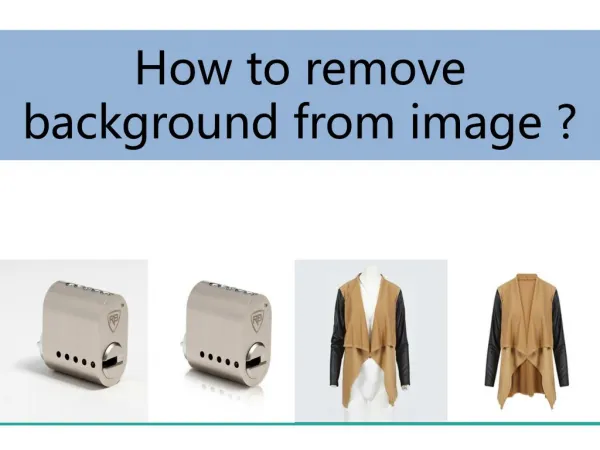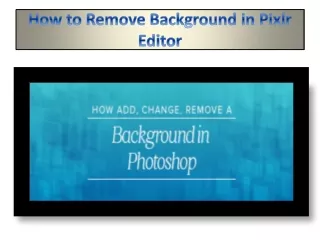
How to Remove Background in Pixlr Editor
60 likes | 86 Vues
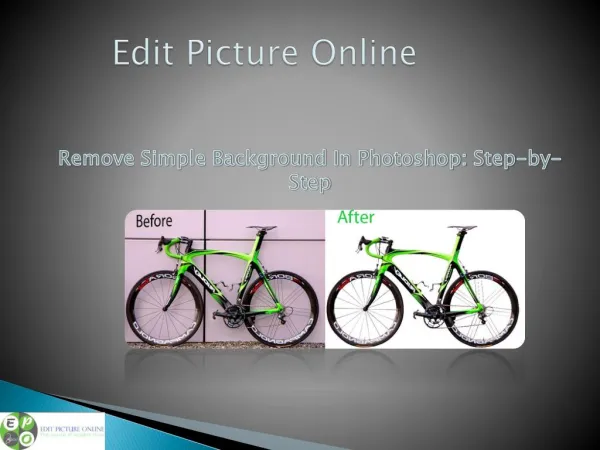
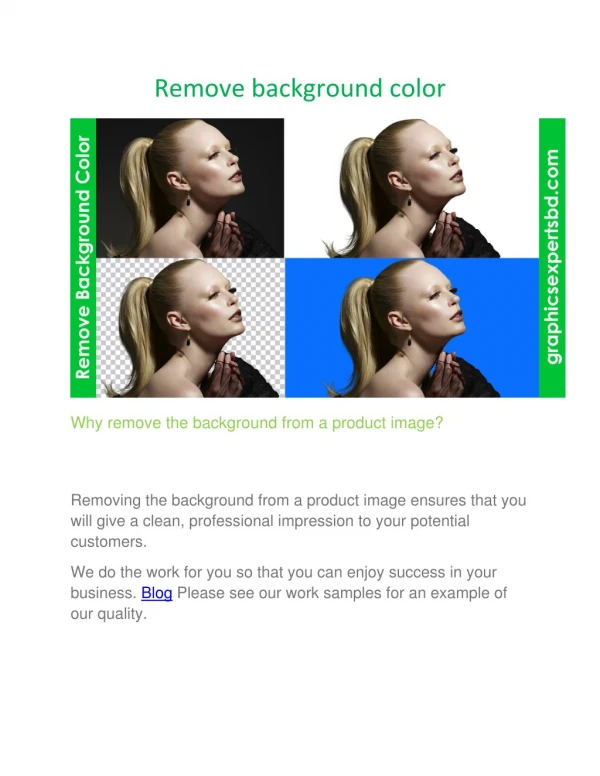
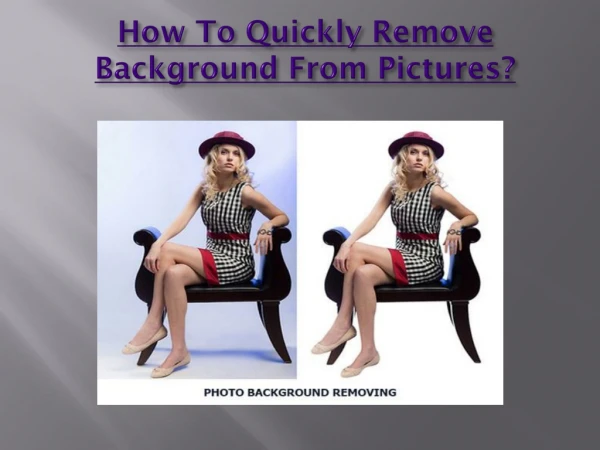
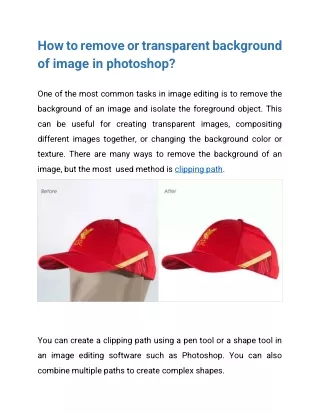
No one wants to look bad picture or wants unnecessary things in the pictures. Background blurring is a trending topic in the world and even the mobile cams are offering bokeh mode for the same. Every person wants to make their background blur to look great in the picture and also to have full focus on them. If you have a great expensive camera, then you can easily blur the background of the photo to make the picture look perfect. But if you donu2019t have it, then you need to use graphic software to do the job.<br><br>Visit here: https://searchdirectory.co.uk/blog/how-to-remove-background-in-pixlr-editor/

How to Remove Background in Pixlr Editor
E N D
Presentation Transcript
How to Remove Background in Pixlr Editor No one wants to look bad picture or wants unnecessary things in the pictures. Background blurring is a trending topic in the world and even the mobile cams are offering bokeh mode for the same. Every person wants to make their background blur to look great in the picture and also to have full focus on them. If you have a great expensive camera, then you can easily blur the background of the photo to make the picture look perfect. But if you don’t have it, then you need to use graphic software to do the job. Pixlr is the software tool that can blur the pictures that you click from any device, and it can blur the background from the photo. If you don’t know how you can do that tough thing in an easy manner, then let’s find out.
Get the Magic Wand to See Small Details In your desktop device, open the image in the Pixlr. After opening the picture, you will see on the upper left side of the display a magic touch. Before beginning anything with the picture, you will be required to put Tolerance in the menu bar above. After setting it, you will automatically see the difference in the picture from the before. It will sharp the picture, and in the background, you will see more details. Some of the parts from that setting will keep unchanged in the picture, and if you want to make, then you can mark it.
Turn On the Magic So if you have activated the magic wand tool, then it is the time to make more things. You need to put the blue colour in the background to see the small light details easily. Also, with the blue colour in the background, you can easily shift things as well. Now select “Edit” in the above menu and then click on the “Introvert Selection.” Now you will see some dotted lines in the background. From Transportation to Transparent Realm Now the next thing you need to do is prepare a blank area “File” from the menu bar and then tap on the “New Image.” You can choose the game of the new background image once a dialogue box pops up. Adjusting the width and height is all in your hands, and you can do it as you want. The thing you need to keep in mind that does not want a transparent background, so don’t click on those two boxes. Tap on the “OK” button, and now you will see that your new picture will totally have a new background from the previous picture. If you see a checked background, then it means you are watching a blank background. Now select “Edit” and then do “Paste” on the blank space.
The Manual Labor • Most of the things are already settled. The edges of the picture now require cleaning up, and it will happen from the manual labour. From the toolbar, now you need to choose the eraser to remove some details. • After choosing the eraser tool now you require to tap on the brush from the above bar. This action will grant you permission to pick a size of the brush. For the smaller area details, you need to use the small eraser, and you need to do it really carefully. Even if you do any kind of mistake, then you can tap CTRL + Z to remove the mistake.
AUTHOR BIO • Eva Winget, an employee currently living in USA and working at a top printer service provider company in the day, and a technical writer at night. I am passionate about writing troubleshooting tips, beginner’s guides, news and other articles on varied topics like epson printer support, HP Printer Support, Canon Printer Support etc. Source: https://searchdirectory.co.uk/blog/how-to-remove-background-in-pixlr-editor/