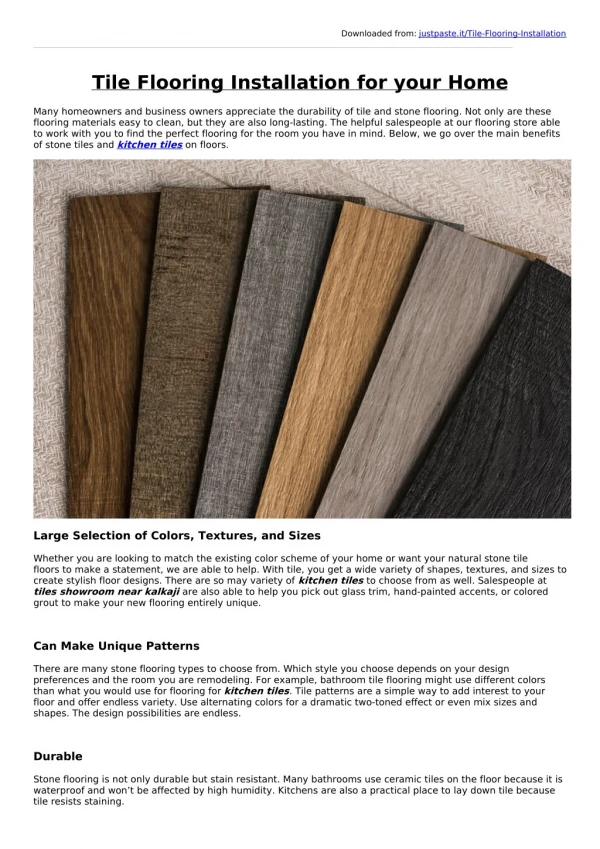
DIY Installation Guide for Tin Tile Backsplash
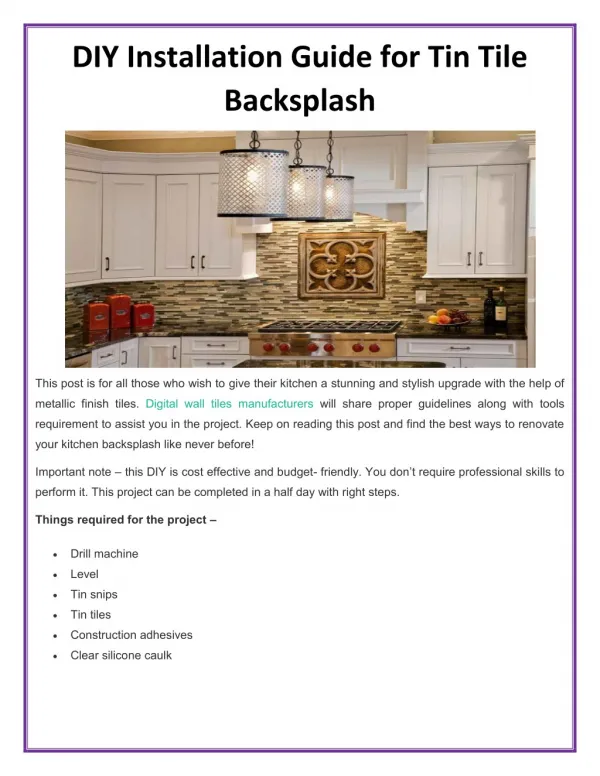
This post is for all those who wish to give their kitchen a stunning and stylish upgrade with the help of metallic finish tiles. Digital wall tiles manufacturers will share proper guidelines along with tools requirement to assist you in the project.

DIY Installation Guide for Tin Tile Backsplash
E N D
Presentation Transcript
DIY Installation Guide for Tin Tile Backsplash This post is for all those who wish to give their kitchen a stunning and stylish upgrade with the help of metallic finish tiles. Digital wall tiles manufacturers will share proper guidelines along with tools requirement to assist you in the project. Keep on reading this post and find the best ways to renovate your kitchen backsplash like never before! Important note – this DIY is cost effective and budget- friendly. You don’t require professional skills to perform it. This project can be completed in a half day with right steps. Things required for the project – Drill machine Level Tin snips Tin tiles Construction adhesives Clear silicone caulk
Step one involves ‘Area Preparation’ Clean the area of hanging items where you want to do the project. Remove switch plates and cut the power at the breaker box for precaution. You can use all-purpose cleaner and paper towels to clean the surface. In case the area doesn’t intersect with a countertop, you can use a level and draw a line level with the countertops. Measure right and cut the tile You must do the right measurements for the areas to be covered from end to end. Note down the measurements and lay a tile over flat surface and mark them from the counterpart to the bottom of the upper cabinets. You can use a straightedge to draw a line between the marks. To put cuts, use tin snips. You must wear heavy-duty leather gloves to protect your hands from injuries since tin tiles have sharper edges. Measure and cut outlets and switches Areas that have an outlet or light switch should be measured from the last tile to the outlet. Measure the distance from the counterpart to the top and bottom of the outlet. Once all measurements are done, use them to draw a rectangle at the tile back. At one corner, drill a big hole to fit the tip of the tin snips. Take measurements for protruding objects, such as window sills and carefully cut out the shapes using the tin snips. Secure tiles to wall Use adhesive at the back of the tile on all of the raised parts and press it firmly to the wall in place. Rub the tile well. While adding secondary tiles, make sure you overlap the edges using grooves that are usually embossed. Press the overlaps and remove excess adhesive. Seal the seams Add a bead of silicone caulk to the bottom of the tiles to prevent water gathering at the back of tiles. This is the DIY for installing tin tile backsplash. Digital wall tiles manufacturers have shared this post to help you learn the best ways to install tin tiles without professional assistance. It is simple and takes less time. Source:DIY Installation Guide for Tin Tile Backsplash