Download
1 / 2
20 likes | 39 Vues
Polishing concrete floors to a polished stone finish is not difficult with the proper equipment and techniques. As with any other specialized technique, polishing is a multi-step process requiring use of the proper tools and equipment to achieve top-quality results. To help you get started, here's a brief overview of the polishing process and a checklist of basic equipment and supply needs, along with some buying tips.

E N D
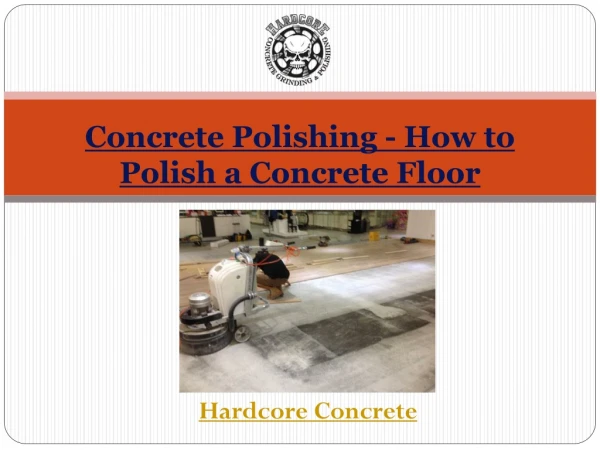
Polishing Concrete Floors to a High-Gloss Finish Polishing concrete floors to a polished stone finish is not difficult with the proper equipment and techniques. As with any other specialized technique, polishing is a multi-step process requiring use of the proper tools and equipment to achieve top-quality results. To help you get started, here's a brief overview of the polishing process and a checklist of basic equipment and supply needs, along with some buying tips. Note that each job will present different conditions and challenges, so be sure to consult with your equipment and material suppliers for recommendations as to the products best suited for your application. Step 1: Surface Preparation Before beginning the polished concrete process, it's necessary to bring the surface to its original polished state (if needed), then properly clean or etch it to provide sufficient roughness - usually 400- grit - for good adhesion when polished. Consult with your supplier regarding recommended procedures for cleaning polished concrete floors in specific situations involving existing finishes, contamination, sealing failures, etc . . Step 2: Sealing of Existing Concrete If the polished finish you are attempting to achieve is over an unsealed polished concrete floor, the new polished surface must be sealed. For best results, consult with your equipment and material supplier for recommendations on compatible sealers that will not diminish or reduce the polished appearance. Step 3: Priming of New Concrete or Existing Sealer At this point it's advisable to prime any new concrete polished floor (or existing polished concrete floors) to provide protection against staining and to improve adhesion when polishing. Consult with your equipment and material supplier for product compatibility as well as recommended application procedures. Step 4: Grinding/Abrasive Cutting or Diamond Compound Removal This step should be done by an experienced, professional concrete polisher who is thoroughly familiar with the desired polished concrete end-finish. Most polished concrete floors are polished using either diamond or silicon carbide abrasive cutting disks or pads on a floor grinder. The diamond saws are preferred for extremely hard super polished finishes where there's no need to have an immediate abrasion of the surface being polished. Concrete Removal Procedure Using Abrasive Cutting Tools Diamond Compound Polishing
Step 5: Grinding/Abrasive Removal or Diamond Surface Prep for Sealer Application The abraded polished finish should then be further refined using diamond compound on a damp pad, which quickly removes any residue from grinding, leaving a high-quality polished surface. Step 6: Final Surface Preparation and Applying the Sealer Following the polishing process, any such residue should be removed from polished concrete floors using a clean damp mop. The floor surface should then be dried to remove any moisture. The polished finish is then ready for sealer application, which can be done by either spraying or rolling/brushing the sealer onto the polished concrete floor. Consult your equipment and material suppliers for product compatibility and application procedures. An important point to remember about polished concrete floors is that once an appropriate foundation has been established, subsequent maintenance of polished concrete steps typically involves only periodically sweeping or lightly mopping to remove loose soil, then spot treating with an approved as necessary. In most cases it's not necessary to strip the polished concrete floor down to bare concrete for subsequent maintenance, although it can be done if needed. Step 7: Ongoing Maintenance of the polished finish Polished concrete floors are easily maintained by simply sweeping or lightly mopping with clean water and using an approved cleaner as necessary. Be mindful that most polished finishes are not sealed; therefore , periodically treating polished concrete floors with a quality sealer will help maintain the polished appearance over time. Today's durable polished finishes can last for years without needing to be refurbished unless they're subjected to rough use.