
Efficient MS Access 2010: Macros, Navigation Forms, PivotTables, and PivotCharts
E N D
Presentation Transcript
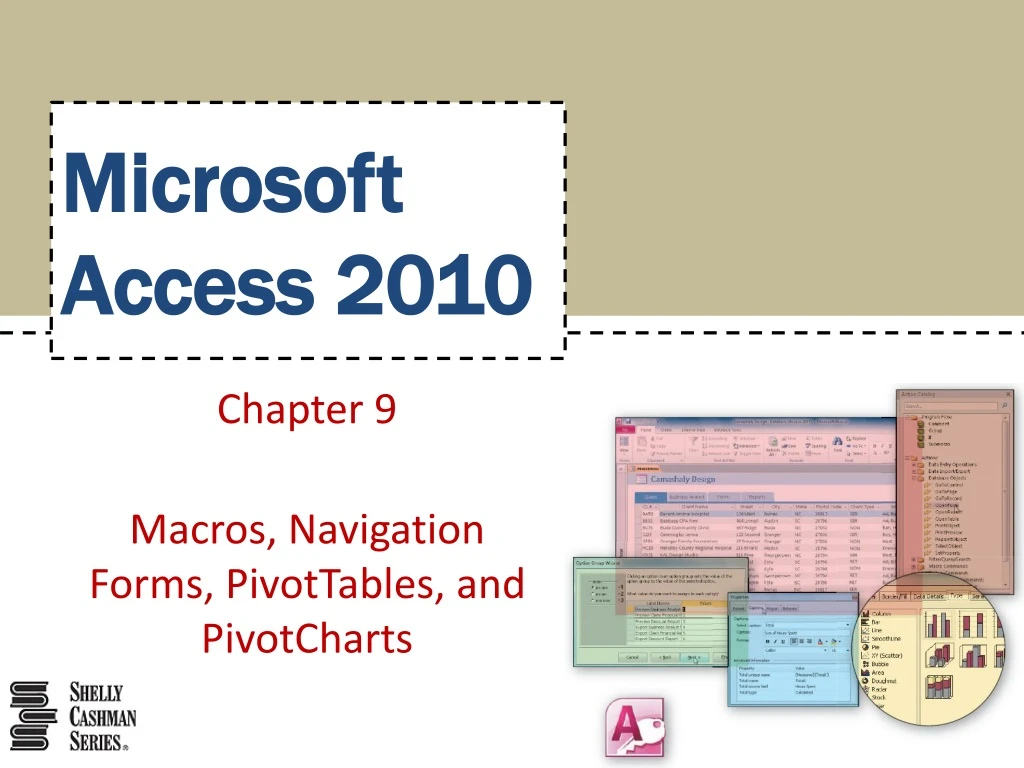
MicrosoftAccess 2010 Chapter 9 Macros, Navigation Forms, PivotTables, and PivotCharts
Objectives • Create and modify macros and submacros • Create a menu form with command buttons • Create a menu form with option groups • Create datasheet forms and user interface (UI) macros • Create navigation forms Macros, Navigation Forms, PivotTables, and PivotCharts
Objectives • Create data macros • Create a PivotTable • Change properties in a PivotTable • Use a PivotTable • Create a PivotChart and add a legend • Change properties in a PivotChart • Use a PivotChart Macros, Navigation Forms, PivotTables, and PivotCharts
Project – Macros, Navigation Forms, PivotTables, and PivotCharts Macros, Navigation Forms, PivotTables, and PivotCharts
Project – Macros, Navigation Forms, PivotTables, and PivotCharts Macros, Navigation Forms, PivotTables, and PivotCharts
Project – Macros, Navigation Forms, PivotTables, and PivotCharts Macros, Navigation Forms, PivotTables, and PivotCharts
Project – Macros, Navigation Forms, PivotTables, and PivotCharts Macros, Navigation Forms, PivotTables, and PivotCharts
General Project Guidelines • Determine when it would be beneficial to automate tasks in a macro • Determine whether it is appropriate to create a navigation form • Determine the organization of the navigation form • Determine whether it is appropriate to present data as a PivotTable • Determine the organization of the PivotTable • Determine whether it is appropriate to present data as a PivotChart • Determine the organization of the PivotChart Macros, Navigation Forms, PivotTables, and PivotCharts
Begin Creating a Macro • Click the Macro button (Create tab | Macros & Code group) to create a new macro Macros, Navigation Forms, PivotTables, and PivotCharts
Adding an Action to a Macro • Double-click the Submacro element from the Program Flow section of the Action Catalog to add a submacroand then type the desired submacro name • Click the expand indicator for the Database Objects category of actions to display the actions within the category • Double-click the desired action to add it to the submacro • Change the arguments as desired • Click the Save button on the Quick Access Toolbar, type the desired macro name, and then click the OK button to save the macro Macros, Navigation Forms, PivotTables, and PivotCharts
Adding an Action to a Macro Macros, Navigation Forms, PivotTables, and PivotCharts
Creating a Menu Form Containing Command Buttons • Click the Form Design button (Create tab | Forms group) to create a blank form in Design view • If a field list appears, click the Add Existing Fields button (Form Design Tools Design tab | Tools group) to remove the field list • Save the form with the desired name • Make sure the Use Control Wizards button is selected • Click the Button tool (Form Design Tools Design tab | Controls group) and then click the desired position to display the Command Button Wizard dialog box • Click Miscellaneous in the Categories box, and then click Run Macro in the Actions box Macros, Navigation Forms, PivotTables, and PivotCharts
Creating a Menu Form Containing Command Buttons • Click the Next button to display the next screen in the wizard • Click the desired macro to run • Click the Next button to display the next Command Button Wizard screen • Click the Text option button • Type the desired text to appear on the button • Click the Next button • Click the desired button name • Click the Finish button to finish specifying the button Macros, Navigation Forms, PivotTables, and PivotCharts
Creating a Menu Form Containing Command Buttons Macros, Navigation Forms, PivotTables, and PivotCharts
Creating a Menu Form Containing an Option Group • Click the Form Design button (Create tab | Forms group) to create a blank form in Design view • If a field list appears, click the Add Existing Fields button (Form Design Tools Design tab | Tools group) to remove the field list • Save the form using the desired name • Click the More button (Form Design Tools Design tab | Controls group) to display the gallery of available tools • With the Use Control Wizards button selected, click the Option Group tool (Form Design Tools Design tab | Controls group) and then click the desired location to start the Option Group Wizard Macros, Navigation Forms, PivotTables, and PivotCharts
Creating a Menu Form Containing an Option Group • Type the name for each label in its own row, pressing the DOWN ARROW after each label name • Click the Next button to move to the next Option Group Wizard screen • Click the ‘No, I don’t want a default’ option button to select it • Click the Next button to move to the next Option Group Wizard screen and then verify that the values assigned to the labels Macros, Navigation Forms, PivotTables, and PivotCharts
Creating a Menu Form Containing an Option Group • Click the Next button to move to the next Option Group Wizard screen, and then select the desired style • Click the Next button to move to the next Option Group Wizard screen and then type the desired caption • Click the Finish button to complete the addition of the option group Macros, Navigation Forms, PivotTables, and PivotCharts
Creating a Menu Form Containing an Option Group Macros, Navigation Forms, PivotTables, and PivotCharts
Using an If Statement Macros, Navigation Forms, PivotTables, and PivotCharts
Creating a Macro for an Option Group • With the option group selected, display a property sheet • If necessary, click the All tab • Click the After Update property • Click the Build button to display the Choose Builder dialog box • With Macro Builder selected in the Choose Builder dialog box, click the OK button to create a macro Macros, Navigation Forms, PivotTables, and PivotCharts
Creating a Macro for an Option Group • If necessary, click the Action Catalog button (Macro Tools Design tab | Show/Hide group) to display the Action Catalog • Expand the desired category • Double-click the desired action to add the action to the macro • Type the desired Name argument and Expression argument Macros, Navigation Forms, PivotTables, and PivotCharts
Creating a Macro for an Option Group Macros, Navigation Forms, PivotTables, and PivotCharts
Adding Actions to a Macro • Double-click the element from the desired section of the action catalog Macros, Navigation Forms, PivotTables, and PivotCharts
Adding Actions to a Macro Macros, Navigation Forms, PivotTables, and PivotCharts
Creating Datasheet Forms that Incorporate UI Macros • Open the desired table • Display the Create tab and then click the More Forms button (Create tab | Forms group) to display the More Forms menu • Click Datasheet to create a datasheet form • Save the form using the desired name • Click the desired heading in the datasheet Display the property sheet • Click the Event tab to display only event properties Macros, Navigation Forms, PivotTables, and PivotCharts
Creating Datasheet Forms that Incorporate UI Macros • Click the desired event and then click the Build button to display the Choose Builder dialog box • Add the desired action(s) to the macro Macros, Navigation Forms, PivotTables, and PivotCharts
Creating a Navigation Form • Click the Create tab and then click the Navigation button (Create tab | Forms group) to display the menu of available navigation forms • Click Horizontal Tabs in the menu to create a form with a navigation control in which the tabs are arranged horizontally in a single row • If a field list appears, click the Add Existing Fields button (Form Layout Tools Design tab | Tools group) to remove the field list • Save the form using the desired name • Click the form title twice: once to select it and the second time to produce an insertion point • Type the desired title, and then save the form Macros, Navigation Forms, PivotTables, and PivotCharts
Creating a Navigation Form Macros, Navigation Forms, PivotTables, and PivotCharts
Adding Tabs to a Navigation Form • Drag the form to the [Add New] placeholder to add a new tab • Two rename a tab, click the tab to rename twice: one to select it and the second time to produce an insertion point • Change the tab name as desired Macros, Navigation Forms, PivotTables, and PivotCharts
Adding Tabs to a Navigation Form Macros, Navigation Forms, PivotTables, and PivotCharts
Creating a Date Macro Macros, Navigation Forms, PivotTables, and PivotCharts
PivotTables Macros, Navigation Forms, PivotTables, and PivotCharts
PivotTables Macros, Navigation Forms, PivotTables, and PivotCharts
Creating a PivotTable • Open the Navigation Pane, right-click the desired query, click Open on the shortcut menu, and then close the Navigation Pane • Click the View button arrow to display the View button menu • Click PivotTable View to switch to the PivotTable view of the query • If the PivotTable Field List does not appear, click the Field List button (PivotTable Tools Design tab | Show/ Hide group) to display the field list • Click the field to add to the row area, and ensure Row Area appears next to the Add to button Macros, Navigation Forms, PivotTables, and PivotCharts
Creating a PivotTable • Click the Add to button to add the selected field to the row area • Click the Add to box arrow to display a list of available areas • Click Column Area, click the field in the field list to add to the column area, and then click the Add button • Click the Add to box arrow, click Data Area, click the field to add to the data area, and then click the Add to button • Close the PivotTable Field List by clicking Field List button (PivotTable Tools Design tab | Show/Hide group) Macros, Navigation Forms, PivotTables, and PivotCharts
Creating a PivotTable Macros, Navigation Forms, PivotTables, and PivotCharts
Changing Properties in a PivotTable • Click the desired column heading, and then click the Property Sheet button (PivotTable Tools Design tab | Tools group) to display a property sheet • Click the Captions tab in the property sheet • Delete the current entry, and then type the desired caption Macros, Navigation Forms, PivotTables, and PivotCharts
Changing Properties in a PivotTable Macros, Navigation Forms, PivotTables, and PivotCharts
Using a PivotTable Macros, Navigation Forms, PivotTables, and PivotCharts
Using a PivotTable Macros, Navigation Forms, PivotTables, and PivotCharts
PivotCharts Macros, Navigation Forms, PivotTables, and PivotCharts
PivotCharts Macros, Navigation Forms, PivotTables, and PivotCharts
Creating a PivotChart and Adding a Legend • Open the query from which to create a PivotChart • Click the View button arrow, and then click PivotChart View • If the Chart Field List appears, close the field list by clicking the Field List button (PivotChart Tools Design tab | Show/Hide group) • Click the Legend button (PivotChart Tools Design tab | Show/Hide group) to display a legend Macros, Navigation Forms, PivotTables, and PivotCharts
Creating a PivotChart and Adding a Legend Macros, Navigation Forms, PivotTables, and PivotCharts
Changing the Chart Type • If the Change Chart Type button is dimmed, click the Chartspace • Click the Change Chart Type button (PivotChart Tools Design tab | Type group), and then, if necessary, click the Type tab to display the available chart types • Click the desired chart category and chart type Macros, Navigation Forms, PivotTables, and PivotCharts
Changing the Chart Type Macros, Navigation Forms, PivotTables, and PivotCharts
Changing the PivotChart Orientation • Click the Switch Row/Column button (PivotChart Tools Design tab | Active Field group) to change the organization Macros, Navigation Forms, PivotTables, and PivotCharts
Assigning Axis Titles • Click the desired axis title, and then display the property sheet • Click the Format tab in the Properties window, and then click the Caption box • Type the new caption Macros, Navigation Forms, PivotTables, and PivotCharts
Assigning Axis Titles Macros, Navigation Forms, PivotTables, and PivotCharts
Removing Drop Areas • Click the Drop Zones button (PivotChart Tools Design tab | Show/Hide group) to remove the drop zones Macros, Navigation Forms, PivotTables, and PivotCharts