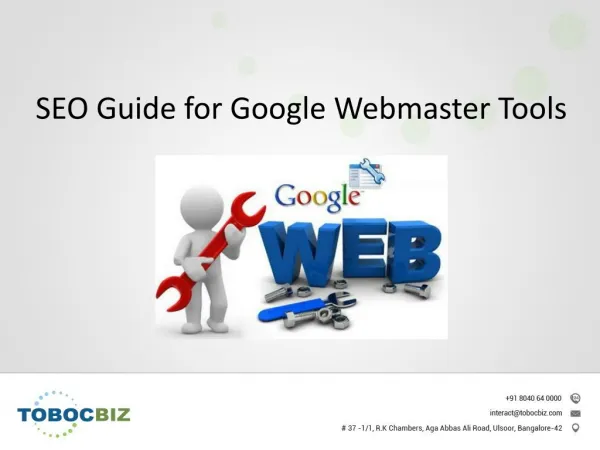
SEO Guide for Google Webmaster Tools
140 likes | 164 Vues
Learn how to optimize your website using Google Webmaster Tools. Get insights into indexing, rankings, and more for effective SEO efforts.

SEO Guide for Google Webmaster Tools
E N D
Presentation Transcript
Contents • Introduction: Google Webmaster Tools • Verification • Site Dashboard • Site Messages • Site Settings • Search Appearance • Search Traffic • Google Index • Crawl • Malware • Additional Tools • Labs
Intro : Google Webmaster Tool • Google's Webmaster Tools are essential for any strong SEO effort. • It helps you see your website as Google sees it. • The toolset gives you insights into what pages have been indexed on your site, what links are pointing to it, your most popular keywords, and much more. • A site that's active in Webmaster Tools has a better shot at being fully indexed and ranking well.
Verification • Before you can access any data on your site, you have to prove that you're an authorized representative of the site. This is done through a process of verification. • There are five main methods of verification currently in place for GWT. • \
Verification Methods • The HTML file upload. Google provides you with a blank, specially named file that you just have to drop in the root directory of your site. • HTML tag. Clicking on this option will provide you with a metatag that you can insert into the head of your home page. • Domain Name Provider. Select your Domain Name provider from the drop down list and Google will give you a step by step guide for verification along with a unique security token for you to use. • Google Analytics. If the Google account you're using for GWT is the same account as for GA, is an admin on the GA account, and you're using the asynchronous tracking code, then you can verify the site this way. • Google Tag Manager. This option allows you to use the Google Tag Manager to verify your site.
Site Dashboard • Now that you're verified, you can log in and start to examine the data for your site. • The first screen you'll see is the dashboard. This gives you a quick view into some of the more pertinent information for your site, along with any new messages from Google.
Site Messages • When Google wants to communicate with a webmaster, this is the place they'll do so. • There may be messages that inform you that you have pages infected with malware, unable to access the website, they've detected a large number of pages on your site, which may be an indication of other problems. • Not all messages are bad. Sometimes we can get congratulate msg that we have an increase in traffic to one or more of your pages.
Settings • Clicking on the gear icon in the top right gives you access to the tools that formerly resided in the Configuration menu item.
Site Settings • Here you can tell Google some things about your site if you're not able to tell them in other ways. • If you have a .com site, hosted in India, but it's targeted to the US, there aren't too many signals to the search engines that that's your intention. In this tab you can set your geographic target to the UK, which informs Google of your intentions for this site. • You can also set your preferred domain – whether you want the site to show up in the search results with the www or without the www. • The crawl rate option allows you to slow down the rate of Google's spider's crawl. You’ll only do this if you have witnessed server issues due to Google's crawling.
Change of Address • You decide to migrate your entire site to a new domain, this is where you let Google know. • Once you've set up your new site, permanently redirected the content from your old site to your new using a 301 redirect, added and verified your new site on GWT, then you come to this option and inform Google of the move.
Google Analytics Property • If you'd like to be able to see your GWT data in Google Analytics (GA), you can use this tool to associate a site with a GA account. • Simply select any currently linked GA account to associate it with this site. If you don't have a GA account, you have the option to create one here.
Users & Site Owners • Here you can see a list of all authorized users on the account, and their level of authorization. • Owners have permission to access every item on the site. • Users with "Full" permission can do everything except add users, link a GA account and inform Google of a change of address. • Users with "Restricted" permission have the same restrictions as those with "Full" permission plus the following: they only have viewing capabilities on configuration data, cannot submit sitemaps or request URL removals, cannot submit URLs, cannot submit reconsideration requests, and only have the capability to view crawl errors & malware notifications
Verification Details • This lets you see any verification issues / successes. • It gives displays the list of Verification attempts by Google to verify the website
Interesting, right? This is just a sneak preview of the full presentation. We hope you like it! To see the rest of it, just click here to view it in full on PowerShow.com. Then, if you’d like, you can also log in to PowerShow.com to download the entire presentation for free.