Download
1 / 9
90 likes | 93 Vues
Check out here how to do wet sanding drywall in simple steps. Material Required: Chalk line, Sanding sponge, Mud Pan, Screw gun.<br><br>For more information: https://housedecorationtip.com/wet-sanding-drywall/

E N D
How to do Wet Sanding Drywall to Avoid Dust? Are you thinking of painting your walls? Well… It’s a pretty good start in the process of transforming your house. There are certain ways from that you can effortlessly change your space without getting a headache, and one of the brilliant ways is painting. It is an affordable way and also a super easy and fun activity to do. You’ll be surprised by the after-results. Paint may come in small containers, but believe us, it can create magic!! But to get the perfect smooth-looking walls, you have to follow a certain procedure for wet sanding drywall. Yes, this is a very important step because if you don’t do the sanding properly, you might end up with rough and patchy-looking walls. To avoid that situation today, we bring a step-by-step guide on how to wet sand drywall. So keep on reading for further info. Why We Sand the Walls? For the first-timers, you might have questions like What is sanding? Why we do it? Here’s the answer to it. We sand the walls to remove any old paint and to smooth out the uneven surface of the walls. After sanding, you’ll get the perfect area to show your creativity.
What is a Wet Sanding Drywall? Source: homedepot.com So sanding is basically is of two types: wet sanding and dry sanding, and after reading the names, you’ll get some idea about these. We use pretty similar tools in both cases, but the only difference is that in wet sanding, we use a liquid to make the whole process easy.
We know that the dry sanding gives much more finished results but with this polished look, we also get dust and dirt that spread all over the space. In addition, you have to wear a dust mask, and after you are done with the sanding, you’ll feel like your apartment is drowning in the sand. So it’s time to leave that hectic method and choose a simpler way to do this, and what other option is better than wet sanding, it is dustless and way easier than dry sanding. After reading till this point, I hope you have got a fair idea about wet sanding (dustless drywall sanding) so, let’s start with the procedure. Materials Required ● Chalk line ● Sanding sponge ● Straightedge ● Mud Pan ● Screw gun ● Tape measure ● Taping knife
Procedure Here are 3 simple steps by which you can sand the walls without getting irritated: Source: pinterest.com
1. Fill the Lukewarm Water The first step to take warm water in a bucket and then put your sanding sponge in it. Don’t forget to wring out the sponge to get rid of excess water as they are pretty good in that. Repeat this 2-3 times to make sure that the sponge is ready for sanding. 2. Use the Abrasive Side of Sponge Start with the first round of sanding with a full soaked sponge and move it in circular motions. It is always good to start with the high spots on the wall. You can also use sandpaper for this because these spots are pretty tough to get rid of. So if you’re using a sponge, then use its abrasive side to remove all the bumps on the walls. Now, your first round of sanding is complete. 3. Switch the Side In the second round, use a dry sponge (not completely, little damped sponge) and start in circulating strokes. This is the final step, and after carefully performing all these steps, you’ll surely be happy with the results.
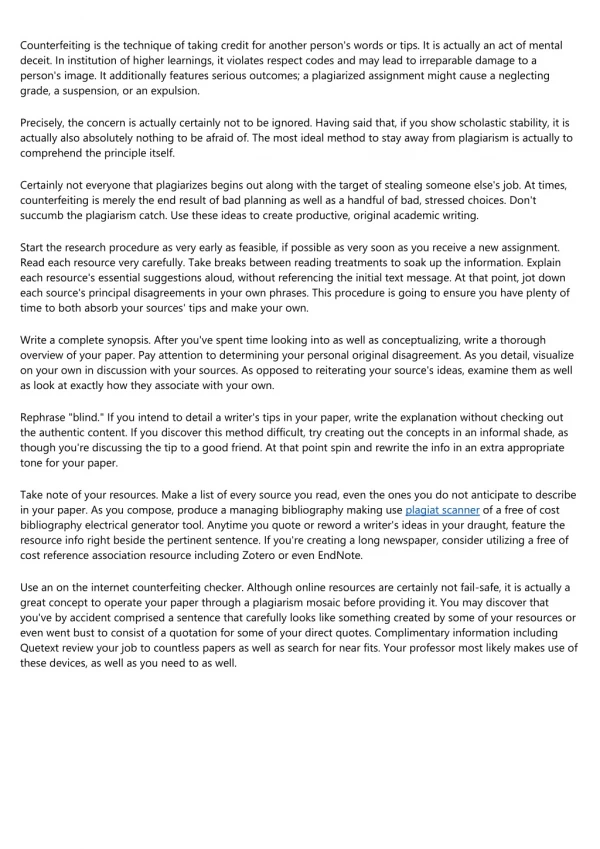
Handy Tips For You: Before and After Sanding Drywall With a Sponge- pics Source: familyhandyman.com
Source: familyhandyman.com Here are some of the pics of before, and after the sanding drywall, after looking at them, you surely want your walls to look like them.
Below are some useful tips for you: ● Always start with the slow and light circular motions so that your drywalls won’t get damage. ● Use less pressure on your hand in the final round, so walls get a polished look. ● If the wall is too dirty and has a lot of smears, it’s pretty hard for cleaning them up. If this is the case, then what you have to do is wet the sponge more than before and try to clean it out. ● Don’t forget to squeeze out your sponge after every time you sand your wall. ● Sanding in two rounds is perfect for any drywall, and if you do it more than that, there might be chances to get the drywall paper too wet. Source: cgainfrastructure.ro
Concluding Thoughts So, this is the whole procedure in 3 simple steps. We are pretty sure that you’ll get a fair idea of how to wet sand drywall. So, why wait! Start with the procedure right now, and we have no doubt that you’ll end up painting your walls in stunning and beautiful colors, and if you have any doubt feel free to visit Housedecorationtip. Here you will not only find the most amazing ways to decorate your home but also much more interesting stuff. Contact Us : Website : https://housedecorationtip.com Email Id : housedecorationtip@gmail.com To Connect With Us Visit