Download

1 / 15
150 likes | 233 Vues
Complete procedure of HP Laptop Disassembly call on Hp helpline number 1-800-958-239 or visit our website here http://hp.supportnumberaustralia.com

E N D
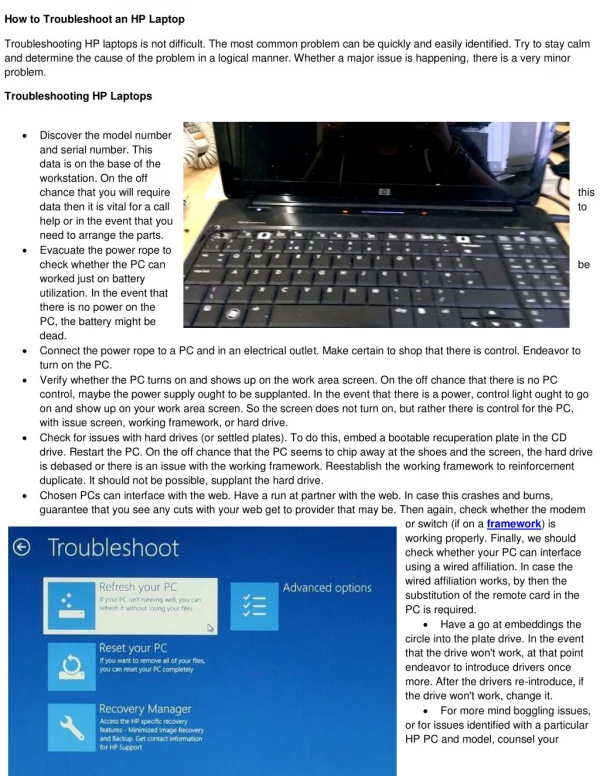
HP laptops are not only portable but also allow professionals to transfer the entire file cabinet's worth of information from one website to another. This feature can also ruin the entire laptop system. Reason being its compact size blocks airflow and HP laptops are prone to overheating. If Hewlett Packard's fan isn't working properly, then don't waste time in replacing it
8. Now, turn the laptop panel and open the display. Now, you have to use a flat-head screwdriver, separate the upper section of the keyboard. This is the component which is closest to display panel.
9. Now, remove the keyboard's upper screws which are placed near 'F' keys.
10. Now, elevate keyboard only to see its ribbon cable connection to the motherboard. In case, if the ribbon cable is protected with a locking cover, lift that cover and safely take out cable from the motherboard socket. If the connector shows locking tabs, force and holds the tab as you take out the cable from the socket. Lift up the keyboard.
11. Find the LED board socket, labeled on the motherboard. Hold the connector with your thumb and carefully unplug the wire which connects the LED board to the motherboard. Follow the same procedure for video display, webcam, power button, two antenna connections and touchpad, if required.
12. Now, remove the nuts from the display panel hinges. Hold the panel to prevent it from falling during the removal of the last screw.
13. Pull off the top cover and unplug the cables connected to USB ports, power jack and the audio jacks from the laptop.
14. Release the nuts from the motherboard and carefully hold the motherboard from the laptop case.
15. Release the screws from your HP's fan or cooling assembly, unplug its connector and take it out of your laptop case.
16. Fit new fan or cooling assembly in the laptop case, tight the screws and plug in its power connector.
17. For reassembling HP laptop, follow steps 4 through 16 in reverse order.
Contact HP Support by phone number Australia for any issue with the steps explained above at 1-800-958-239.Original Source