Download
1 / 9
90 likes | 306 Vues
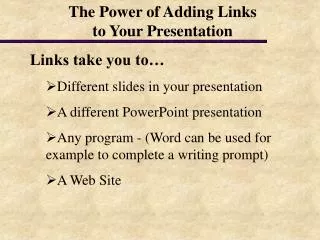
The Power of Adding Links to Your Presentation. Links take you to… Different slides in your presentation A different PowerPoint presentation Any program - (Word can be used for example to complete a writing prompt) A Web Site. Try The Links Below…. What can be linked?

E N D
The Power of Adding Links to Your Presentation • Links take you to… • Different slides in your presentation • A different PowerPoint presentation • Any program - (Word can be used for example to complete a writing prompt) • A Web Site
Try The Links Below… • What can be linked? • Text Sample Link • Clipart/Pictures • Action Buttons
Adding a Link • The process is basically the same for linking text or clipart to another slide, presentation, web site, etc. • 1. Highlight your text or click and select a piece of clipart. • 2. Click Slide Show from the pull down menu and select Action Settings 3. Click Hyperlink to: and select where you want your hyperlink to go. It could be another slide, a web site or another presentation 4. After making your selection click OK Choose one of the following
Adding Action Buttons 1. Click Slide Show from the pull down menu and select Action Buttons 2. A menu will fly out so you can select an appropriate button 3. Once you choose a button your cursor will turn into a cross 4. Click and hold your mouse button to draw an action button to the desired size 5. Once you are done drawing your button the same box from the previous page will appear. Follow the same procedure to assign a link for the button.
Improve the Flow of Your Presentation Since your presentation does not always follow a linear format, it is a good idea to remove the ability to transition from slide to slide by mouse click. To add or remove the mouse click option, click Slide Show from the pull down menu and then select Slide Transition. Under Advance, click in front of On mouse click to remove the mark. The check is there by default. Lastly, click Apply or Apply to All depending on your needs.
Save Your Presentation as a Show Once your presentation is complete you should save it as a PowerPoint show. By saving it as a show, the end user only needs to double-click on the file to begin the presentation. It will also prevent changes from being made to your presentation since the menus, etc. are not available. To save your presentation as a show, first save any changes you have made then click File and choose Save As. Click the down arrow where it says Save as type and select PowerPoint Show. To finish, click Save