Download
1 / 3
30 likes | 56 Vues
Open the packaging pail nozzle and push the container filler to the base of the jug. NOTE: Fill each container right to the top. At the beer store hours Sarnia point when you expel the container filler, it will leave the ideal measure of room at the head of the jug.

E N D
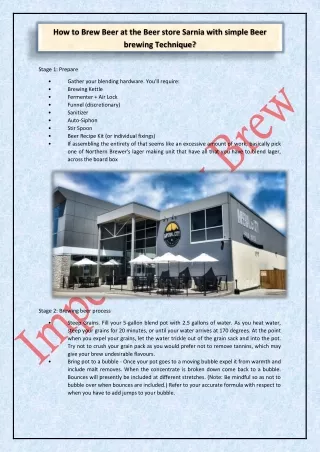
How to Brew Beer at the Beer store Sarnia with simple Beer brewing Technique? Stage 1: Prepare • • • • • • • • • Gather your blending hardware. You'll require: Brewing Kettle Fermenter + Air Lock Funnel (discretionary) Sanitizer Auto-Siphon Stir Spoon Beer Recipe Kit (or individual fixings) If assembling the entirety of that seems like an excessive amount of work, basically pick one of Northern Brewer's lager making unit that have all that you have to blend lager, across the board box Stage 2: Brewing beer process • Steep Grains. Fill your 5-gallon blend pot with 2.5 gallons of water. As you heat water, steep your grains for 20 minutes, or until your water arrives at 170 degrees. At the point when you expel your grains, let the water trickle out of the grain sack and into the pot. Try not to crush your grain pack as you would prefer not to remove tannins, which may give your brew undesirable flavours. Bring pot to a bubble - Once your pot goes to a moving bubble expel it from warmth and include malt removes. When the concentrate is broken down come back to a bubble. Bounces will presently be included at different stretches. (Note: Be mindful so as not to bubble over when bounces are included.) Refer to your accurate formula with respect to when you have to add jumps to your bubble. •
• Cool your sugar water as fast as could be expected under the circumstances. This should be possible one of two different ways: Ice Bath - Simply set pot into a sink loaded up with cold water. Use a wort (sugar water) Insert chiller into your wort. Cold water from your tap through the chiller and out towards sink. A sugar water chiller is the best way, yet either will get you the ideal outcomes. • Stage 3: Ferment Remember to disinfect every one of your provisions if possible with the beer store Sarnia! At that point... • Pour cooled wort into the fermenter. Some mix pots even have a valve for simple transportation from your pot to your fermenter. Add water to carry the level to 5 gallons. Aerate wort by sprinkling it around in its holder. Yeast need oxygen, and sprinkling your wort will help. Add yeast. Dry yeast is the least demanding, as you don't need to set it up in advance. Clean the yeast pack + scissors, cut the corner off the yeast pack, and empty the yeast into the fermenter. Seal your fermenter, include a maturation isolated space, and store in a dim cool spot. Beers should remain at 68 degrees to age appropriately. • • • • Stage 4: Bottling brewing beer process After aging is finished, commonly inside about fourteen days, it's an ideal opportunity to bottle your brew.
• Cleanse everything: bottles, bottle filler, bottle tops, packaging can, and any exchange hoses utilized. Utilize a jug brush on your jugs. Boil your preparing sugar in 16 oz of water. After it cools, add it straightforwardly to the packaging can. Transfer your lager. Siphon the brew out of your fermenter and into your packaging can. Leave however much silt in the fermenter as could reasonably be expected. • • • Fill the jugs. Append bottle filler to hose, and hose to packaging can nozzle. Open the packaging pail nozzle and push the container filler to the base of the jug. NOTE: Fill each container right to the top. At the beer store hours Sarnia point when you expel the container filler, it will leave the ideal measure of room at the head of the jug. Cap the containers with tops and a jug capper. Store the containers at room temperature for about fourteen days. This gives your lager time to carbonate. • • You did it. You made lager. All that is left to do is. • • Refrigerate Enjoy