Designing and Testing a Bridge: A Comprehensive Team Project Presentation
The JAC team invested significant effort into this project, culminating in a PowerPoint presentation that details our process in bridge design and testing. This presentation covers our selection of materials such as bosel wood and glue, and outlines a step-by-step procedure from conceptualization to construction. We meticulously designed our bridge to ensure it met weight requirements while minimizing materials. Our findings on strength tests and potential areas for improvement are included, emphasizing teamwork and learning through experimentation.

Designing and Testing a Bridge: A Comprehensive Team Project Presentation
E N D
Presentation Transcript
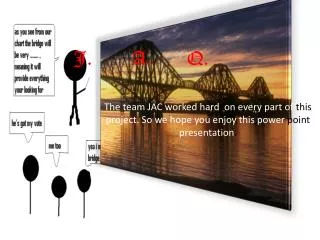
J. A. Q. The team JAC worked hard on every part of this project. So we hope you enjoy this power point presentation.
Tools/materials used • Bosel wood • thread • Different types of glue • News paper • Sticks
Step 1 :Step by Step procedure • We decide which bridge design would we have too make to ensure our bridge holds a lot of weight, meet the requirements, making it look as presentable as possible, while at the same time using little material as possible. Just in case you need to make changes later on in the project.
Step 2 :Step by Step procedure • Draw out the model we thought of. Put down the measurements we are suppose to use, so we can have our scale.
Step 3 :Step by Step procedure • Build the model from the picture we drew based on measurements and the requirements.
Step 4 :Step by Step procedure • Test out the strength to weight ratio of our bridge. And see were we could make improvements were the bridge tool the most damage.
Acknowledgements • The first acknowledgment I saw in our bridge is that the top part caved in as soon as the board touched it. I think we could have supported the upper part of the bridge a little bit better.
Acknowledgements • The base held up pretty good it survived longer than we expected. If we