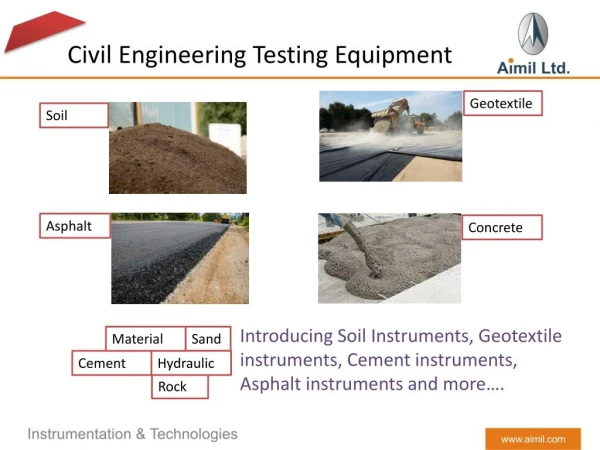
Testing of Cement
360 likes | 2.15k Vues
Testing of Cement. Field Test. Colour Physical properties Presence of lumps Strength. Colour. Colour should be uniform Typical cement colour (gray colour with light greenish shade) It gives an indication of excess of lime or clay and the degree of burning. back. Physical properties.

Testing of Cement
E N D
Presentation Transcript
Field Test • Colour • Physical properties • Presence of lumps • Strength
Colour • Colour should be uniform • Typical cement colour (gray colour with light greenish shade) • It gives an indication of excess of lime or clay and the degree of burning. back
Physical properties • Feel smooth when touched or rubbed in between fingers. • If felt rough, indicates adulteration with sand. • If hand is inserted in cement bag, hand feels cool and not warm. • If it immersed in water, it should sink and should not float • A paste of cement feel sticky • If it contains clay & silt as adulterant, it give earthy smell. back
Presence of Lumps • It should free from hard lumps. • It is due to the absorption of moisture from atmosphere. • If a bag contains lumps it should be rejected. back
Strength • It is tested by three methods: • Briquettes with a lean or weak mortar are made (75mm x 25mm x 12mm). • The proportion of cement & sand is 1:6. • Immersed in water for 3 days. • If cement is good it will not be broken easily and difficult to convert powder form.
2. A block is prepared (25 x 25 x 200) and immersed in water for 7 days. • Then it is placed on supports 150 mm apart and loaded 340N. • It should not show signs of failure. 3. Thick paste of cement with water is made on thick glass and kept in water for 24 hours. • It should set and not crack.
Laboratory test for Cement • When cement is loose: • Sample is taken from at least 12 points from heap. • When cement is in bags: • At least from 12 different packages or bags.
Purpose of testing • To determine physical & chemical properties • To regulate the various stages in manufacturing • Behavior of cement
Standard Tests • Chemical composition • Fineness • Compressive strength • Tensile strength • Consistency • Setting time • Soundness
Chemical Composition • Ratio of alumina to iron oxide < 0.66 • Lime saturation factor (LSF): • Ratio of lime to Al2O3, Fe2O3 & SiO2 0.66 > and < 1.22 CaO – 0.7 so3 2.8 sio2 + 1.2 al2o3 + 0.65 fe2o3
Total loss on ignition should < 4% • Total Sulphur content < 2.75% • Weight of insoluble residue < 1.5% • Weight of Magnesia < 5%
Fineness • Sieve test is conducted with the standard BIS sieve no. 9. • 100g is taken and sieved for 15 min • The residue should < 10% • In Permeability apparatus test, specific surface area is calculated; • It should not < 2250 cm2/g • It gives the idea of uniformity of fineness
Compressive strength • Mortar of cement & sand is prepared, 1:3. • Water is added, water cement ratio 0.4:1 • It is placed in moulds & form cubes of sides 70.6 or 76 mm. • The cement required is 185 or 235g • Compacted in vibrating machine in 2 min. • Moulds placed in damp cabin for 24 hrs • Specimens are removed & placed in water for curing.
It is tested in compressive testing machine after 3 and 7 days. • Every side is calculated and average is taken. • For 3 days: > 115 kg/cm2 or 11.5 N/mm2 • for 7 days: > 175 kg/cm2 or 17.5 N/mm2
Tensile Strength • Formerly used to have indirect indication for compressive strength • At present used for rapid hardening test. • Procedure: • Mortar is prepared cement(1) : Sand (3) • Water is added 8% • Mortar is placed in briquette moulds.
Typical briquette is formed. • A small heap is formed at its top. • It is beaten down by a standard spatula till water appears on the surface. • Same procedure is repeated for other sides of briquettes. • 12 standard briquettes are prepared • The quantity of cement may be 600g for 12 briquettes
It is kept in damp cabin for 24 hrs. • It is carefully removed from mould and submerged in clean water for curing. • It is tested in testing machine after 3 and 7 days. • The load is applied at the rate of 35 kg/cm2 • The cross section of briquettes at least section is 6.45 cm2 • Ultimate tensile stress = failing load 6.45
After 3 days: > 20 kg/cm2 • After 7 days: > 25 kg/cm2
Consistency • It is used to determine the % of water required for preparing cement pastes for other tests • Procedure: • Take 300g cement, add 30% or 90g of water • Mix water and cement on a non-porous surface. Mixing should be done.
Fill the mould of Vicat apparatus. • The interval between the addition of water to the commencement of filling the moulds is known as the time of gauging.