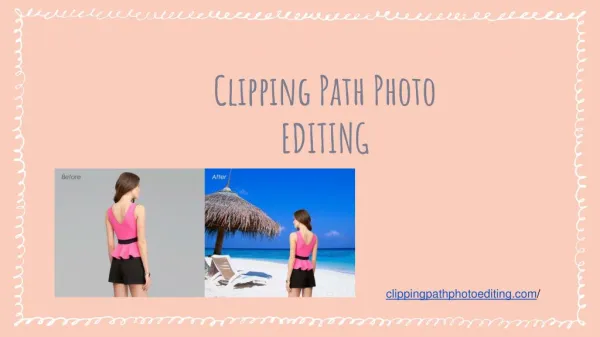
Clipping Path Procedure
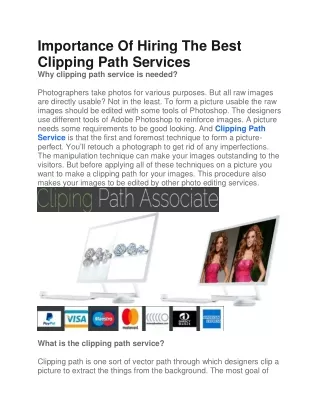
Dear,<br><br>Hope you are doing well. We are Overnight Graphics! <br><br>Overnight Graphics is the all kind of graphic design related services provider. <br><br>Our Services : <br>Clipping path, <br>Image Masking, <br>Photo Retouching, <br>Invisible Mannequin, <br>Banner Design, <br>Raster to Vector, <br>Logo design, <br>Background Erase Shadow, <br>Image manipulation Newspaper, <br>Magazine advertisement design, <br>Newspaper/ magazine Page makeup, <br>Illustration Page etc, <br><br>Our 100 plus experienced graphics design based manpower are available 24 hours 7 days in a week around the year <br><br>with offices in USA, Denmark, Canada, and Bangladesh. If you need image clipping path or other graphical work you <br><br>can contact with us. We have 8 years working experience. <br><br>You can see our portfolio from here: <br>https://www.overnightgraphics.com/portfolio/ <br><br>https://www.overnightgraphics.com/blog/ <br><br>https://www.overnightgraphics.com/clipping-path/ <br><br>Please Feel Free Contact with Us: https://www.overnightgraphics.com/contact/ <br>Email : info@overnightgraphics.com <br>Skype ID : dipakrsaha <br>Web : www.overnightgraphics.com <br>Thanks & Regards Dipak R. Saha(COO) <br>Overnight Graphics 410 Mercedes Street Benbrook, <br>TX - 76126 USA Tel: 1-888-340-9240

Clipping Path Procedure
E N D
Presentation Transcript
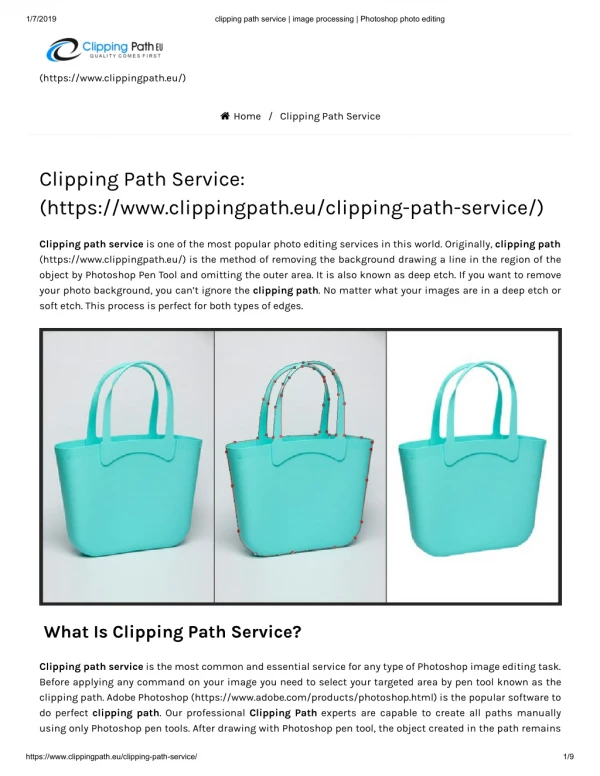
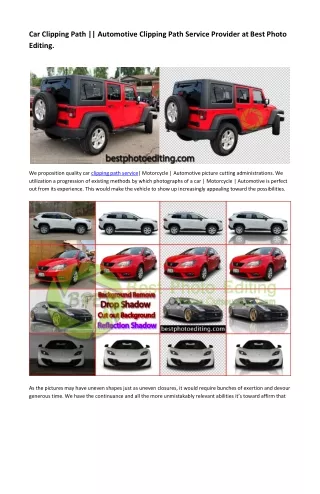
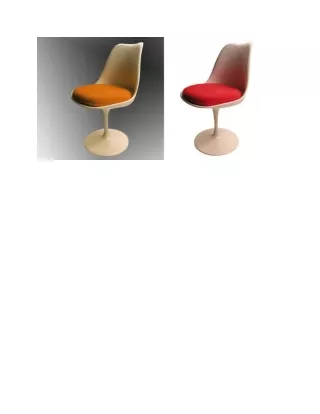
Clipping Path Techniques Clipping path is a closed vector path or shape, typically drawn with the pen tool to clipping path desired image from its background. In one-word clipping paths means isolating the background from an image with the help of Photo Editing software. The point when clipping path is connected to a picture, anything inside the path is included and everything outside the path is excluded. Clipping path referred as a ‘closed vector path’ or ‘shape’ which is also known as clipping path an image from the background. Clipping Path is providing pretty figures to a picture, change or committing experience in a picture and furthermore in making layouts. How To Do Clipping Path This can be done with any professional photo editing tool like Photoshop, Illustrator, Indesign. One should have strong knowledge to achieve best results. For a beginner it is impossible or very hard to go with these software. If you are beginner don’t panic! We will help you. Follow our guide to achieve best possible results. Step 1 Open an image in Photoshop you want to use for your clipping path tutorial (go to the file menu in Photoshop and select open, from the open dialogue box choose the file you want to use and then click open Step 2 Once you have got the file open in Photoshop, select the “Pen Tool” from the tool box. Make sure that you have selected “Paths” from the pen tool menu bar which is located underneath of the main Menu bar. Step 3 Now click on the image edge and drag the mouse pointer towards the next step and release the mouse. After an appropriate distance, again click on the image edge and continue in the same manner until you have completed moving around the image and finally see this “o” symbol. This “O” symbol means you are going to close the path. Click on it (starting point) in order to close the path. Step 4 Go to “pop up” menu from the Paths palette and select “Clipping Path”. A dialogue box will appear asking to choose your desired path and Flatness. Select the path you want to Clipped and Put the flatness you desire and click “OK”. You are now almost done. Flatness is the desired amount of pixel you want to make blur the image edge. The more amounts you use in Flatness the more image edge will be blurish. In general, leave the Flatness box blank (0) and the image edge will be 100% sharp which is most of the time appropriate.
Final Step You can now save the file in PSD or TIFF format and ready to place into the program you are working with for your design. This time you will get the image without the background. That’s all about clipping path.