G Suite Backup Tool Full Guide
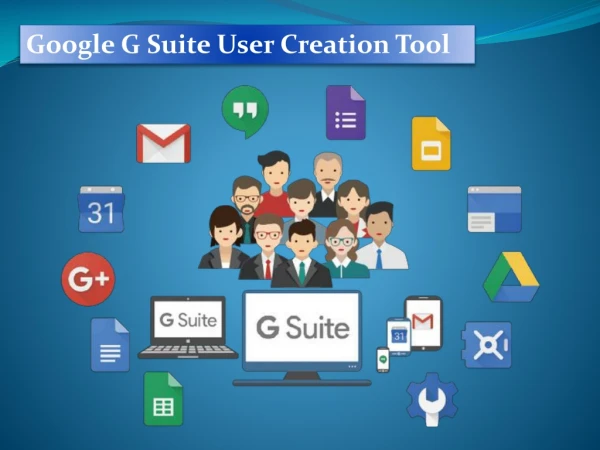
When it comes to migrating data from one G Suite to another, the Cigati G Suite Backup tool is the best recommendation for you. These powerful tools come with advanced features that enable you to migrate data from one to another very effectively. With the help of this tool, you can migrate any workspace from email, calendars, Drive, etc.

G Suite Backup Tool Full Guide
E N D
Presentation Transcript
Table of Contents Software Installation Minimum System Requirements Installing the Software Evaluation Version Tab Buttons 1 1.1 1.2 1.3 User Interface 2 Working Procedure of the Software 3
1. Software Installation For proper system installation of the Cigati G Suite Backup Tool your computer should have the minimum configuration requirements that are mentioned below. Minimum System Requirements Processor Hard Disk Memory Operating System Intel® Pentium 1GHZ Processor(x86, x64) or equivalent 500MB of Free Hard Disk Space Required Minimum 512MB (1GB Recommended) Windows 11 and all below Versions Installing the Software To install the Cigati G Suite Backup Tool, you need to follow the below installation steps precisely. Firstly, navigate to the Cigati Solutions website. Go to the G Suite Backup Tool page and download the tool. Now, click on the Downloaded File to start the installation setup. Press the Next icon to proceed further in the steps. Choose the location on your PC to install the software and hit Next. Once the installation completes, tap on Finish to exit the setup. ● ● ● ● ● ●
Evaluation Version Tab Buttons As you launch the demo version of the software, the following buttons are displayed on the first tab that is displayed. Buy: It redirects you to the Purchase now webpage, from where you can buy the licensed version of the software. Live Chat: This button will take you to the Customer Support page if you require any technical support. Try Demo: It opens the demo version of the utility that comes with some restrictions. Activate: You can activate your software with this button using the Order Id and Activation Key if you have already made the purchase.
2. User Interface You will see the below user interface as you open the Cigati G Suite Backup Tool. You can use the four icons displayed on the tool for their below-mentioned functions. Buy Click on this button to buy the licensed version of the software. Activation You can activate the full software using the Order ID and Activation Key with this icon. Help Tap here to learn more about the working and features of the software. Info If you require any information about the software, you can press this icon for the same.
3. Working Procedure of the Software 1. Install and run the Cigati G Suite Backup Tool as administrator.
2. Enter the Login Credentials required for G Suite login. (Username, Service Account ID, P12 File) and press the Sign in with Google button.
3. In the next step, Tick the Account you need to backup and hit the Next button
4. Here you can see the G Suite Backup Option you want to backup.
5. After that, choose the Saving File Format from the left pane of the software interface.
6. Mark the software features like Split Duplicate Emails, Naming Convention, and Date Filter. Skip Duplicate Emails: This feature removes the duplicate emails throughout the process. Naming Convention: This helps to save the output file with the desired date format. Date Filter: Using this feature, users can backup selected emails. For this you need to enter the start date & end date. ● ● ●
7. After that, press the Next button to begin the further process.
8. Tap on the Destination Path button and choose the saving location.
9. In the end, hit the Backup button to backup G Suite emails.