Download
1 / 1
10 likes | 15 Vues
Get our full guide to install the HP envy photo 7855 printer and it's installation settings. And we give furthermore settings for this printer. Click to view more.<br><br>https://123-hp-com-envyphoto7855.com/hp-envy-photo-7855-install/

E N D
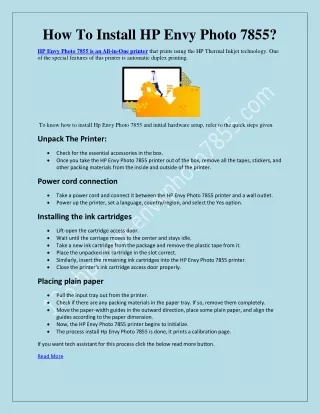
How To Install HP Envy Photo 7855? HP Envy Photo 7855 is an All-in-One printer that prints using the HP Thermal Inkjet technology. One of the special features of this printer is automatic duplex printing. To know how to install Hp Envy Photo 7855 and initial hardware setup, refer to the quick steps given. Unpack The Printer: Check for the essential accessories in the box. Once you take the HP Envy Photo 7855 printer out of the box, remove all the tapes, stickers, and other packing materials from the inside and outside of the printer. Power cord connection Take a power cord and connect it between the HP Envy Photo 7855 printer and a wall outlet. Power up the printer, set a language, country/region, and select the Yes option. Installing the ink cartridges Lift-open the cartridge access door. Wait until the carriage moves to the center and stays idle. Take a new ink cartridge from the package and remove the plastic tape from it. Place the unpacked ink cartridge in the slot correct. Similarly, insert the remaining ink cartridges into the HP Envy Photo 7855 printer. Close the printer’s ink cartridge access door properly. Placing plain paper Pull the input tray out from the printer. Check if there are any packing materials in the paper tray. If so, remove them completely. Move the paper-width guides in the outward direction, place some plain paper, and align the guides according to the paper dimension. Now, the HP Envy Photo 7855 printer begins to initialize. The process install Hp Envy Photo 7855 is done, it prints a calibration page. If you want tech assistant for this process click the below read more button. Read More