Download
1 / 8
80 likes | 108 Vues
Titles make things more organized on any device. At times, the device can get cluttered up. Are there too many files and documents on your system? Well, to organize your Mac, you can get rid of the Other Storage. This will enable you to free up a lot of space.<br><br>Source: https://legitdirectory.co.uk/blog/how-to-remove-other-storage-on-mac/

E N D
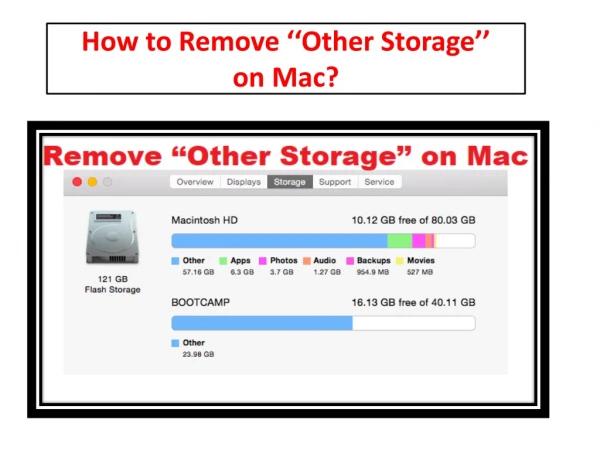
Remove ‘‘Other Storage’’ on Mac Titles make things more organized on any device. At times, the device can get cluttered up. Are there too many files and documents on your system? Well, to organize your Mac, you can get rid of the Other Storage. This will enable you to free up a lot of space. If you want to get the disk area, go through this blog carefully.
The method of removing documents from other space areas Firstly, press the combination of the Command+F button on your keyboard. Then, press on This Mac option. After that, press the top pull-down menu area. Next, choose Other. From the Search Attributes window, you need to put a tick mark on the File Size as well as on File Extension. After that, you require to input the different document file types (.pdf,.pages,etc.) as well as file sizes for searching large documents. Next, review the files and remove that are required.
For searching large hidden files in every folder with CleanMyMac: Firstly, go to CleanMyMac X. Then, press on the Large and Old Files option. After that, press on the big Scan option for starting the searching. Next, you need to review the results that have been broken down by separate sections: archives, documents, movies, etc. Check the items. Lastly, remove the files that you don’t need anymore. Go to the above right-hand side box (wherever the time, as well as language, have been shown) you need to search a Mac symbol which will bring the CleanMyMac X’s Menu before you.
CleanMyMac X’s Firstly, press on the CleanMyMac X Menu symbol. It will be located in the upper box. Next, search the screen for Trash and Dropbox. After that, press on Empty to immediately clear the storage space.
The method of clearing Other storage of device as well as temporary files The way of simply deleting system files from Other Storage is given below: Firstly, visit the System Junk in CleanMyMac. Then, press on Scan. After that, click on Clean.
The method of removing cache files from the rest of the data part Firstly, move to go. Then, press on Go To Folder. After that, write ~/Library/Caches. Next, click on Go. Then, do a long press on the Option and move the Cache folder to the desktop. After that, choose every file in the Caches folder. Next, move it to the Trash. Lastly, clear the Trash.
Author bio Aurora is an engineer by day and writer by night. Previously, Aurora worked as a certified technicians for a tech hardware startup. In her free time, she likes to write about printers, routers, web browsers, and other technical stuff. She majorly writes for hp printer support etc. Source: Mac