Download
1 / 18
180 likes | 193 Vues
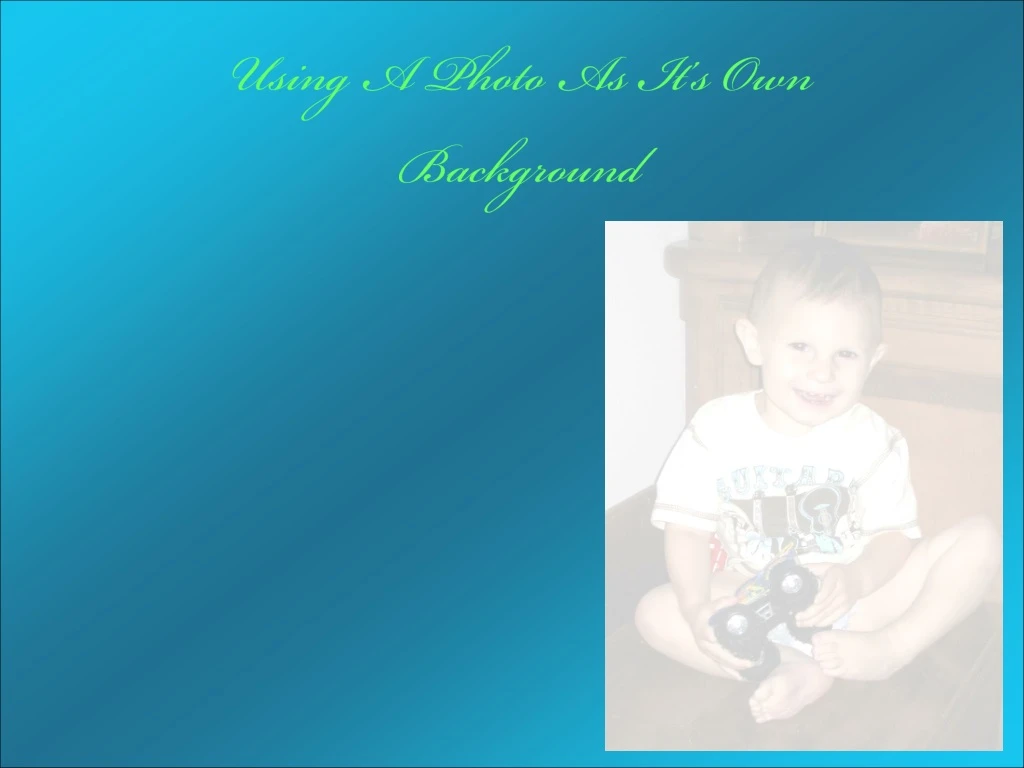
Using A Photo As It’s Own Background. The Original Image. Final Result:. Step 1:. for this photo effect you need to create a couple of copies of your image you have selected.

E N D
Step 1: for this photo effect you need to create a couple of copies of your image you have selected. Press "Ctrl+J" for Windows computers or "Command+J" for Mac computers, two times to create two copies of the Background layer.
Step 2: You now want to hide the top layer of your image, to do this go to the layers palette and click its visibility icon that looks like an eyeball.
Step 3: Click on the middle layer in Photoshop’s layer palette to select the image. Sample A Color From The Image To Use For The Background With the Eyedropper Tool selected, click on an area inside your image which contains the color you want to use for your background.
Step 4: The sampled color now appears in the Foreground color swatch in the Tools palette. Colorize The Background Using The Hue/Saturation Adjustment Layer.
Step 5: Click on the "New Adjustment Layer" icon. Then select Hue/Saturation from the list:
Step 6: This brings up Photoshop's "Hue/Saturation" dialog box. Just click the “Colorize” option to select it. The color you want has already been selected for you.
Step 7: The image is now colorized by using the color sampled from it.
Step 8: Increase the Saturation to 50 and the Lightness to 75. Click OK when you're done to exit out of the dialog box. The background is now colorized with the color you had selected and looks washed out.
Step 9: Flip The Image Horizontally To flip the image you first need to select the correct layer, so click on "Layer 1" below that contains the background image. Then go up to the Edit menu at the top of the screen, choose Transform, and then choose Flip Horizontal. Go to Edit > Transform > Flip Horizontal to flip the background sideways, creating a mirror image of the main photo.
Step 10: Click once again on the layer visibility icon of the top layer to turn it back on. Resize The Main Image With “Free Transform” Press Enter for Windows or Return for Mac when you're happy with the new size of your image. This will accept the transformation.
Step 11: Add a thin border around your main image. Use a Stroke Layer Style, to do this, click on the Layer Styles icon at the bottom of the Layers palette. Click on the color swatch for the Stroke to select a new color.
Step 12: Sample a color from inside the image to use with the Stroke. Keep the Stroke fairly thin by setting its "Size" to about 4 pixels, and change the "Position" to "Inside". Add A Drop Shadow Add a Drop Shadow before closing out of the Layer Style dialog box This will bring up the Drop Shadow options in the middle column
Step13: Sample a slightly darker color from what you used to colorize the background for the Drop Shadow. With the color chosen, lower the Opacity of the Drop Shadow to about 40% so it's not too intense, change the Angle to about 130° Click OK when you're done to exit out of the Layer Style dialog box
Step 14: Reposition The Main Image As Needed Move the main image. To move it, use the Move Tool, select it from the Tools palette or press Select the Move Tool. Drag the main image to a new position with the Move Tool. Hold "Shift" to drag in a straight line Now the last thing you need to do is Enlarge the background with “Free Transform.”