Download
1 / 12
120 likes | 296 Vues
Remote Accessing Your Home Computer Using VNC and a Dynamic DNS Name. What will I need?. Static IP number on your home PC DynDNS Account and Update Client Version of VNC server and Viewer Configure port forwarding and remote access on your router or modem at home. Setting a Static IP.

E N D
Remote Accessing Your Home Computer Using VNCand a Dynamic DNS Name
What will I need? • Static IP number on your home PC • DynDNS Account and Update Client • Version of VNC server and Viewer • Configure port forwarding and remote access on your router or modem at home.
Setting a Static IP • Current IP Number • Current Subnet Mask • Current Gateway
Setting a Static IP • Enter numbers for the Static IP
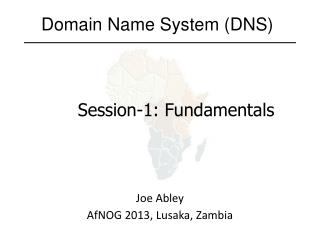
Setting up a DynDNS Account • http://www.dyndns.com/ • Add a new Hostname. • Associate current WAN IP with new Hostname
Setting up the DynDNS Updater • Download and install the DynDNS Update Client • Enter account details
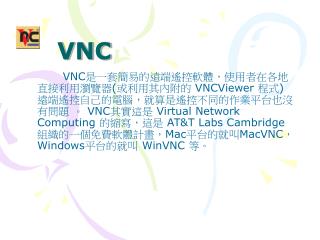
Setting up VNC • Download and install VNC using all the default setup options. • http://www.realvnc.com/ • Copy vncviewer.exe from Program Files to a USB drive to make the viewer a portable version.
Configure Router-Port Forwarding • Type the IP of your router into browser: Usually 10.1.1.1 or 192.168.1.1 • Add port forward rule for VNC to your router using default port of 5900.
Configure Router-Remote Access • Configure your router for remote access via web browser.
Testing Remote Access • Testing is performed outside of your home network. • Type the newly created DynDNS hostname into web browser. This will allow you to log in to your router remotely. • Once logged in, copy your current WAN IP address.
Testing Remote Access • Open VNC Viewer, paste the WAN IP into the “VNC Server” box, click Connect • Enter password. This is your windows logon password by default.