Creating Multiple Web Sites using Multiple IP Addresses
50 likes | 170 Vues
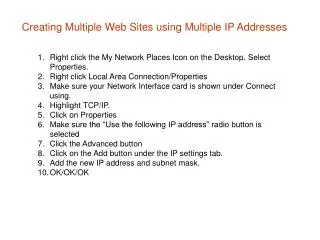
This guide explains how to configure your network settings to create multiple websites using different IP addresses on a Windows system. Start by right-clicking the 'My Network Places' icon on your desktop and selecting 'Properties.' From there, access your Local Area Connection's properties, ensure your network interface card is displayed, and highlight TCP/IP. Then, select the option to use a specific IP address, add your new IP address and subnet mask, and confirm your settings. Follow these steps to enhance your web hosting capabilities.

Creating Multiple Web Sites using Multiple IP Addresses
E N D
Presentation Transcript
Creating Multiple Web Sites using Multiple IP Addresses • Right click the My Network Places Icon on the Desktop. Select Properties. • Right click Local Area Connection/Properties • Make sure your Network Interface card is shown under Connect using. • Highlight TCP/IP. • Click on Properties • Make sure the “Use the following IP address” radio button is selected • Click the Advanced button • Click on the Add button under the IP settings tab. • Add the new IP address and subnet mask. • OK/OK/OK