Clarinet Repad
Clarinet Repad. This presentation shows pictures of a clarinet repad in progress. The procedure is basically the same for all woodwinds: The keys are removed from the body Any tenon corks or neck corks are removed and replaced All original key corks and pads are removed and replaced

Clarinet Repad
E N D
Presentation Transcript
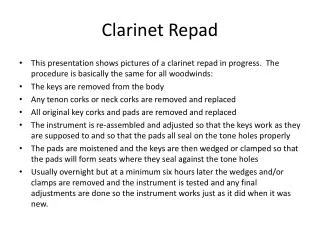
Clarinet Repad • This presentation shows pictures of a clarinet repad in progress. The procedure is basically the same for all woodwinds: • The keys are removed from the body • Any tenon corks or neck corks are removed and replaced • All original key corks and pads are removed and replaced • The instrument is re-assembled and adjusted so that the keys work as they are supposed to and so that the pads all seal on the tone holes properly • The pads are moistened and the keys are then wedged or clamped so that the pads will form seats where they seal against the tone holes • Usually overnight but at a minimum six hours later the wedges and/or clamps are removed and the instrument is tested and any final adjustments are done so the instrument works just as it did when it was new.
Clarinet Repad – first the keys are removed from the body and the old tenon corks are removed. Plastic bodies are then washed and dried. Wooden bodies are left as is until the tenon corks are replaced.
The old pads and corks are removed from the keys and the keys are cleaned thoroughly. This picture shows the upper joint keys in their relative position.
This picture shows the lower joint keys, with the original pads and corks removed, in their relative position to the body.
New tenon corks are put on. After this step on wooden clarinets, the bore is oiled and polished. The reason this is done after the new tenon corks are installed is that the bore oil reacts with the cork cement and prevents the cork cement from curing and holding the new corks in place.
New pads are installed in the key cups.
The instrument is reassembled and the mechanism is adjusted For proper key action and the pads seal on the tone holes. The keys are wedged shut, usually overnight but at least for 6 hours.
This shows the clarinet’s upper joint reassembled, with the keys wedged shut.