Download
1 / 2
20 likes | 223 Vues
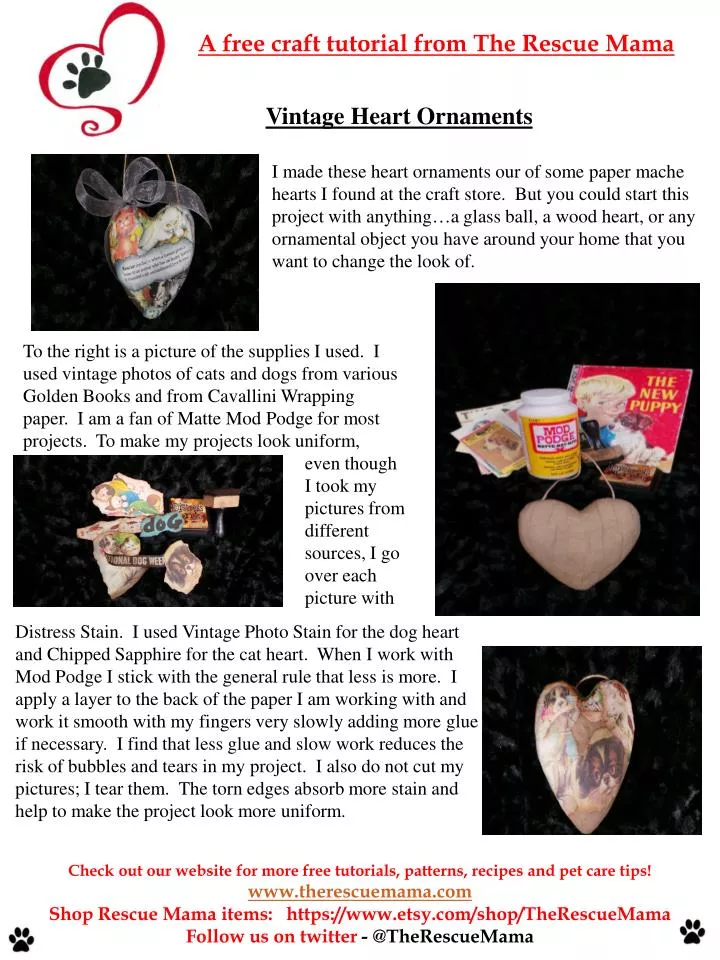
A free craft tutorial from The Rescue Mama. Vintage Heart Ornaments. I made these heart ornaments our of some paper mache hearts I found at the craft store. But you could start this project with a nything…a glass ball, a wood heart, or any

E N D
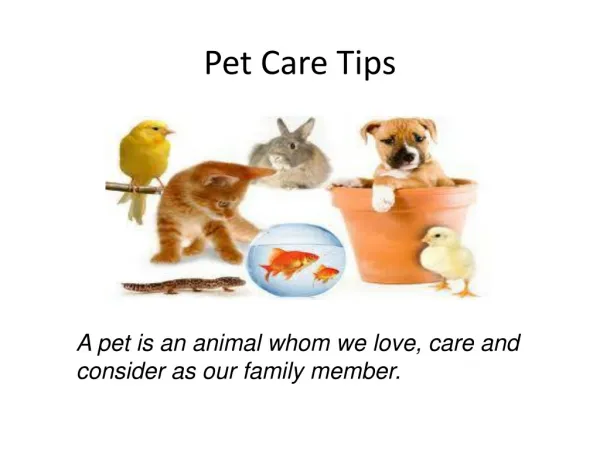
A free craft tutorial from The Rescue Mama Vintage Heart Ornaments I made these heart ornaments our of some paper mache hearts I found at the craft store. But you could start this project with anything…a glass ball, a wood heart, or any ornamental object you have around your home that you want to change the look of. To the right is a picture of the supplies I used. I used vintage photos of cats and dogs from various Golden Books and from Cavallini Wrapping paper. I am a fan of Matte Mod Podge for most projects. To make my projects look uniform, even though I took my pictures from different sources, I go over each picture with Distress Stain. I used Vintage Photo Stain for the dog heart and Chipped Sapphire for the cat heart. When I work with Mod Podge I stick with the general rule that less is more. I apply a layer to the back of the paper I am working with and work it smooth with my fingers very slowly adding more glue if necessary. I find that less glue and slow work reduces the risk of bubbles and tears in my project. I also do not cut my pictures; I tear them. The torn edges absorb more stain and help to make the project look more uniform. Check out our website for more free tutorials, patterns, recipes and pet care tips! www.therescuemama.com Shop Rescue Mama items: https://www.etsy.com/shop/TheRescueMama Follow us on twitter - @TheRescueMama
A free craft tutorial from The Rescue Mama Vintage Heart Ornament (pg 2) I added several word strips to this project as well. For my definition of rescue I printed it on my laser jet on acid free paper, sprayed it with Final Fixative and stained it with Distress Stain. I also tore a few statements out of some of the Golden Books, stained them to match and added them in to the collage. It takes some patience to Mod Podge on to curved items like a heart. I do some planning of what pictures I want in advance but also try to preserve the random affect of a collage. In small gaps between my pictures I just tear out a colorful piece of book page and blend it in (such as a patch of grass or leaves). Once my entire project was glued down to the heart I let it dry over night. I have found that when I work with Mod Podge letting my project dry for 24 hours before adding layers or finishing spray keeps my projects from getting tacky. I went over each heart with a final layer of Mod Podge, ran a small amount of Distress Stain over the whole heart and then gave it a finishing spray. I finished off each heart with a matching ribbon. Check out our website for more free tutorials, patterns, recipes and pet care tips! www.therescuemama.com Shop Rescue Mama items: https://www.etsy.com/shop/TheRescueMama Follow us on twitter - @TheRescueMama