Download
1 / 3
30 likes | 42 Vues
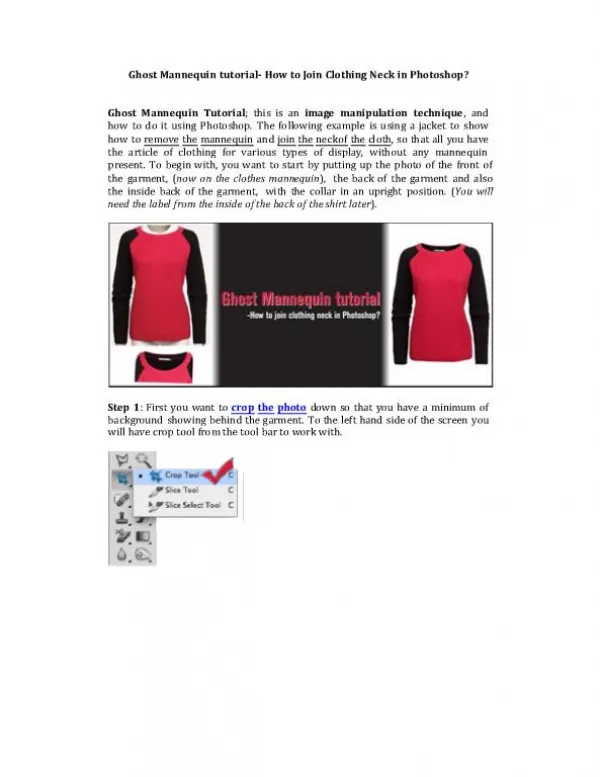
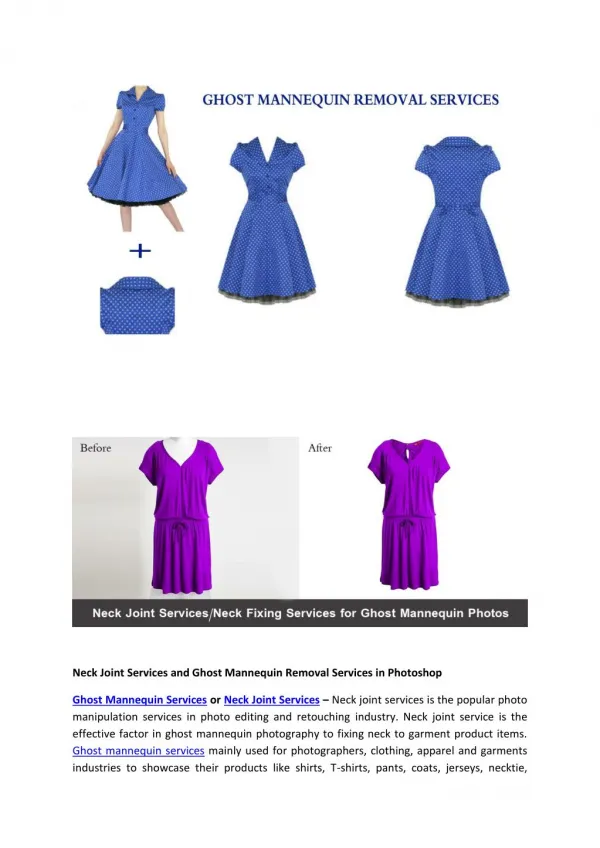
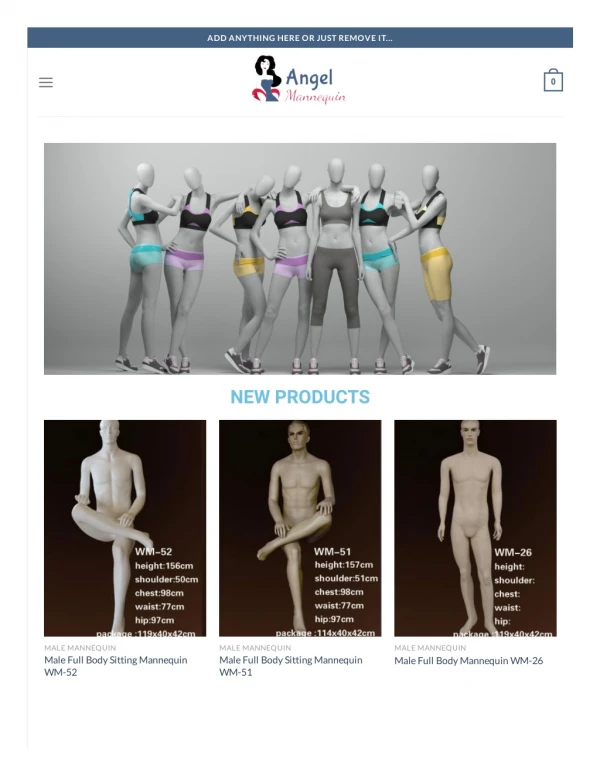
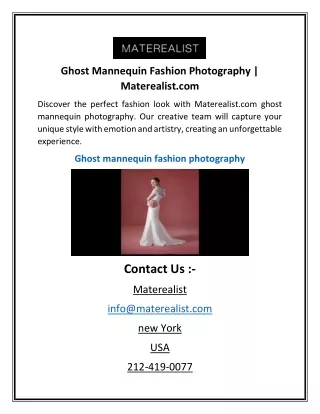
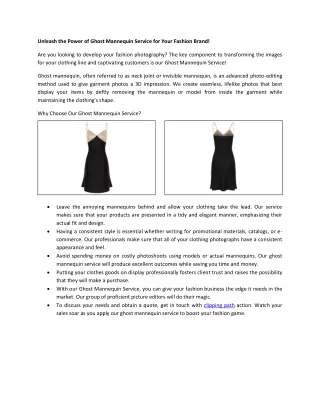
Ghost mannequins are one of the most popular ways to display clothing online. They offer a unique and creative way to showcase your designs without taking up valuable space. It can be hard to find the time, money, and

E N D
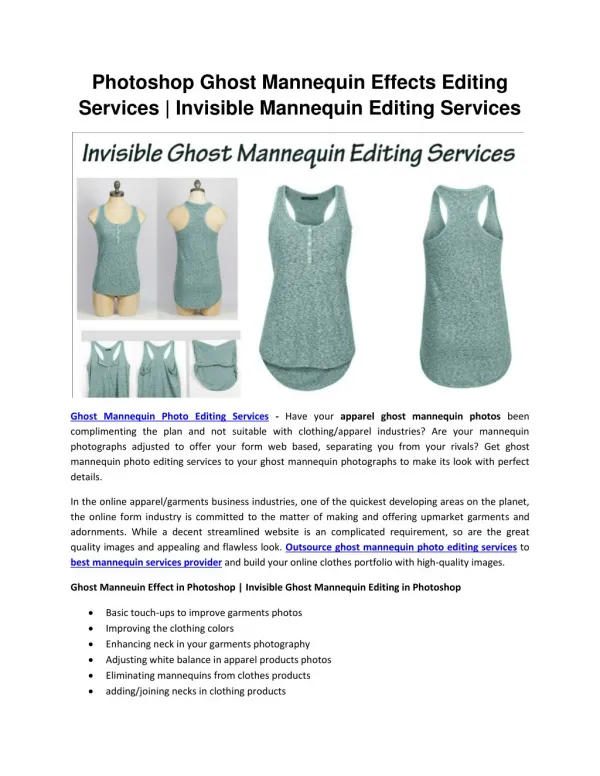
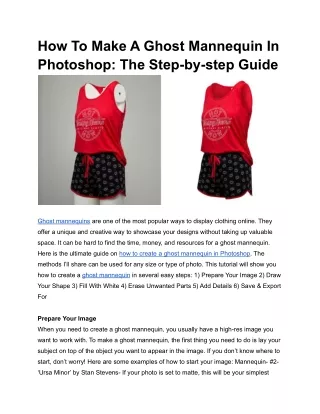
How To Make A Ghost Mannequin In Photoshop: The Step-by-step Guide Ghost mannequins are one of the most popular ways to display clothing online. They offer a unique and creative way to showcase your designs without taking up valuable space. It can be hard to find the time, money, and resources for a ghost mannequin. Here is the ultimate guide on how to create a ghost mannequin in Photoshop. The methods I’ll share can be used for any size or type of photo. This tutorial will show you how to create a ghost mannequin in several easy steps: 1) Prepare Your Image 2) Draw Your Shape 3) Fill With White 4) Erase Unwanted Parts 5) Add Details 6) Save & Export For Prepare Your Image When you need to create a ghost mannequin, you usually have a high-res image you want to work with. To make a ghost mannequin, the first thing you need to do is lay your subject on top of the object you want to appear in the image. If you don’t know where to start, don’t worry! Here are some examples of how to start your image: Mannequin- #2- ‘Ursa Minor’ by Stan Stevens- If your photo is set to matte, this will be your simplest
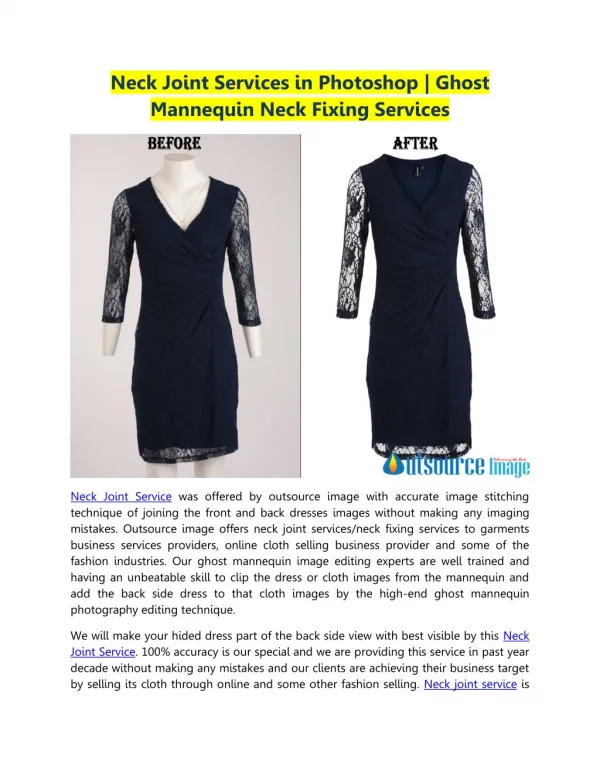
option. Any form of vignetting may be applied to this photo if you’re unsure. Set the mask opacity to 80% so you can see the outline of your mannequin. Once your mask is done, you’ll want to start drawing the ghost mannequin. Draw Your Shape Step 1: Paint some lines Select the new layers palette from the Layers panel. Draw Your Shape Step 1 This is the most important step in the entire process. Begin by drawing your basic silhouette using the Begin Making A Mannequin Tool (F7) and the Pen Tool (P). Your silhouette will be in a thin line for the skin, or a thick line for the body. Be sure to keep it simple to avoid any sharp objects cutting you in half. Once you’re happy with the shape, double click to place on your layer (see the Pen and Paint Tool (PtP) icon on the Layers panel). Step 2 Now we need to fill the silhouette with white, so start by creating a white layer (at least 100% opacity). Step 3 Now that we’ve set our white layer, let’s begin erasing parts of the silhouette and painting back in the skin color. Remember that the skin is very light, so you’ll need a much lighter brush than your main image. Fill With White Step 1: Draw Your Shape Step 2: Draw Your Layer Path Step 3: Create your shadow, radius and z-offset Step 4: Fill In The Shadow & Radius Step 5: Open the Shape in Photoshop and Copy & Paste Step 6: Activate Filter > Fill Step 7: Draw the border, inner shadow, and inner radius Step 8: Adjust the radius and inner shadow size Step 9: Copy the shape, re-size and paste Step 10: You should be left with a shape that looks like this: Step 11: Lower the opacity and/or stroke weight. Set it to 10% in the Fill with dialog box Step 12: We’ll add an extra layer and move the shape a little over so that it’s aligned with our arm. Erase Unwanted Parts Step 1: Prepare Your Image Before you get started, you need to make sure that you have the right background to work with. Whether you want to use solid or color or a photo you already own or find online, you need to consider the environment you’ll be working in. If you’re using a black and white photo, it will be hard to capture all of the
details without messing up the color. If you’re working with a color photo, you’ll want to consider the lighting conditions. Try to keep the shadows to a minimum as they may be very harsh and will definitely have an impact on your final outcome. If you don’t have a photo to use, then you’ll need to search through your photo library and select a background you like. Add Details To create a ghost mannequin, begin by copying the image on your computer, then open the “Image” menu. Right click on your image and select “Copy Image as Template” Set the size to “1×1″ by “Click and drag” Select the “File” menu and choose “Save Image as…” When you save the file, you’ll be prompted to adjust the spacing to 300px by 300px. You can increase this distance by hitting the tab key. “Save image as” is the command that is used to create a PSD file. The file you just created will appear in the lower left corner as shown below. Copy the image that is now in your document. Here are the steps for adding the textures to your image. Save & Export 1) Prepare Your Image I recommend starting with the simplest shape possible to draw. The general rule of thumb is to outline your shape with a slightly darker color. A good starting point for a mannequin is a circular shape, like a cup or a square plate. In the example below, I’ve drawn a very simple circle, and added some white. This is the outline for the mannequin: 2) Draw Your Shape In Photoshop, a solid square shape can be drawn very quickly. Once you’ve drawn the outline, you can go in and fill it with white. In the image below, the shape is just outlined, and only the top half is filled. That way, you’ll have a ghost shape floating in the image, without affecting the image around it. The shape below has been filled, to create the ghost shape.