A Quick Guide to Using a Digital Multimeter for Voltage and Current Measurements
This brief guide provides essential instructions for using a digital multimeter (DMM) to measure voltage and current. Learn to set the appropriate settings, with details on connecting leads for voltage (V) and current (A) measurements. Understand how to read values, whether measuring large or small currents, and the significance of voltage in a circuit. This guide ensures you can confidently measure electrical parameters, including potential differences across components and current flow in a circuit, while troubleshooting any negative readings.

A Quick Guide to Using a Digital Multimeter for Voltage and Current Measurements
E N D
Presentation Transcript
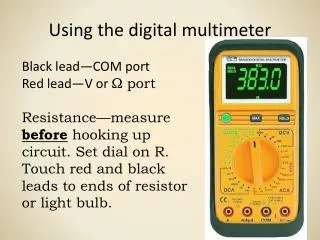
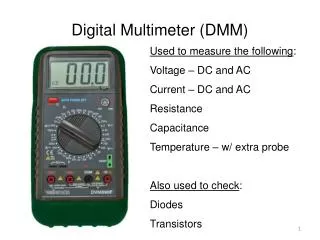
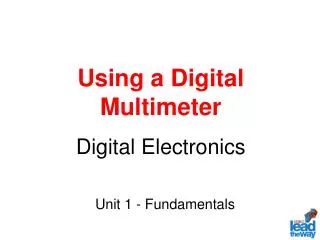
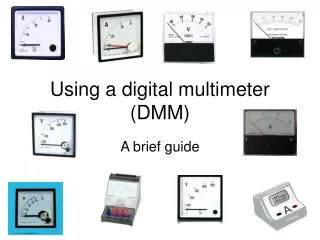
Using a digital multimeter (DMM) A brief guide
Switch to V = 20, this is the maximum DC voltage it will read The red lead goes in the V socket The black lead always goes in the COM socket Now you are ready to measure voltage! As a voltmeter (large voltages)
Switch to 10A, this is the maximum current that will be read (wemay have to change this later) The red lead goes in the 10ADC socket The black lead always goes in the COM socket Now you are ready to measure current! As an ammeter (large currents)
Switch to 20mA, this is the maximum current that will be read. If it says 2 its 2 mA The red lead goes in the mA socket The black lead always goes in the COM socket Now you are ready to measure smaller currents! As an ammeter (smaller currents)
Voltage is the potential different between two point in a circuit (how much energy is carried by each charge) Each charge gives up energy as it travels through a resistor So voltage must be measured before and after a component Measuring voltage
If you want to measure the voltage across resistor 2 you have to connect the voltmeter like this Don’t worry if you geta –ve number, its just connected the wrong way round Measuring voltage
Current is the flow of charge around a circuit, the faster the flow the higher the current Current is the same all around a series circuit so place the current anywhere within the circuit to measure the current Measuring current
Current is measure in amps and the ammeter has the A symbol in a circle Don’t worry if you get a –ve number, you have connected it the wrong way round. It doesn’t make any different to the number Measuring current