Open-Mind Portraits
Why use Open-Mind Portraits?. To help students think more in depth about a character and reflect on story events from the character's viewpoint.. What are Open-Mind Portraits?. The portraits have two parts.Part one: The face of the character is drawn on the first page.Part two: The mind of the character is explored on several pages placed behind the first page..


Open-Mind Portraits
E N D
Presentation Transcript
1. Open-Mind Portraits Josh Bergquist
Dustin Mees
2. Why use Open-Mind Portraits? To help students think more in depth about a character and reflect on story events from the character�s viewpoint.
3. What are Open-Mind Portraits? The portraits have two parts.
Part one: The face of the character is drawn on the first page.
Part two: The mind of the character is explored on several pages placed behind the first page.
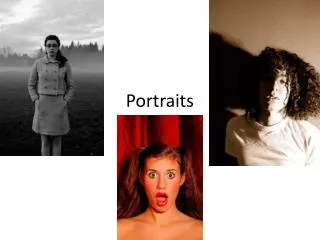
4. Here is an Example
5. Here are the Steps� Make a Portrait of a Character: Students draw and color a large portrait of the head and neck of a character in a book they are reading.
6. Here are the Steps� 2. Assemble the Open-Mind Project: Students cut out the character portrait and place it on several other sheets of paper to be traced and cut out. These other sheets of paper are called the �mind� pages and they go behind the character portrait. Attach these pages together with a staple at the top of the portrait.
7. Here are the Steps� 3. Design the Mind Pages: Students flip the portrait page and draw and write about the character, from the character�s viewpoint, on the �mind� pages. They focus on what the character is thinking and doing at various points in the story.
8. Here are the Steps� 4. Share Completed Open-Mind Portraits: Students share their portraits with classmates and talk about the words and pictures they chose to include in the �mind� pages.
9. Conclusion Open-mind portraits are a fun way for students to be creative, and dig deep within the story by sharing what they got from a character by showing the character�s look, actions, and feelings. This gives students a chance to connect with the character and book.