Download
1 / 11
110 likes | 286 Vues
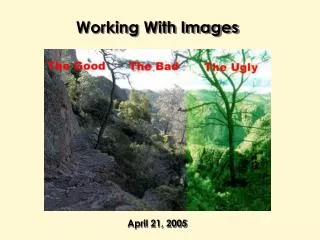
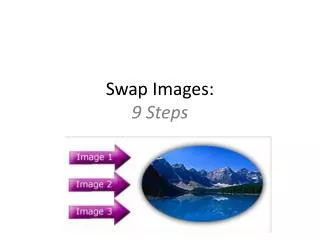
Swap Images: 9 Steps. Step 1. Create 4 Layers: Structure (common elements of page) Links (buttons 1, 2 & 3 ) Rollovers (buttons with rollover effect- color changed) Swap (the first swap image- in EXACTLY the correct position). Step 2:. Open State Menu

E N D
Step 1 • Create 4 Layers: • Structure (common elements of page) • Links (buttons 1, 2 & 3 ) • Rollovers (buttons with rollover effect- color changed) • Swap (the first swap image- in EXACTLY the correct position)
Step 2: • Open State Menu • Select State 1 then Duplicate State (makes State 2)
Step 3 • Now, click on State 2 and SELECT the SWAP layer. - • Delete ONLY the image and paste in the second image. (position it in the EXACT same position as the first one was)
Step 4 • Repeat Step 3. (Dublicate the frames and insert the image) • In the END there should be 4 States.
Step 5: Rollover Effect • Select State 1 go to layers panel close the eye for the ‘rollover’ layer and the LINKS layer should have the eye open.
Step 6: Slice Images • Slice the images and name them appropriately.
Step 7 • Right click the 1rst rollover slice and ADD SIMPLE ROLLOVER BEHAVIOR. • Repeat this step for the next 2 rollover buttons.
Step 8: Linking Swap Images • Go to first rollover slice. Click on it and you will see a small circle in the center of the slice • Then move the mouse pointer over it and you will notice a HAND ICON click on it and the icon changes to a FOLDED FIST and a blue line appears. • Drag this line to the SWAP image slice. (you are linking the rollover to the swap image)
Step 8 continued… • Select the State which has the image you want to link to and CLICK OK. • Repeat for the next two rollovers. • Rollover Image 1 is linked to State 2 • Rollover Image 2 is linked to State 3 • Rollover Image 3 is linked to State 4
Step 9 • In the layers panel remove the EYE in the WEB layer and Preview.