Essential Guidelines for Effective Design Documentation and Problem Presentation
70 likes | 179 Vues
Mastering the art of design documentation is crucial for presenting engineering problems effectively. Clearly state the issue, list assumptions, constraints, and perform organized calculations. Use pencil for easy corrections and adhere to clear printing specifications. Support your solutions with sketches and references to ensure clarity. Make sure to box or underline final answers and ensure they are realistic and correctly expressed in units. Properly bind your documentation and include all necessary details to facilitate understanding and grading.

Essential Guidelines for Effective Design Documentation and Problem Presentation
E N D
Presentation Transcript
Design Documentation Knowing how to do a problem is great BUT You also need to know how to present it !! So the grader can effectively grade the problem and understand your work. So conclusions that are drawn can be effectively understood. So future recall of the information can be understood by you or others reviewing your work.
Follow a Standard Organization Layout • Initially state (or restate for book problems) the problem at hand. • List any assumptions that you will need for the problem solution. • List any constraints and regulations that need to be followed in the solution. • Perform calculations in a step-wise and organized manner. • Draw conclusions. • Answer questions and provide recommendations.
Design Documentation-Materials & Text • Always use pencil, not ink! • Allows for easy corrections. • Doesn’t run in wet labs or rain. • Mechanical pencils best for pointy tips. • F or H grade 0.7mm or 0.9mm best. • Use a straight-edge. • For sketches, underlines, boxes, divisors, etc. • Use standard engineeringgrid calculation pads and paper. • AMPAD 22-141, 142 or 144 or similar. • Always fill in your name, date, course and problem number in the formatted header. • Print in standard text. • No script/cursive writing. • Print large enough to see, even if it uses more pages. Paper is cheap. • Watch for confusing text (9 vs. 4, S vs. 5, 2 vs. Z) • Practice if you have messy technique. • Stick with a style and perfect it!
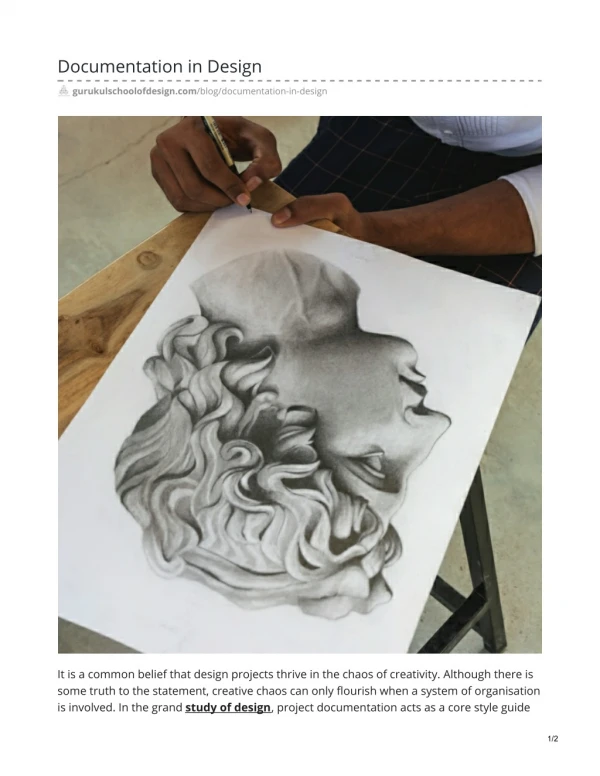
Design Documentation-Problem Set-up • Show what you know. • Convert info in a problem statement into a listing of known values. • This helps to clarify what you have and maybe what you need to solve for. • Draw sketches to illustrate & clarify. • It helps to see what the issue is in order to answer the problem. • It helps others see what the solution is in order to properly produce CD’s with final information. • Include references to information obtained for use in solution. • Tell where you got the values you used!! Standard charts, tables, manuals, graphs, etc. • Attach copies of references for future ease of verification. • If used, nomographs with traced paths should be included as part of your design solution. • Attach computer output if used.
Design Documentation-Solutions • Be organized in your presentation. • Use a step by step progression. • Don’t scatter calculations all over paper. ANSWERS • Units, Units, Units!!! • Show the units of final answer 14 what? Miles? Feet? Tons? Dollars? • Are they the correct units (LF, SF, CF) • BOX or UNDERLINE the final answer. • Inspect your answer for realism. • Estimate/guess your answer before solving. • Compare to what you got. • Ask if it makes sense. • Check with another method or quick estimate. • Answer the question!!! • Don’t just give a number and be done if a question is yet to be answered. • Look back to see if you missed the question.
Design Documentation-Final Presentation • Fasten multiple sheets together. • Staple, binder clips, binders. • Properly fold oversized sheets into the packet. • Fold so that bound/fastened items can be unfolded and reviewed. • Review the problem and ensure all items are complete. • References made to information used. • Question answered. • Name, date, title, etc. included. • Sketches dimensioned.