Packing the Dobson in the Silver Box
90 likes | 235 Vues
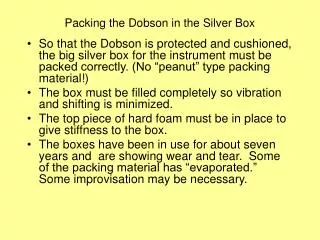
Packing the Dobson in the Silver Box. So that the Dobson is protected and cushioned, the big silver box for the instrument must be packed correctly. (No “peanut” type packing material!) The box must be filled completely so vibration and shifting is minimized.

Packing the Dobson in the Silver Box
E N D
Presentation Transcript
Packing the Dobson in the Silver Box • So that the Dobson is protected and cushioned, the big silver box for the instrument must be packed correctly. (No “peanut” type packing material!) • The box must be filled completely so vibration and shifting is minimized. • The top piece of hard foam must be in place to give stiffness to the box. • The boxes have been in use for about seven years and are showing wear and tear. Some of the packing material has “evaporated.” Some improvisation may be necessary.
What goes into the box: • Dobson…. • Sun director • Encoder and plate with the hold-down bolt. (Semi-auto Dobson only) • Counter for Encoder (Semi-auto Dobson only) • Standard lamps and holder with cable • Microammeter • R-dial • power cord (put the power cord inside one of the large holes in the lower casing of the Dobson).
Removing the Encoder (Semi-Automated only) The encoder connects to the R-dial through a bellows connector (loosen it/them), and to the Dobson lid through a ¼-20 bolt (remove it). The three big screws are leveling screws – do not loosen these screws (unless the encoder zero/scan is a problem). Access to Setscrew(s) Hold Down Bolt Leveling Screws Encoder Cap Screws Encoder Plate R-Dial
Preparing the Dobson – after removing encoder, and R-dial. Q-levers in the down position Tape the R-dial shaft so it will not move Power Cord goes here Rods in all the way! Thermometer remains in the instrument.
The Coffin awaits… These end pieces support the instrument on the soft foam cradle. Leave these and the back lower piece in place.
Dobson in the box Tape on hole for Encoder plate hold-down bolt. R-dial shaft taped, and the R-dial thumbscrew mounted Ground Quartz Plate and Inlet window cover in place. Thermometer in instrument – protect the projecting piece. Instrument’s back towards the foam spacer
Packing the sub director – wrap in plastic and then in two inch soft foam.
Sun-Director Fully Packed with accessories and filler so that the space is filled completely. The level is just so that when the top piece of foam is in place, and lid closed, there is a slight compression. R-dial taped to top of instrument , upside-down Hard Foam Spacer between “nose” and crate wall. IMPORTANT
Top foam in place – It’s designed to fit one way. Look for the slanted left side, right side goes in first, and the left side falls in to place. There are “sockets” on the underside for the Dobson bits that stick up.