Download
1 / 2

E N D
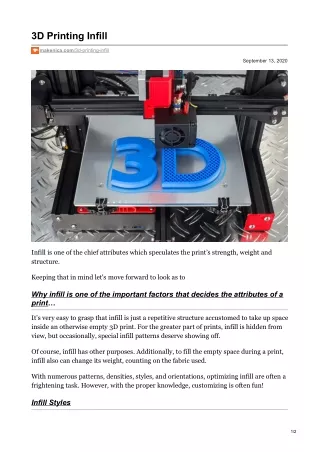
3D Printing Infill makenica.com/3d-printing-infill September 13, 2020 Infill is one of the chief attributes which speculates the print’s strength, weight and structure. Keeping that in mind let's move forward to look as to Why infill is one of the important factors that decides the attributes of a print… It’s very easy to grasp that infill is just a repetitive structure accustomed to take up space inside an otherwise empty 3D print. For the greater part of prints, infill is hidden from view, but occasionally, special infill patterns deserve showing off. Of course, infill has other purposes. Additionally, to fill the empty space during a print, infill also can change its weight, counting on the fabric used. With numerous patterns, densities, styles, and orientations, optimizing infill are often a frightening task. However, with the proper knowledge, customizing is often fun! Infill Styles 1/2
You can find infill in various shapes, sizes, and patterns. Each of its styles has its own strengths and weaknesses and its own use. Though infill can take various forms, there are several typical and ordinary patterns. Infill like the “octi” and “archi” designs is more suitable for circular or rounded designs. In this case, patterns incorporating grids, lines, honeycombs also as rectilinear or concentric patterns work best. For as long as the density is correctly set up to a certain standard, these patterns give enough volume for printing between the gaps. And this layer enables the printer to overprint empty space more accurately, and with lesser error. Infill Density Next step in line is to set the density of your 3D printing infill, measured in percent. 0% means no infill and 100% means a solid print. There definitely are varied levels in between, and adjusting this value is astonishingly useful in accommodating a spread of functions. One very obvious use is to distinguish the mass of the print. A better infill density prints the object in a heavier and more solid format. In contrast, a lower infill density would print the object in a lighter format. Infill density also can affect a print’s strength, buoyancy, and material used. The most common infill densities are between 20% and 25%. This offers a pleasant balance between durability and material consumption. If the structure isn’t a priority but the value is, the simplest infill range is between 10% and 15%. None of those ranges gives much support, so don’t use them if your object must be strong, or needs structure during printing. Finally, if the structure is of the concern, and filament usage isn’t, the simplest range is somewhere between 30% and 50%. Lastly, if you’re going for strength, like a functional part, be happy to travel right up to 100%. Without it, 3D printing services as we all know it today simply couldn't exist. Also Read : 3D Printing Support Structures 2/2