Download
1 / 3
30 likes | 52 Vues
<br>Some access points are sometimes referred to as routers or hubs that display the automatic connection button labeled u201cWPS u201d which stands for Wi-Fi Protected Setup. This is one way that allows allowed devices such as your Canon TS3122 setup to connect to your network without needing to enter a password and allow a quick and easy method to connect your device. Our team of technicians will assist you in Canon TS3122 setup In Some Steps:

E N D
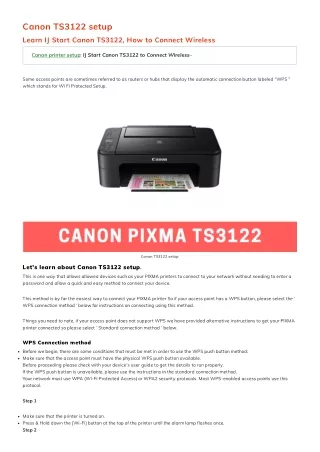
Canon TS3122 setup Learn IJ Start Canon TS3122, How to Connect Wireless Canon printer setup: IJ Start Canon TS3122 to Connect Wireless– Some access points are sometimes referred to as routers or hubs that display the automatic connection button labeled “WPS ” which stands for Wi Fi Protected Setup. Canon TS3122 setup Let’s learn about Canon TS3122 setup. This is one way that allows allowed devices such as your PIXMA printers to connect to your network without needing to enter a password and allow a quick and easy method to connect your device. This method is by far the easiest way to connect your PIXMA printer So if your access point has a WPS button, please select the ‘ WPS connection method ‘ below for instructions on connecting using this method. Things you need to note, if your access point does not support WPS we have provided alternative instructions to get your PIXMA printer connected so please select ‘ Standard connection method ‘ below. WPS Connection method Before we begin, there are some conditions that must be met in order to use the WPS push button method: Make sure that the access point must have the physical WPS push button available. Before proceeding please check with your device’s user guide to get the details to run properly. If the WPS push button is unavailable, please use the instructions in the standard connection method. Your network must use WPA (Wi-Fi Protected Access) or WPA2 security protocols. Most WPS-enabled access points use this protocol. Step 1 Make sure that the printer is turned on. Press & Hold down the [Wi-Fi] button at the top of the printer until the alarm lamp ?ashes once. Step 2
Make sure that the light next to this button starts ?ashing blue and then go to your access point and press the [WPS] button within 2 minutes. For exact details about starting WPS on your access point, please refer to the instruction manual. The Wi-Fi lamp (blue) on the printer will continue ?ashing when searching, and the power and Wi-Fi lamp will blink when connecting to the access point. When the printer has managed to establish a connection to your wireless network, the power and Wi-Fi lamp will stop ?ashing and remain lit. Confirm Network Settings To con?rm that your printer is successfully connected to your wireless network, you can print your network settings printer if you want to: 1. Make sure your printer is turned on. 2. And then insert a sheet of A4 or Letter-sized plain paper. 3. Press & Hold the [Resume/cancel] button until the alarm lamp ?ashes 15 times, then release it. The Network Information page will be printed. When referring to the printout, check that the “Connection ” indicates “active ” and that the SSID-Service set Identi?er (your wireless network name) indicates the correct name of your wireless network. This terminates the WPS setup procedure. Please now proceed with installing the software to maximize your Canon Pixma TS3122. provided by canon ij setup guide and support If you do not have an installation CD that comes with your product, please download the Canon TS3122 Drivers and Software to proceed. You would also love to read about the another issue, you may encounter Canon Maxify MB5470 Drivers Canon Pixma E4270 setup Get your Canon LBP712Cx Driver Install Easy Steps to Download and Install Canon Inkjet Printer Steps to install Canon PIXMA TS3170 Drivers Get the Guidelines for Canon Pixma setup and Installation Related Posts How to Connect Canon Steps to install Canon Get the Guideli MX492 Printer to WiFi PIXMA TS3170 Drivers Canon Pixma se Installatio SEARCH Recent Posts How to Connect Canon MX492 Printer to WiFi Canon TS3122 setup Steps to install Canon PIXMA TS3170 Drivers
Get the Guidelines for Canon Pixma setup and Installation Easy Steps to Download and Install Canon Inkjet Printer Recent Comments All Right Reserved 2020 www-canoncomijsetup.com
![[Guide] How to connect canon printer to iPhone](https://cdn4.slideserve.com/8177446/how-to-connect-canon-printer-to-iphone-dt.jpg)