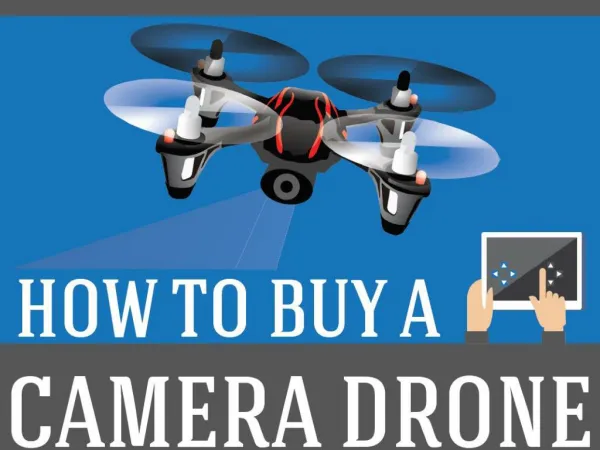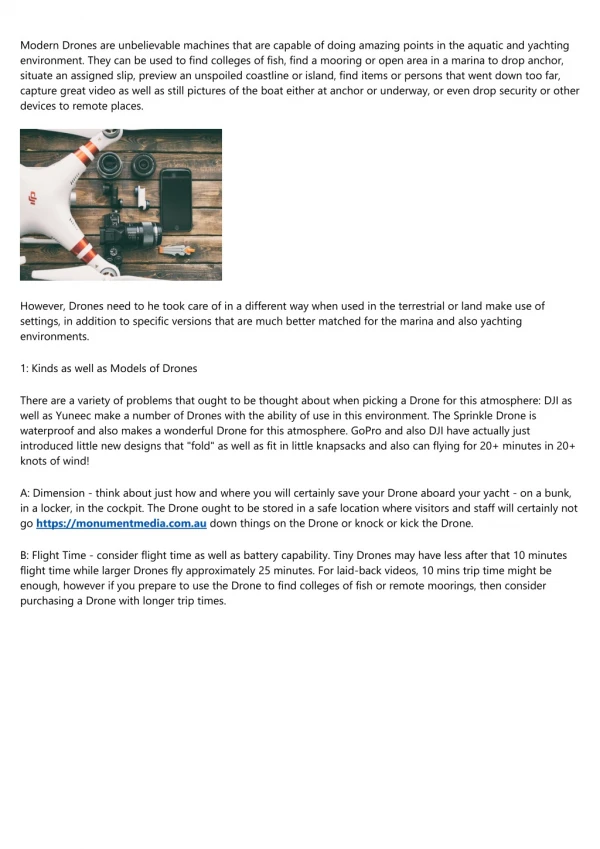
Beginner Guide - How to Fly a DJI Phantom Drone Camera
170 likes | 307 Vues
Flying a phantom drone is not a piece of cake. The present times have various cases in the list that how flying a phantom drone has been a complete failure. Keeping this factor in mind we have come up with an article which not only preaches but demonstrates about how to fly a phantom drone.<br>One by one each step has been theoretically demonstrated that how should one fly a phantom drone. We have been able to write this article after personally taking the experience of flying a phantom drone. Although it is a tricky thing but with a careful and alert approach one can acquire success to fly this thing.<br>We also welcome any comments and views and analysis from your side as well. <br>

Beginner Guide - How to Fly a DJI Phantom Drone Camera
E N D
Presentation Transcript
In the past few years, many professionals have started flying drone cameras for aerial photography and videography. But flying a drone is not easy for beginners; one should follow instructions carefully while flying a drone camera. So, here are few very important instructions enlisted:
STEP 1: CONNECT YOUR PROPELLER WITH A DRONE Insert the black propeller with the black ring & the white propeller with the white ring. Don’t push too hard while inserting propeller in drone ring. If you’re using much force while pushing, it may result in damaging the motor.
STEP 2: INSERT BATTERY IN YOUR QUADCOPTER/DRONE Always check that your battery pin has bottom end & switch on/off button towards right hand side. Charge your battery 100% before flying a drone camera because the life cycle of charged battery would be 15-20 minutes only, so be careful.
STEP 3: INSERT MEMORY CARD IN YOUR DRONE CAMERA Always remember, your card pin must be upper side & don’t forget to format your memory card before you start to flying drone. You can format memory card through your phone using the app. It is always advisable to carry spare memory cards.
STEP 4: INSTALL DJI APP IN YOUR IPAD/ANDROID MOBILE PHONE Firstly, connect your iPad/mobile phone with remote. Before using drone, always put your mobile on aeroplane mode. If you don’t do that, you might get a call while flying and consequently connection could be lost.
STEP 5: NOW CHOOSE A TAKEOFF LOCATION (PREFERABLY OPEN AREA/GROUND) Always remember camera’s face should be opposite to your position. Keep in mind, if in any case, the camera faces the operator; all the controls of remote will be reversed. Avoid accident by not flying drone in a closed space or stormy weather. Always look for an open space for flying.
STEP 6: SWITCH ON THE DRONE POWER BY PRESSING THE BATTERY BUTTON TWICE Always check twice that your phone and drone remote work properly before you start to flying drone. Don’t take risk of flying a drone if battery isn’t fully charged. Uncharged batteries often result in crash landing.
STEP 7: PULL BOTH THE JOYSTICKS DOWNWARDS TO START THE PROPELLER Your rotary wings spin in opposite direction. Now, you are ready to fly your drone camera. Once the drone has started flying make sure, there is no sound other than motor’s. Also, check if there is any error message on the phone screen.
STEP 8: TO GO UP & DOWN, PUSH LEFT JOYSTICK UP & DOWN To fly a drone, keep moving the joystick to the left side. Avoid pushing joystick with jerk. If there are jerks while using joystick, there can occur problem with motor system. To move/rotate drone camera towards left & right, push left joystick left & right.
STEP 9: TO GO FRONT & BACK SIDE, PUSH RIGHT JOYSTICK UP & DOWN. FOR LEFT & RIGHT MOVEMENT, PUSH THE RIGHT JOYSTICK LEFT & RIGHT Make sure, drone is there in front of your eyes. Its direction shouldn’t be changed at any point of time.
STEP 10: FOR LANDING, PULL DOWN THE LEFT JOYSTICK SLOWLY Always avoid high-speed landing. Before the drone touches the surface, release the joystick to the center & gently pull down the left joystick for a smooth landing. To turn off the motor/propeller, pull down the left joystick & hold for 3 seconds. After rotary wings are stopped, switch off the battery & remote by pressing their button.