
Comprehensive Guide to Check Valve Repair and Maintenance for Model 950 (2½”-10”)
This guide provides an in-depth overview of the 950 (2½”-10”) check valve, produced from 1990 to 2004. It details the procedures for cover and valve removal, including the importance of verifying the spring load before disassembly. The step-by-step instructions cover the removal of the check seat, inspection of the plastic guide bushing, and disc replacement with emphasis on proper reassembly and lubrication of O-rings to ensure optimal performance. Follow these guidelines for effective maintenance and repair of your check valve.

Comprehensive Guide to Check Valve Repair and Maintenance for Model 950 (2½”-10”)
E N D
Presentation Transcript
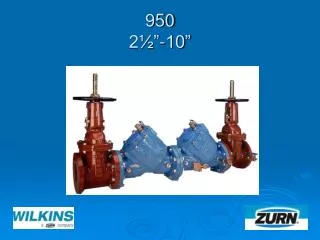
Modification Overview • Production of the 950 (21/2”-10”) began in 1990 and was discontinued in 2004.
Check Cover Removal • Cover is o-ring sealed. • Loosen bolts 1/2”. The spring load is now released from the cover and retained by the check subassembly. ** Verify spring load before removing all the bolts.
Check Valve Removal • Center stem guided check assembly. • Disc & spring subassembly. • Slide subassembly straight out of seat and body.
Check Seat Removal • Seats are bolted into the body and o-ring sealed. • Remove the bolts and pull the seat straight out of the body. • 4”-10” - Inspect plastic guide bushing in center of seat.
Check Disc Replacement • Remove retaining nut and disc retainer.
Check Valve Reassembly Notes • Reassemble checks in reverse order. • Lubricate o-rings.