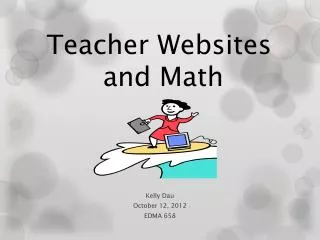
Teacher Websites
190 likes | 333 Vues
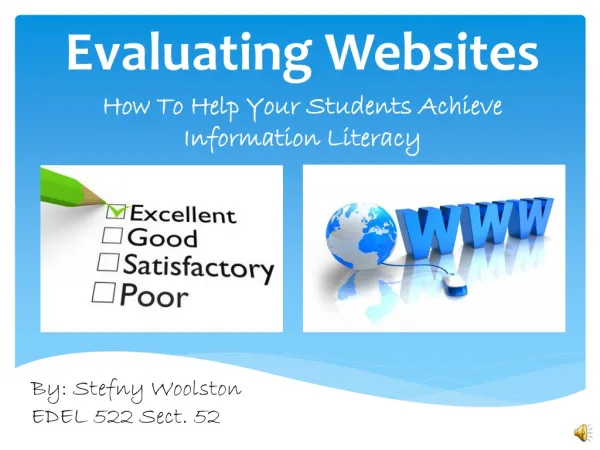
Teacher Websites. Laura Wheeler Ridgemont High School laura.wheeler@ocdsb.ca misswheeler.pbworks.com. photographybylaurawheeler.weebly.com. Why create a website?. To communicate with parents To communicate with students For absent students

Teacher Websites
E N D
Presentation Transcript
TeacherWebsites Laura Wheeler Ridgemont High School laura.wheeler@ocdsb.ca misswheeler.pbworks.com photographybylaurawheeler.weebly.com
Why create a website? • To communicate with parents • To communicate with students • For absent students • To provide extra resources (moving away from textbooks, tutoring, extra help, etc.) • To facilitate student collaboration
Why it’s easier than you think! • What You See Is What You Get editors (WYSIWYG)No HTML needed. • Start simple. • Only 5 minutes needed per day!(this will be the hardest part)
Teacherweb.com is also an option. However it costs $39USD/year. It has some useful add-ons such as quiz builders, web quests, etc.
PBworks: Sign up • Go to:https://plans.pbworks.com/signup/edubasic20 • Choose your address:Pick a word (no numbers or spaces) that is short and will be appropriate throughout your teaching career, no matter what course you find yourself teaching.Your last name works great.This will become part of your URL (web address). • Click in the box “Agree to non-commercial use”.
PBworks: Sign up (cont.) • Create your account:Enter your name.Enter your email address (I suggest using your @ocdsb.ca email address).Choose a password; one you can remember. • Click next.
PBworks: email confirmation • PBworks has now sent you an email confirmation (which may land in your junk mail folder). • You must click on the “Activate your PBworks account now” link in that email.
PBworks • Security settings: I chose “anyone” so that parents can see the site without needing any password, etc. • Terms of Service: Read them & click “I agree” • Click “Take me to my workspace”
PBworks: Front Page • Front Page: This is your “home page”. • Click the “edit” tab beside “view”.
Edit: You are in a WYSIWYG editor (like a word processing program). • Select and delete the text that is in the window. • Write your own welcome message to your students. Your name should appear prominently near the top of the page. • I suggest putting some general contact information too: ocdsb email address, school telephone number, office/classroom number, office hours, etc. • Click “Save” when finished. Select & delete text. Replace w/ your welcome message.
PBworks: Creating New Pages • I suggest creating a separate page for each course you teach this semester; perhaps even for each period. • Click “create a page”
Name your page: I suggest using course codes & section numbers or period numbers. • Page content: I suggest “Blank Page”. • Click “Create Page”.
Write the course title in large font near the top. • Try putting in an entry for the subject of yesterday’s lesson and any homework assigned. • Click “save”. • Repeat for each course/period you are teaching.
Pulling it all together • Clicking on the “wiki” tab near the top will always bring you back to your “front page” (the 1st one). • Finally, we want to put a link to each course’s page on the “front page” so that everyone can get to their own course site from the one common home page. • Once on the “front page”, click the “edit” tab at top.
Underneath your welcome message, leave a few blank lines and then type the course code or name of your first class. • Select the text you just typed in. • Click “add link”.
Choose “Browse Pages & Files” • Choose “Existing Page”. • Click on the name of that class’s page. • Click “Insert Link” • Repeat for your remaining classes.
What Now? • You now have a general home page with links to each course’s separate page. • Give your students the URL. • Email parents to introduce the site and provide them with the URL. • Contact your school’s website coordinator to have your URL listed on the school’s website.
Make a pledge to yourself, to your students, and to their parents to find the 5 minutes each day needed to keep each course page up to date. • Have fun with it. Once you’re more comfortable with the site, try adding on some extras:- Links to related websites- Videos of cool science phenomena- Links to relevant news items- Class notes- Collaborative assignments- etc.
Thank-you! Laura Wheeler Ridgemont High School laura.wheeler@ocdsb.ca misswheeler.pbworks.com photographybylaurawheeler.weebly.com