Download
1 / 24
240 likes | 338 Vues
This survey explores software tools for sensor networks, comparing architectures like TinyOS, Java on SunSPOTs, and full custom approaches. It discusses their processing power, memory, storage, communication, and power sources. The text covers advantages and disadvantages of full custom software and hardware, as well as details on TinyOS, NesC component model, event-driven programming, and Java on SunSPOTs.

E N D
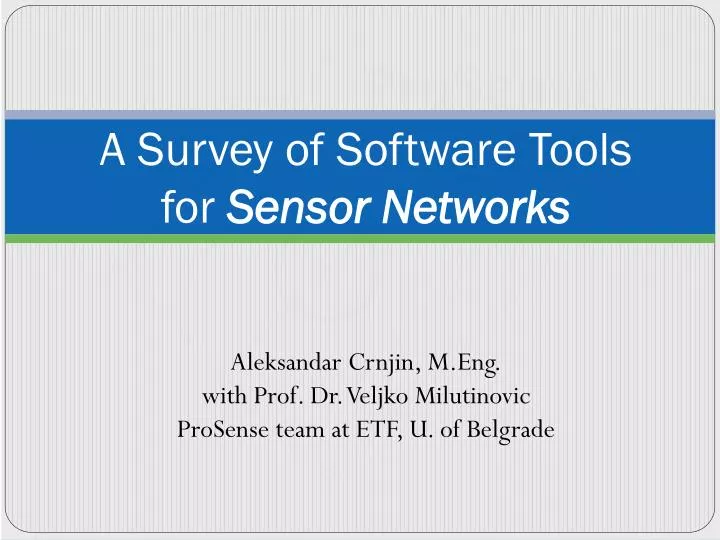
A Survey of Software Toolsfor Sensor Networks AleksandarCrnjin, M.Eng.with Prof. Dr. Veljko MilutinovicProSense team at ETF, U. of Belgrade
Topics • Introduction:Comparison of Architectures;Going “Full Custom” • TinyOS + NesC • Java on SunSPOTs • Concluding Remarks
Comparison of Architectures Crossbow Mica2DotSensor Node Processing power:Atmel 4MHz, 8 bit Microcontroller Memory128Kb Instruction Memory4 Kb SRAM Storage:32KB on a 24LC256 Chip Communication:10kbps Radio link Power:Two AA batteries A Typical Desk Computer Processing power:Two 2GHz64-bit Processors Memory:2 GBs of RAM Storage:320GB Hard Drive Communication:1Mbit ADSL link Power:Practically Unlimited
Full Custom Approach? • An obvious method to program sensor networks is to do so as with any other embedded computer system. • Full Custom Software: • do not use any readymade software tool, • program directly in assembly language or in microcontroller-enabled C development tool(e.g. Keil C) • operate the peripherals using control and status registers • do not use an operating system,write the program directly to ROM • Full Custom Hardware: • do not use any readymade hardware platform, • make a sensor node “from scratch” instead(pick a microcontroller & add peripherals)
Full Custom Approach? • IN FAVOR: • Probably the optimal solution • in terms of speed of execution, • memory space used, and • battery power usage. • AGAINST: • Limited interoperability • A long time needed to establish basic functionality • Unsuitable for more complex problems
TinyOS + NesC Component Model & Event Driven Programming
TinyOS: An Introduction • A very small (“Tiny”)special purpose operating system for sensor nodes • Problem with conventional OSes:not enough memory, esp. for stack • Impossible to save context for each task separately;all tasks must share a single context
TinyOS Component Model • Organize parts of code into distinct entities based on functionality,and associate statically allocated memory with these code parts • A part of code, with its associated memory frame,and described interface to other such partsis called a componentComponent = Code + Interface + Memory Frame • Components cannot rely on registers to save state(single execution context!);state must be saved only in the allocated memory frame
TinyOS Event Driven Programming • TinyOS components usually have: • command handling routines • event handling routines • a fixed amount of allocated memory (frame) • In response to commands and events,they execute tasks • Commands and events make up theinterfaceof the component • All code is executed in response tocommands and events • System events: Init, Start, Stop(interface StdControl) • System components – provide abstraction for onboard devices
Component Configurations • Components are “interconnected”into configurationsby “wiring” their interfaces • Cmd/Event Chain • commands flow downward • events climb upward • Non-blocking cmd/eventnotification • System commands at the top; • Hardware events at the bottom
NesC • Network Embedded Systems C • Developed for TinyOS;TinyOS subsequently rewritten in NesC • Supports the TinyOS component model natively • Embeds TinyOS structures: • configurations describe component interconnections • modules describe single components
Example Application:Blink configuration Blink { } implementation {components Main, BlinkM, ClockC, LedsC;Main.StdControl->BlinkM.StdControl;BlinkM.Clock->ClockC;BlinkM.Leds->LedsC; } Wiring components together:User.Interface -> Provider Component tree
Example Application:Blink connections to Clock and Leds modules module BlinkM{provides interface StdControl;uses interface Clock;uses interface Leds; } implementation {bool state;command result_tStdControl.init() { state = FALSE; call Leds.init (); return SUCCESS;} command result_tStdControl.start() {return call Clock.setRate(128, 6); } command result_tStdControl.stop() {return call Clock.setRate(0,0); } event result_tClock.fire () {state = !state;if (state) call Leds.redOn();else call Leds.redOff(); return SUCCESS;} } Calling a command executed when Clock.fire ()is triggered
TinyOS + NesC: Conclusion • IN FAVOR: • Excellent interoperability • Basic functionality attained quickly • De-facto standard • AGAINST: • Steep learning curve
Java on SunSPOTs Sun SPOT devicesand an operating system/Java virtual machine
SunSPOTs:Introduction • SunSPOT:Small Programmable Object Technology • A Sun Labs research project to investigatesmall wireless sensor technology • Primary motivation:enable non-EE students to developapplications for sensor networks • More powerful and more expensivethan standard sensor node systems: • 180 MHz ARM9 32-bit processor • $550 for a kit of two Sun SPOTs • 2.4 GHz ZigBee™ Radio + Various Sensors A Sun SPOT device
SquawkJava VM for SunSPOT • Java VM for SunSPOT devices • Runs on bare ARM,without an underlying OS • In contrast to standard Java VMs,Squawk is mostly written in Java • Complete set of native Java device drivers • Fully integrated with NetBeans IDE,builds and deploys using Ant • “Brings the ease of Java developmentto the world of sensors” Squawk Java VM: Blue– written in C++ Yellow– written in Java
Programming a SPOT • creating a new SunSPOT project is as easy aschoosing File→New Project →Sun SPOT applicationin the NetBeans IDE • The whole fuctionality of a SPOT demo boardis abstracted through the EDemoBoardclass • Inputs (sensors and switches) and outputs (LEDs)are reachable through Java interfaces;an instance of such interface is retrieved using getxxx() method
Programming a SPOT:Examples • Looking for a switch press: • Getting temperature readings: Import com.sun.spot.sensorboard.EDemoBoard;Import com.sun.spot.sensorboard.ISwitch;ISwitch[] ourSwitches = EDemoBoard.getInstance().getSwitches(); if (ourSwitches[0].isOpen())ourSwitches[0].waitForChange(); Import com.sun.spot.sensorboard.EDemoBoard;Import com.sun.spot.sensorboard.ISwitch;ITemperatureInput ourTempSensor = EDemoBoard.getADCTemperature(); double celsiusTemp = ourTempSensor.getCelsius(); double fahrTemp = ourTempSensor.getFahrenheit();
Programming a SPOT:Examples • Outputting to LEDs: • Radio communication – Using Data Streams Import com.sun.spot.sensorboard.EDemoBoard;Import com.sun.spot.sensorboard.ITriColorLED;ITriColorLED[] ourLEDs = EDemoBoard.getInstance().getLEDs(); ourLEDs[0].setRGB(255,0,0); // bright red ourLEDs[1].setRGB(0,255,0); // bright green ourLEDs[2].setRGB(0,0,255); // bright blue ourLEDs[3].setRGB(255,255,255); // white StreamConnectionconn = (StreamConnection)Connector.open (“radiostream://nnnn.nnnn.nnnn.nnnn:xxx”); DataInputStreamdis = conn.openDataInputStream (); DataOutputStream dos = conn.openDataOutputStream ();
SunSPOTs + Java:Conclusion • IN FAVOR: • Sensor node programming made very simple • AGAINST: • Large size of SunSPOT devices • Still expensive
Concluding Remarks • While it has its own merits,“Full Custom” approach ultimately isn’t suitablefor the ProSense project • SunSPOT is an interesting insightto the future of sensor node programming,but as of now,its primary application is in the education field. • TinyOS + NesC approach is, in our opinion,still the best way to go.
References • [1] Dario Rossi,”Sensors as Software: TinyOS” • [2] Dario Rossi,”Sensors as Software: nesC” • [3] SunSPOT Owner’s Manual (www.sunspotworld.com) • [4] SunSPOT Developers’ Guide (www.sunspotworld.com) • [5] Holger Karl, Andreas Willig, “Protocols and Architectures for Wireless Sensor Networks”, Wiley, 2005.
Thank You! Aleksandar Crnjin acrnjin@gmail.com