Leather
Leather. The earliest piece of clothing found from our ancestors to date is a pair of leather sandals that are believed to be over 8,000 years old!. Leather is one of humankind’s earliest and most useful discoveries. Our ancestors used leather to protect themselves from the elements: Clothing

Leather
E N D
Presentation Transcript
The earliest piece of clothing found from our ancestors to date is a pair of leather sandals that are believed to be over 8,000 years old!
Leather is one of humankind’s earliest and most useful discoveries. Our ancestors used leather to protect themselves from the elements: • Clothing • Gloves • Buckets • Horse saddles • Footwear • Tents
Real leather is made from animal skin: • Cows *most popular leather • Sheep • Pigs • Snakes • Crocodiles • Alligators • Ostrich *strongest leather
Native Americans used animal hides to make their clothing. Generally they used the hides of the animals they hunted for food. Cherokee and Iroquois tribes typically used deerskin while the Plains Indians, who were bison hunters, used bison skin.
Tanning • The women would typically make the clothes, and the first step would be to tan the animal skin. • Tanning is a process that would turn the animal skin into leather which would last a long time. • They would then cut and sew the leather into a piece of clothing. • Native Americans often decorated their clothing with items like feathers, animal fur, porcupine quills and glass beads.
Most Native American men wore a breechcloth. A breechcloth is a piece of leather material they would tuck into a belt that would cover the front and the back. In areas with warm climates this is all they would wear and in cooler climates men would wear leggings to keep warm. Native American men clothing
Native American women clothing • The Cherokee and Apache women would wear long dresses, typically made out of deer skin.
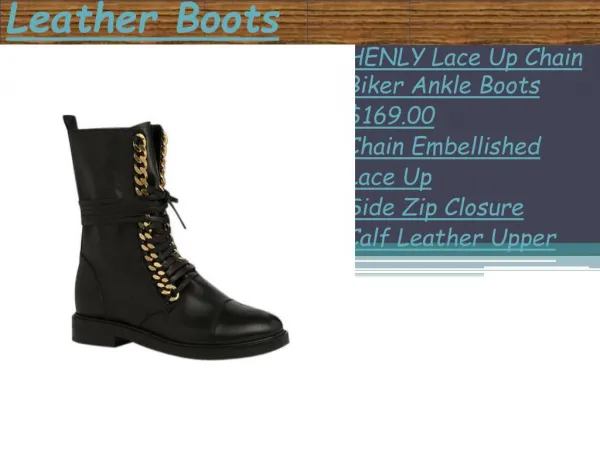
Moccasin • The footwear the Native Americans would wear was typically a shoe made of soft leather called a moccasin. They would often decorate their shoes, in the picture below, the moccasin was decorated with porcupine quills. • In cold northern areas like Alaska they would wear a thick boot called a mukluk.
Many American Indian tribes were forced into contact with each other and began to see how the other tribes dressed. They took the ideas they liked and soon began to dress more alike and the fashion trends grew. Woven blankets, fringed buckskin tunics and feather headdresses became popular.
Quiz • What were some items Native Americas used to decorate their clothes with? • Porcupine quills • Animal fur • Glass beds • Feathers • All the above
Quiz • What was the most common piece of clothing worn by Native American men? • Shirt • Socks • Cloak • Breechcloth
Quiz • True or False: Native American men often wore lots of clothes including shirts, pants, jackets and socks regardless of the weather. • TRUE • FALSE
Current uses for leather • Today over half of all leather product is used to make shoes and 25% for clothing and 15% for upholstery and other uses. • Wallets • Belts • Handbags • Key chains • Gloves • …..Can you think of any other ways we use leather today?
Project: • Use leather stamps to decorate your own key ring and a bracelet. • Use rubber stamps on paper to make stationary or artwork to hang at home.
Organizing the Projects Split class into two groups: one group will begin working with leather while the other group will work on stamping paper using rubber stamps. After the key chain and bracelet are stamped and the bracelet is braided, and both groups have had an opportunity to try the leatherwork and the rubber stamps, send the students to _______ where volunteers, Jessie Broughton and Katie Greene will assist the kids with the rivet press to complete their key chains and their bracelets. *If anyone needs additional help braiding their bracelets, Jessie and Katie can assist them.
Rubber Stamping If you have two volunteers, have one work with each group. If you have one volunteer, explain to the class that the rubber stamping projects are a time to experiment with stamps and ink on paper. They can practice using these tools and compare them to how it feels different than using the stamps on leather. Ask a student in the rubber stamp group to assist in handing out card stock, ink pads and rubber stamps for the group to share. Then focus on the group working with leather so you can assist them with learning how to use the tools.
Leather Stamping Provide each child in the leather stamping group with a leather key ring and a leather bracelet. Place all the leather stampers- letters, symbols, etc. on a table for children to see. Show them the stamps and how the different styles of stamps work (some need to have a handle attached so the mallet has something to hit). Encourage the group to look at the size of the area they have to place a design and ask them to think about what would look nice there- an image? initials? a design? Using the spray bottle, have each child wet their leather piece with water, front smooth side only.
cont.. • Pass out mallets, two at a time, helping children correctly line up their letter or symbol correctly on the smooth side of the leather. • Once placed on leather, ensure the rod is inserted into stamp (if needed, some stampers already have a rod attached), then tap the mallet 2-3 times on the metal rod. • A “sort of” eraser- If image is incorrect, turn piece of leather over, take stamp and hit the mallet 2-3 times on the back side of the leather. The image will be faded on smooth leather side. Try the stamp on smooth again.
Braiding the Bracelet • Have student braid their bracelets. Here is the YouTube tutorial. • On the next page, you’ll find step-by-step instructions with photos from the video.
7a. 7b. 2. 1b. 6. 1a. • Separate the right strand and flip the bottom up and then through the opening created when you pulled the right strand away from the other two strands. • Starting with the left strand, braid as you normally would, with each strand going over the other. Do this with each of the 3 strands. • With the opening that’s been created by the left strand on it’s own, loop the bottom of the bracelet though the opening as before. • Tighten the braid at the top • Starting with the right strand, braid three times. • With the opening that’s been created by the right strand on it’s own, loop the bottom of the bracelet through the opening as before. • Repeat steps 2-6 until you run out of room. • Lastly, adjust the braid so the tightness is even across the whole thing.