Download

1 / 5
50 likes | 61 Vues
You can begin your renovation once you have your renovation plan in place and all of the required tools and supplies. The following is a step-by-stepu00a0Bathroom Renovationsu00a0guide that will walk you through the most popular bathroom renovations.<br>https://postpear.com/what-would-be-the-step-by-step-procedure-for-bathroom-renovations/<br>

E N D
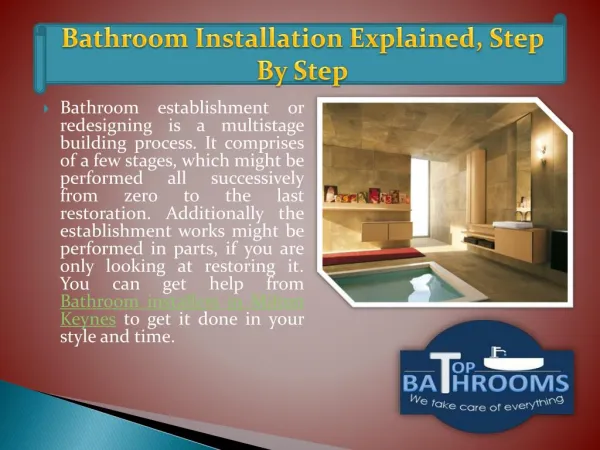
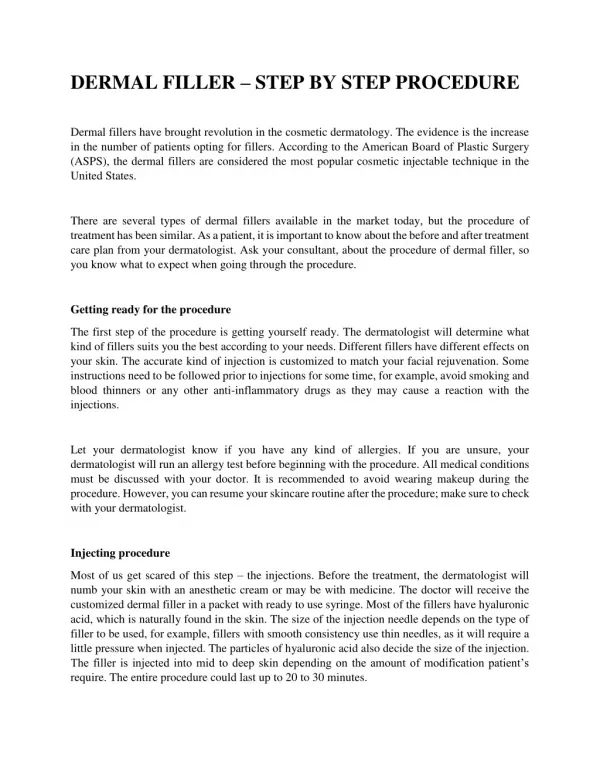
What Would Be The Step-By-Step Procedure For Bathroom Renovations? You can begin your renovation once you have your renovation plan in place and all of the required tools and supplies. The following is a step-by-step Bathroom Renovations guide that will walk you through the most popular bathroom renovations. You'll need to map out your bathroom renovation as thoroughly as possible before you start. The more planning you do before moving on to the next step, the easier it will be to carry out your plans. Before you begin, consider the following. To begin, complete or partial bathroom renovations necessitate dealing with your home's plumbing. So make sure you either have prior experience working with plumbing or have someone with you who does. You
don't want to ruin your home's plumbing by accident or find yourself in need of an emergency plumber as a result of busted plumbing lines or other mistakes. Remove fixtures first If you're doing a full bathroom renovation, you can begin by removing any fixtures that will be replaced during the process. This will allow you to begin with a blank slate in the bathroom; additionally, removing fixtures will free up space in the rest of the room for cleaning, restoring, and installing new fixtures and materials. To prevent accidental water spills or plumbing problems, start by draining and then removing the toilet; then, if possible, remove the bath tile before removing the bathtub itself. Cabinets, vanities, mirrors, wall tiles, and floor tiles are the last fixtures to
be removed. If you're replacing floor tiles or other fixtures, make sure they're close by so you can get to them quickly. Install new plumbing fixtures Once you've removed all of the old fixtures, you can put in the new ones, such as the bathtub, shower, or sink. This is not the time to mount the toilet; save it for last. Depending on the dimensions of the new fixtures, you might need to change the wiring in the bathroom. Your new vanity may be tall enough to cover your electrical sockets, necessitating their relocation; in this case, hire an electrician to deal with your home's wiring to prevent any electrical mishaps. Bathroom Renovations will start with floor tiles If you're removing your bathroom's floor tiles, now is the time to lay them down. If you don't use a chalk line to build reference lines, you'll end up with something that any DIY bathroom renovator dreads: uneven floor tiles. Remember to grout the spaces between the floor tiles. Place new drywall and paint Before you start painting, make sure the new drywall is in place and that you cover seams and holes with drywall mud and tape so that you have a smooth, even surface to work with. If you're painting a bathroom, choose a paint with a moisture-resistant finish to help prevent mold and mildew growth.
Install new cabinets and vanities You will then move on to building any new cabinets and vanities once the walls have been painted and completed. Before moving on to the mirror, cabinets, and other information, start with the vanity so you can mount the sink and faucet. If you want to add more cosmetic appeal to the vanity, you can add trim around it. Hope so, it also bring additional aesthetic look to your place and make your funds worth to it. Make sure the plumbing is re-installed If you had to remove plumbing components during the renovation, now is the time to reinstall your toilet. To prevent any unnecessary problems with water spillage or possible plumbing line issues, do this last. Once you've mounted the toilet, make sure you test it to see if the bathroom plumbing is working properly again.
Wrapping Up! Consider a professional's expertise and efficiency before hiring them. Melbourne Superior Tiling has delivered high-quality wall and floor tiling services to the building industry. In addition to tiling facilities, they specialize in indoor tiling for kitchens, baths, and dining rooms. To learn more about their Bathroom Renovations facilities, go to their website Melbournesuperiortiling.com.au and get the details that you want to know before getting into the process. Contact Us Melbourne Superior Tiling Website: www.melbournesuperiortiling.com.au Email: Address: 1 Mallard Close Williams Landing, VIC 3027 Business alex@mstiling.com.au