Download

1 / 8
0 likes | 3 Vues
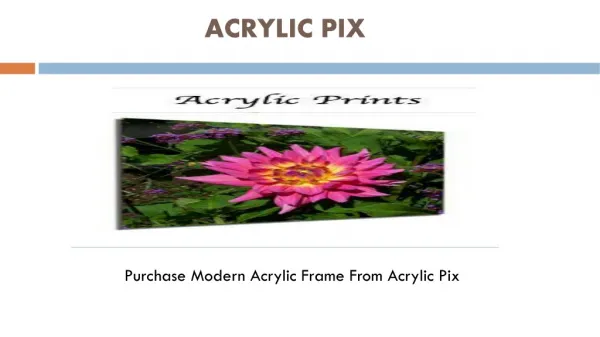
When we think of decks, it is safe to say that most of us picture something with steps and railings. But that is just one of many different deck styles. Another type, known as a picture frame deck, is a bit simpler to construct.<br><br>A picture frame deck is named that way due to the frame around the infill deck boards. It gives the deck a nice, finished look all the way around.

E N D
The Tools for the Job • Any good jobstartswith the right tools forthe job. You will need safety glasses, a power mitre or circular saw, a cordless driver, measuring tape, a carpenter square, a cordless drill, exterior-grade construction screws, and other recommended fasteners.
Install Blocking • Start by blocking inthe pictureframe wheneveradeck board runs in the same directionas one of the joists; additionaljoists or blocking willneedto be installedto ensure thatthe existing substructure has the necessary support. It must also be fastened to the deck boards accordingly.
Cut the Frame • Now it istime to cut out the boards for the frame.You can use a circular or mitre saw to cut the deck boards. For any notching aroundrail posts,a fine-tooth jigsaw is recommendedfor greater accuracy. • You must cut each board one at a time and use the proper blade and saw. Make sure that your cuts are at a 45-degree angle.
Fastening the Frame 06 • With the pieces to your picture frame cutand ready to go, it is time to fasten everything together. Remember, you don’t want to use nails for this purpose. Go with exterior-grade screws, using a cordless drill and a tap driver bit to help you along the way. • Start by laying the boards out and spacing out your fasteners. Let the picture frame border boards hang roughly ¾” outside the wood ring joist.
About Us • Framing a deck in Calgary, Alberta, requires careful planning, knowledge of building codes, and high-quality materials. If you need expert help, a Deck Builder Calgary can take care of everything from footings to finishing touches, giving you a beautifully crafted outdoor space. • Investing in professional craftsmanship guarantees safety, durability, and a deck you can enjoy for years to come. professionals who specialize in Calgary decks and decks Calgary projects.
Contact Us: (403) 829-5709 info@myhomehandyman.ca https://www.myhomehandyman.ca 10820 24 St SE, unit 201 Calgary Alberta T2Z 4C9
Thank You My Home Handyman