Download
1 / 6
0 likes | 30 Vues
Unlock the power of seamless connectivity with netgear wifi extender setup ! Your go-to destination for all your WiFi extension needs. Experience lightning-fast speeds and uninterrupted browsing like never before. Join our network and stay connected effortlessly. Welcome to the world of limitless possibilities!<br>

E N D
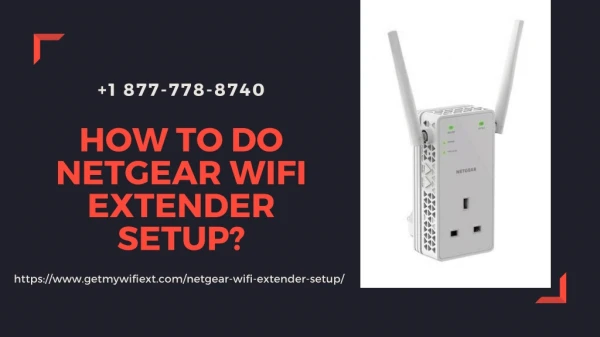
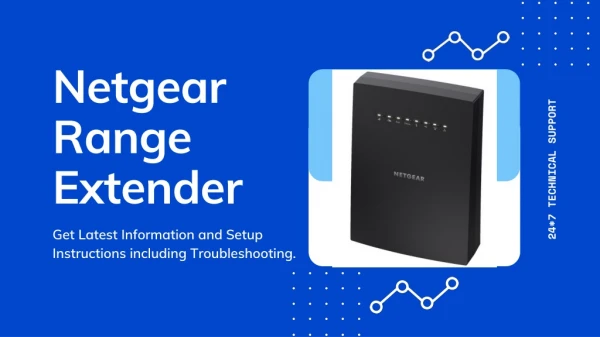
Netgear WiFi Extender Setup Are the WiFi signals in your home irregular or weak? Be at ease—the Netgear WiFi Extender is here to the rescue! This strong gadget can extend the WiFi range and offer a fluid internet connection. In this article, we'll walk you through crucial procedures like Netgear WiFi Extender Setup, updating the firmware, performing a factory reset, and troubleshooting typical problems. Let's start now! Features of Netgear WiFi Extender Setup Netgear WiFi extenders come equipped with various features that enhance your wireless network experience. Some notable features include: 1. Netgear extenders support both the 2.4GHz and 5GHz frequency bands thanks to their dual-band technology, which improves network compatibility and minimizes interference. 2. FastLane technology: With the help of this feature, you can create a dedicated WiFi connection between your extender and router that guarantees maximum speed and efficiency. 3. Ethernet ports: Ethernet ports are a common feature found on Netgear WiFi extenders, allowing you to connect wired devices and benefit from a reliable internet connection. 4. Intelligent LED indicators: The extender's LED lights provide visual cues about signal strength, connection status, and WiFi activity, making problem-solving easier.
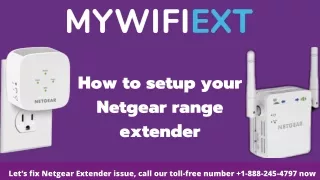
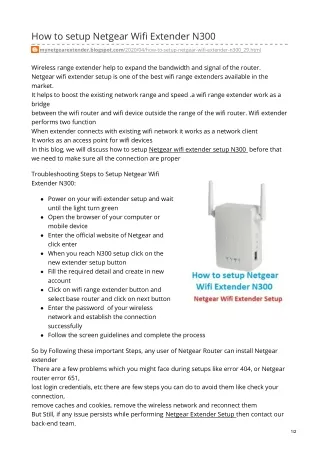
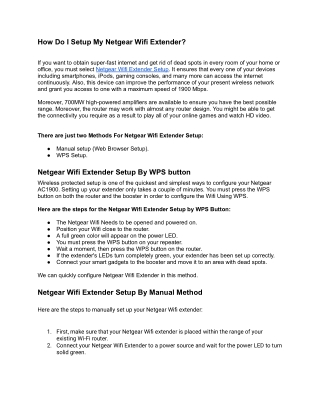
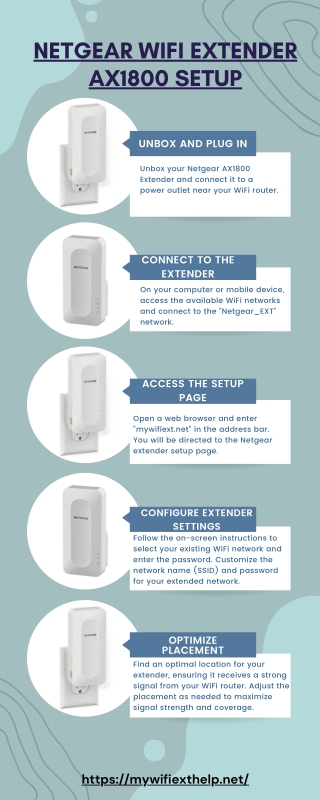
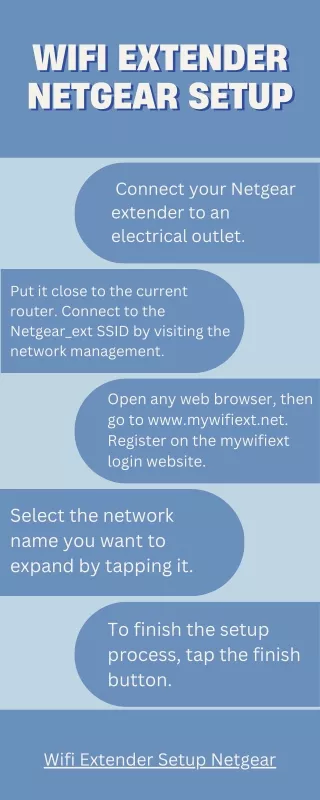
Netgear WiFi Extender Manual Setup It's important to do Netgear WiFi Extender Setup properly before using it to its full potential. Here is a detailed instruction for Netgear WiFi Extender Setup 1. Decide on a central location for your extension, ideally in the middle of your router and the problematic WiFi area. 2. After connecting your Netgear WiFi Extender to an electrical outlet, watch for the power LED to turn solid. 3. On your computer or mobile device, look for and join the WiFi network "NETGEAR_EXT". 4. "mywifiext.net" should be typed into the address bar of any open browser. 5. If 192.168.1.250 is unavailable, try using the IP address instead. 6. If you want to set up your extender and connect it to your existing WiFi network, just follow the instructions. Once you've completed these steps, your Netgear WiFi Extender Setup is complete and running, providing you with extended WiFi coverage. Netgear WiFi Extender WPS Setup Setting up a Netgear WiFi Extender using WPS (Wi-Fi Protected Setup) involves a few simple steps. Here are the instructions: ● Make sure your Netgear WiFi Extender is connected to a power source. ● Both your WiFi extender and your router should have a WPS button.
● For a few seconds, press and hold the WPS button on your Netgear extender until the WPS LED light begins blinking. ● Within two minutes of pressing the WPS button on the extender, quickly press the WPS button on your WiFi router. ● Give the extender and router permission to connect. ● Put your WiFi-capable devices in spots with poor or no signal before. ● Use a web browser to access the Netgear extender's web interface, then follow the on-screen directions. Your Netgear WiFi Extender should now be set up and working, providing improved WiFi coverage in your home or office. Firmware Update Netgear frequently publishes firmware updates for their WiFi extenders to enhance functionality and security. Follow these steps to update the firmware on your Netgear WiFi Extender: 1. Join your computer or mobile device to the network of the extender. 2. The extender's interface can be accessed by entering your username and password. 3. Look for the "Firmware Update" or "Check for Updates" option in the settings menu.Simply click it. 4. Follow the on-screen directions to download and install the most recent firmware version if an update is available. 5. Be careful not to interrupt the update process because doing so could harm your extender.
By keeping your Netgear WiFi Extender's firmware up to date, you'll benefit from improved performance, bug fixes, and enhanced security features. Performing a Hard Factory Reset Even after extensive troubleshooting, a hard factory reset is occasionally required. To perform a hard reset on your Netgear WiFi extender, follow these steps: 1. Locate the reset button on the extender. Typically, a pin or paperclip must be used to press a tiny hole. 2. In the reset hole, insert the paper clip or pin, and hold it there for about 10 seconds. 3. Holding down the reset button will cause the extender's LEDs to start blinking. 4. Wait until the extender restarts and goes back to its default settings before continuing. This might take some time. Performing a hard factory reset will erase all configuration settings and return your Netgear WiFi extender to its original state.
Soft Factory Reset It is easy to perform a soft factory reset on a Netgear router or extender. The quick steps are as follows ● Utilize a web browser to access the device's web interface. ● Go to the "Settings" or "Maintenance" section. ● The "Factory Reset" or "Restore to Default" option should be found. ● This option can be clicked or chosen to start a soft factory reset. ● To confirm the reset, adhere to any on-screen instructions. ● Reboot the device and let it return to its factory settings. A soft factory reset keeps your customized settings but may fix some problems by reverting to the default settings. Netgear WiFi extender setup common issues: 1. Extender not visible - The extender is not listed among the accessible WiFi networks. 2. Although you can see the extender's WiFi network, you are unable to connect to it. 3. WiFi range extender not working - The WiFi range extender is connected to your router, but it is not functioning. 4. WiFi connection is sporadic or slow - The extender's WiFi connection is sporadic or slow. 5. Continually losing connection with your devices or the router, the extender frequently disconnects.
Troubleshooting Tips Here are some tips for troubleshooting your Netgear WiFi Extender in case you run into any problems: ● Ensure that your extender is plugged in securely and is powered on. Additionally, inspect any necessary Ethernet cables. ● You can power cycle both your extender and router by unplugging them from the power source, waiting a short while, and then plugging them back in. ● Try moving your extender to a more accessible or central location that is farther away from your router. This might make the signal stronger. ● Select a less-crowded WiFi channel in the extender's settings. This will lessen interference from neighboring networks. ● Turn off the firewall and antivirus programs on your computer for the time being in case they interfere with setting up the extender. By following these troubleshooting tips, you can quickly diagnose and resolve common issues with your Netgear WiFi Extender.