Download
1 / 7
70 likes | 91 Vues
Very few tools in Photoshop are as powerful as curves. Despite that, some of the editors are frightened about it. Are you one of them? In this article, I am going to show you 5 essential ways about curves that will make your Editing experience better than it was before. Letu2019s get started. <br><br>http://bit.ly/background-remove-service

E N D
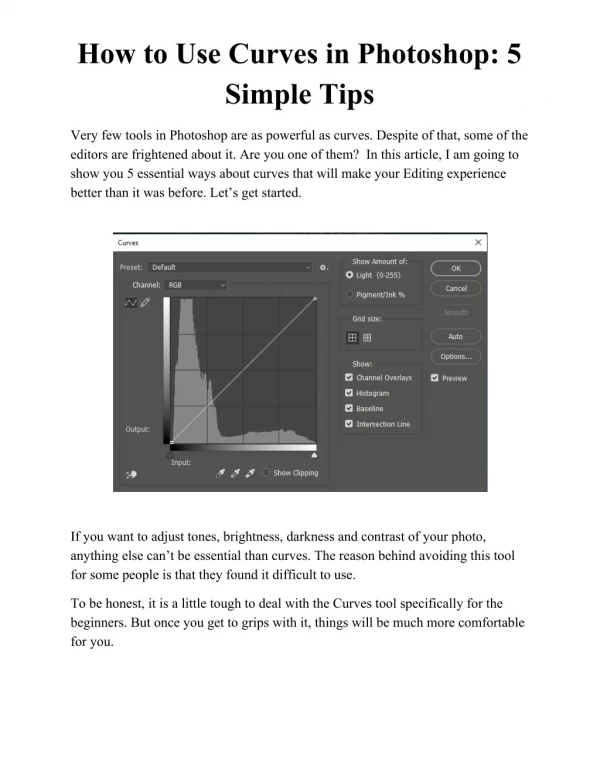
How to Use Curves in Photoshop: 5 Simple Tips Very few tools in Photoshop are as powerful as curves. Despite of that, some of the editors are frightened about it. Are you one of them? In this article, I am going to show you 5 essential ways about curves that will make your Editing experience better than it was before. Let’s get started. If you want to adjust tones, brightness, darkness and contrast of your photo, anything else can’t be essential than curves. The reason behind avoiding this tool for some people is that they found it difficult to use. To be honest, it is a little tough to deal with the Curves tool specifically for the beginners. But once you get to grips with it, things will be much more comfortable for you.
If you are a beginner, don’t need to be tensed anymore. You are going to know easy and effective technique that will help you to make adjustments with the Curves tool. The most amazing thing about this tool is its versatility. It doesn’t matter too much what kinds of action you are going to perform. Are you willing for turning a dark scene into lighting? Or play with the contrast and the color. Curve is able to complete all of your tasks. Allow me to jump to the 5 tricks that will help you to dominate the art of curves quite comfortably. 1. Use Curves from Adjustment Layer Applying curves in Adjustment layer is a good option. In this way, your main image remains untouched. Whenever you are not happy with the adjustment layer delete it and go back to your original image. To apply curves in adjustment layer click on the adjustment icon from the layer option and choose curves.
Then choose curves from the list. Then you will find your layer panel will look like this. This is a non-destructive way of using this tool.
2. Use “S” technique Make your curves like the ‘S’ shape to fix your color and saturation in a hurry. That will not be so accurate but for beginners it will give some flexibility and make your experiment by making S in different types like making the curve more bend. Try it by bending just a little or you can also bend the curve line to much. But bending too much will not be a smart option in most of the case.
3. Lightening the image To lightening the image spread the curves line from the below section the way it is showing in the picture. In this way, you can make your image lighten that was taken on a poor light. Spreading the line in the upper side will make your picture brighter. But don’t raise the line too high otherwise it can cause to bring a burn look in your photo.
4. Working on Specific Color You can work specifically on Red, Green and Blue Color by changing them from channel option. Working with these colors specifically you can bring a warm and cool effect in your photo. Also change from the bright and darkness from the below. By adjusting red, green and blue you can add lots of effect in your photo.
5. Make the image darkening Sometimes we took photo in extremely high light and photo looks burned. With the help of the curves technique you can make your image dark immediately. To make the image dark, raise the line from the above graph. Brightness and shadow can also be adjusted from the below adjustable line. When you move the white point from the white section into the right side photo will get brighter. If you do the opposite things, your photo becomes dark. From now on, you will be able to use curves conveniently. I wish curve is not difficult feature to use for you anymore.