Download
1 / 22
220 likes | 399 Vues
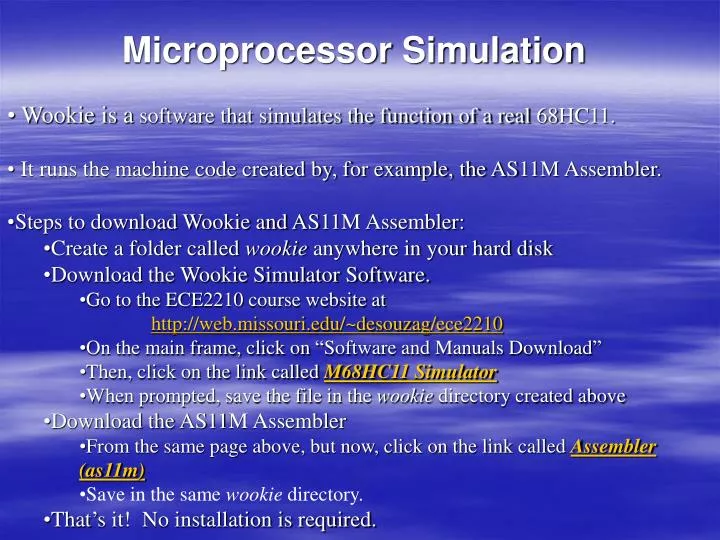
Microprocessor Simulation Wookie is a software that simulates the function of a real 68HC11. It runs the machine code created by, for example, the AS11M Assembler. Steps to download Wookie and AS11M Assembler: Create a folder called wookie anywhere in your hard disk

E N D
Microprocessor Simulation • Wookie is a software that simulates the function of a real 68HC11. • It runs the machine code created by, for example, the AS11M Assembler. • Steps to download Wookie and AS11M Assembler: • Create a folder called wookie anywhere in your hard disk • Download the Wookie Simulator Software. • Go to the ECE2210 course website at http://web.missouri.edu/~desouzag/ece2210 • On the main frame, click on “Software and Manuals Download” • Then, click on the link called M68HC11 Simulator • When prompted, save the file in the wookie directory created above • Download the AS11M Assembler • From the same page above, but now, click on the link called Assembler (as11m) • Save in the same wookie directory. • That’s it! No installation is required.
Use Notepad to create an Assembly Program. Go to Start programs Accessories Note Pad
To create Assembly program Go to notepad File • After you have typed in your program, select “Save as” • Under save, select the wookie folder created above • In “File Type” choose “All files” • Under File name type xxxxx.asm (e.g. lab1exampleprog.asm) • Then click Save.
After saving the program, you have to run the assembler. To run the assembler go to the DOS Command Prompt (cmd) How to open CMD? Click on the START button and click on “RUN”.
After opening the DOS shell, type “cd” (Change Directory) to change to the directory where you earlier created the directory wookie. In this example: desktop
Then type cd wookie. That’s the folder in which we have saved all files: executables, text files, etc.
To assemble your program, type 'as11m lab1exampleprog.asm'in the DOS shell.
After you assemble the program, the assembler will tell you the number of errors and warnings in the program. If it returns error messages, then edit your program to fix the errors. Then, run as11m again until it compiles properly. If no errors are found,a .lst file and a .s19 file should be generated by the assembler.
Now execute the 68HC11 simulator (wookie167.exe). • You should see the Wookie window on your computer screen.
Click "File" on the menu and then click on "Load .s19 file...". • On the "Open" window, open the .s19 file that you just created.
Then, the "Set HC11 Mode" window will pop up, and the “Brief Case" should be selected as Mode. Also, the start address should be set as the same as your program start address.
Next, we click on the "View Code" button and open the .lst file that was just created by the assembler. We should select "Listing Files (*.lst)" on the bar “Files of type”. Click “Open”.
Choose "ASM11" as file type and 0 as address offset in the window "Choose LST file format".
We can monitor the memory by clicking on the "Memory Watch" button.
Input the name and the address you want to watch and then click "OK" button.
We can also click on the "Browse Mem." button to watch a block of memory.
Then we will monitor the CPU registers by clicking on the "M68HC11 CPU" button. The register value will be displayed in the "MCU" window.
Finally, click on the green button to step through the program one line at a time. This way, you may also check the program flow by watching what happens on every step . For example, you can keep an eye on the registers and memory to make sure everything is running as you hoped it would.