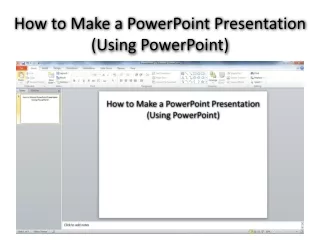
Using PowerPoint to Integrate Curriculum
This guide offers practical tips and hints for utilizing PowerPoint to enhance curriculum integration. It emphasizes the importance of gathering all necessary information and images before starting the presentation, saving bibliographic information for reference, and organizing slides effectively. The document covers different types of presentations (speech, self-running, and non-linear) and stresses pre-planning, ensuring students define the slide content and structure in advance. Additionally, it highlights the significance of entering text first and using the Spell Check feature to refine presentations.

Using PowerPoint to Integrate Curriculum
E N D
Presentation Transcript
Using PowerPoint to Integrate Curriculum Some Tips and Hints Table of Contents
Gather all information and images BEFORE starting the presentation. Have students save bibliographic information in case they need to return to the site. You may also want to have them create a Bibliography slide. Information & Images should be saved in the student’s personal folder in a folder created for the presentation. This information can be put into the slide show by opening the original document and using copy and paste or by typing from a printed document. Table of Contents Before You Begin
Type of Slide Show • Decide before they begin whether it will be used as a “speech”, a self running show, or a non-linear project. • Table of Contents
Speech Slide Show • A “Speech” slide show should move only with a slide click. This allows the speaker to control the tempo as the speech is given. May also want to include a “Back” button and/or a Table of Contents link for returning to specific pages to answer questions. • Table of Contents
Self-Running Show • A Self-running slide show can be used as a presentation where slides appear after a specified time. • This works well as a display for parents or other students to view. • Table of Contents
Non-Linear • A Non-Linear slide show usually has a table of Contents allowing the viewer to navigate at his/her discretion. This can be very useful as a study guide for specific topics. It operates much like a web site. • The buttons at the bottom of this page are examples of non-linear navigation. • Table of Contents
Pre-Planning • Students should have a plan for the number of slides and content of each before they begin. This can be done from information gathered in normal report notes fashion or better yet, as an outline created in standard format or as an Inspiration document • Table of Contents
When you begin a slide show, have students “Save as” to their own folder with an identifiable name for that project. (Space.ppt or Panda.ppt rather than Fred.ppt.) As they work on the show and add slides, they should just Save and NOT SAVE AS. Remember to have them use the Spell Check feature. Always have students begin with entering all text for their slide show first so they don’t get too involved in the “fun stuff” and run out of time. They can then go back and add background, images, charts & graphs, movies, sounds, navigation aides, etc. after the text is entered Table of Contents Other Tips
Table of Contents • Title Page • Before you begin • Type of Show • Speech • Self-Running • Non-Linear • Pre-Planning • Other Tips • Sample Bibliography • Email Cartoon • End Show
Bibliography Example • The entry could be from a magazine, book, encyclopedia, or other text source • If it on the web, the entry can be a link: Katerpillars & Mystery Bugshttp://www.uky.edu/Agriculture/Entomology/ythfacts/entyouth.htm • Table of Contents