EasyPreparation with Barcode Reader
EasyPreparation with Barcode Reader. Introduction. This SOP describes the application “Easy preparation“ of the PrepGilsonST software, covering the following topics Configuration of the barcode reader
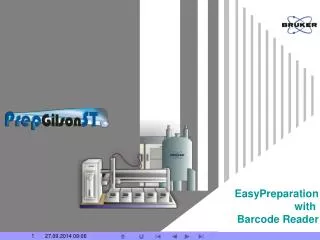

EasyPreparation with Barcode Reader
E N D
Presentation Transcript
EasyPreparation with Barcode Reader
Introduction • This SOP describes the application “Easy preparation“ of the • PrepGilsonST software, covering the following topics • Configuration of the barcode reader • How to configure the setup with an automatic assignment of the destination rack (wellplate) • Create orders for selected source positions in racks with predefined procedures • Run preparation for created orders
Barcode Reader Selection of barcode reader 1a. Select the button “Configuration“.
Basic Configuration 1b. Click in the area which is coloured green in the drawing. This is the base configuration area.
Basic Configuration 1c. Click the check box “Barcode reader“, so that it is checked. Tip: With “Barcode reader“ checked the “Edit mode“ box within the “Create Order Files“ window is not visible. The barcode reader reads the ID and type. Manual input is not necessary.
Basic Configuration 1d. Check the Barcode reader serial port. In this example the Gilson robot is connected to Com Port 1 and the barcode reader to Port 2. Click „OK“.
Settings - Destination Selection Select the menu „Edit settings“. In the next screen we distinguish between two cases: Case 1: Working with automatic destination assignment. Case 2: Working with manual destination assignment.
Settings - Destination Selection Case 1: Working with automatic destination assignment: Click the box, so that it is unchecked. Enter the matrix type. Case 2:Working with manual destination assignment: Click the box, so that it is checked. See also SOP Barcode Label Types
Start Automation • 3a. • Click the green button to start automation. • Initializing / Home seeking • Reading barcodes • Create orders without SampleTrack • Verify orders • Preparation
Start Automation 3b. The program asks, if the barcodes should be read. Click “Yes“, if you are running the program in with new settings.
Start Automation Case 2: Working with manual destination assignment Case 1: Working with automatic destination assignment The destination checkbox is hidden and the destination is defined by program. The destination must be selected.
Start Automation 4a. Case 1: Working with automatic destination assignment: • Select the source tubes with a lasso operation: • Click and hold the left mouse cursor. Draw a rectangle. • The marked positions will be shown as orders.
Start Automation Click „Create Orders“. Click „OK“.
Start Automation 5. The orders are running.
Start Automation Case 2: Working with manual destination assignment: See the procedure in SOP 3