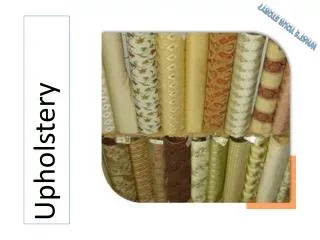
Open Cell (Upholstery) Foam
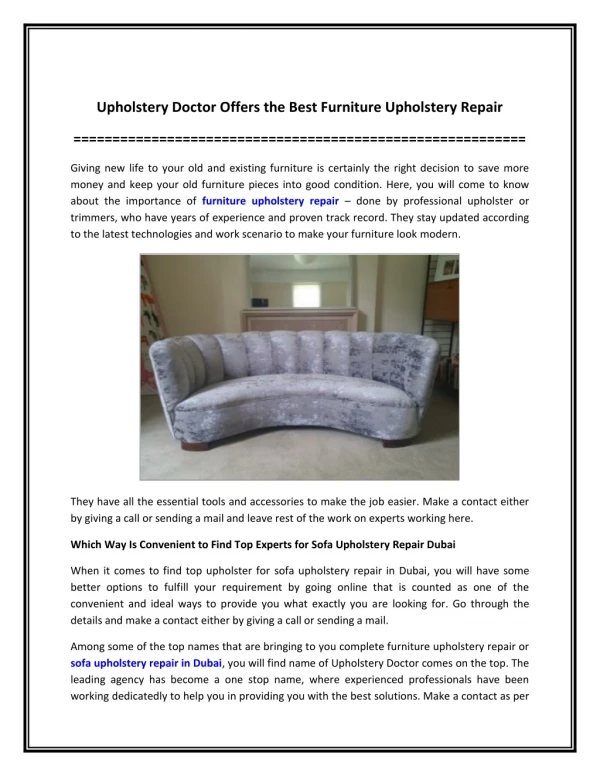
160 likes | 393 Vues
Open Cell (Upholstery) Foam. Thicker, less dense than craft foam Soft, compressable Cut using scissors, craft knife, or kitchen knife depending on thickness. Open Cell (Upholstery) Foam. Seal the foam – very difficult to paint directly on upholstery foam White glue not a good option

Open Cell (Upholstery) Foam
E N D
Presentation Transcript
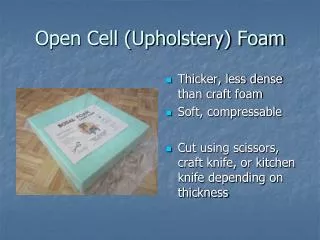
Open Cell (Upholstery) Foam • Thicker, less dense than craft foam • Soft, compressable • Cut using scissors, craft knife, or kitchen knife depending on thickness
Open Cell (Upholstery) Foam • Seal the foam – very difficult to paint directly on upholstery foam • White glue not a good option • “Flexbond” adhesive (multiple layers for a smoother finish) • “Super 77” spray glue for a rougher finish • Also the best option for gluing pieces together • Stays tacky – needs another layer before painting
Insulation and Styrofoam • Better for props than worn pieces • “Hard” foam – doesn’t have give like craft or upholstery foams • Easy to carve into shape with a sharp knife • Specialized cutters available
Insulation and Styrofoam • Use cardboard, dowel, or pipe for internal strength • To avoid chipping and scuffs apply paper mache layer to seal the foam before painting • Be very careful when gluing or painting; many spray-on products and adhesives will melt the foam • Always test first – OUTDOORS!
Expanding Foam • Designed to expand to fill cracks • Can be used to build up volume on a prop then carved down into the desired shape
Expanding Foam • Pattern: make a cross-section shape of the prop out of cardboard • Remember to include a dowel for strength if piece is long or delicate • Cover the pattern area with expanding foam and allow to dry (~1 day) • Flip and do the other side • Using the cardboard shape as a guide, carve down the foam with a sharp craft knife • To seal, add a layer of paper mache or similar before painting
Other ideas… • Crayola “Model Magic”
Other ideas… • Pool noodles and pipe insulation
Other ideas… • Pool noodles and pipe insulation
Thanks…. Photos used courtesy of: • Mai Sheri www.maishericostumes.com • Kudrel kudrel-cosplay.deviantart.com • Featherweight www.featherweightcreations.com • ShuShuWafflez shushuwafflez.deviantart.com • VickyBunnyAngel vickybunnyangel.deviantart.com • Filougon filougon.deviantart.com • Pan PANattheDisco.deviantart.com • Yavarice cosplay.com/member/115091 • Cole cosplay.com/member/8322 Jennifer “Mai Sheri” Wynne 2012 For The Rusty Gear